
Custom Result Fields
Learn about the functionalities related to custom result fields in Test Management.
Custom result fields allow you to tailor your Test Management by adding specific information fields to your test result records. It expands upon the standard test result fields, enabling you to track additional details and adapt the platform to your unique testing workflow.
- Custom field management is restricted to Admin users. For details on how user restrictions apply, refer to the User Access Control documentation.
- Custom result field names must be unique. Avoid using system-defined field names from Test Management.
Currently, Test Management supports the following custom result field types:
After creating or editing custom result fields, make sure to assign them to the relevant projects. This ensures the fields are available for use within those projects. You can assign custom result fields to all projects or choose specific ones. Unassigned fields will not appear in any project.
Custom test runs status
The test runs status field is a system-defined field used to track the status of test runs. The field name, Test Runs Status, and the system-defined values within this field cannot be changed. However, you can add and edit custom values within this field and create different datasets to suit your needs.
Following are the predefined system-defined values for the Test Runs Status field are:
| • Passed | • Failed | • Blocked | • Retest |
| • Skipped | • Untested | • In Progress | • State |
Create a Custom Result Field
To create a custom result field follow these steps:
-
Navigate to Form Fields and Values under Settings.

-
Click the Test Result Fields tab.
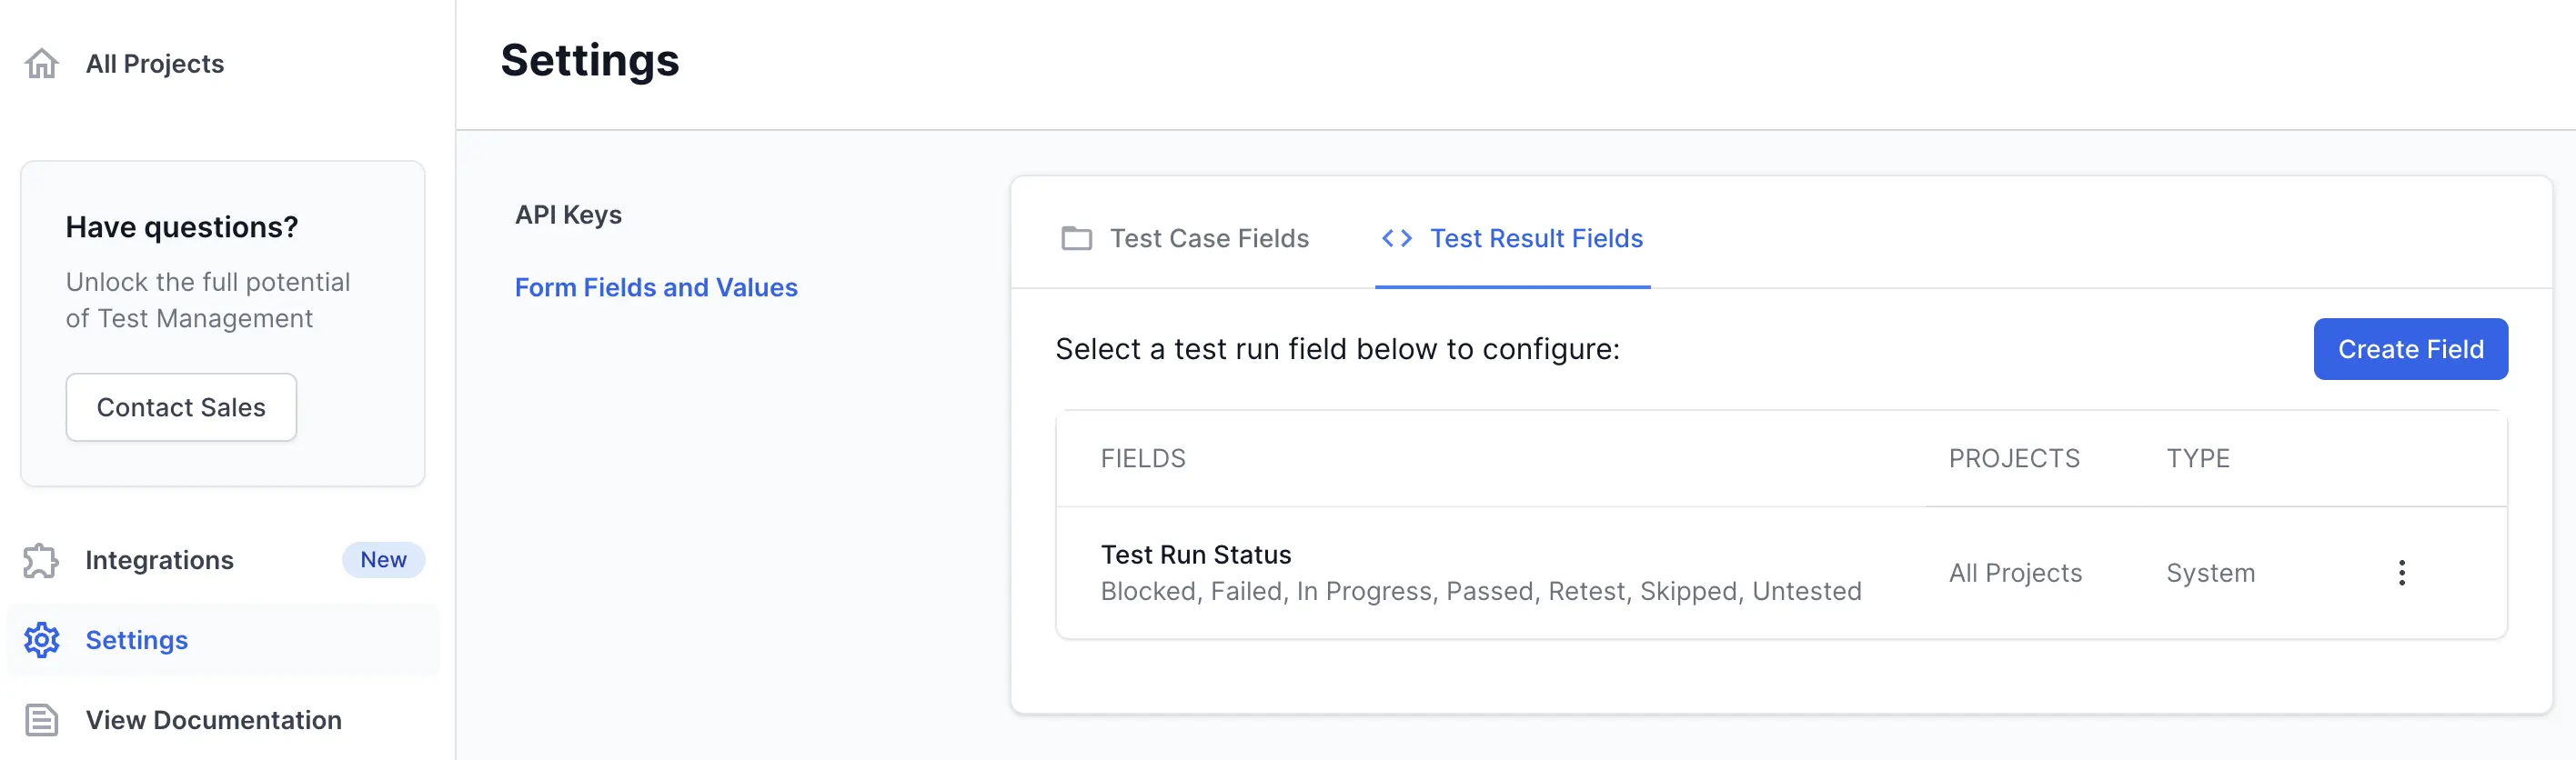
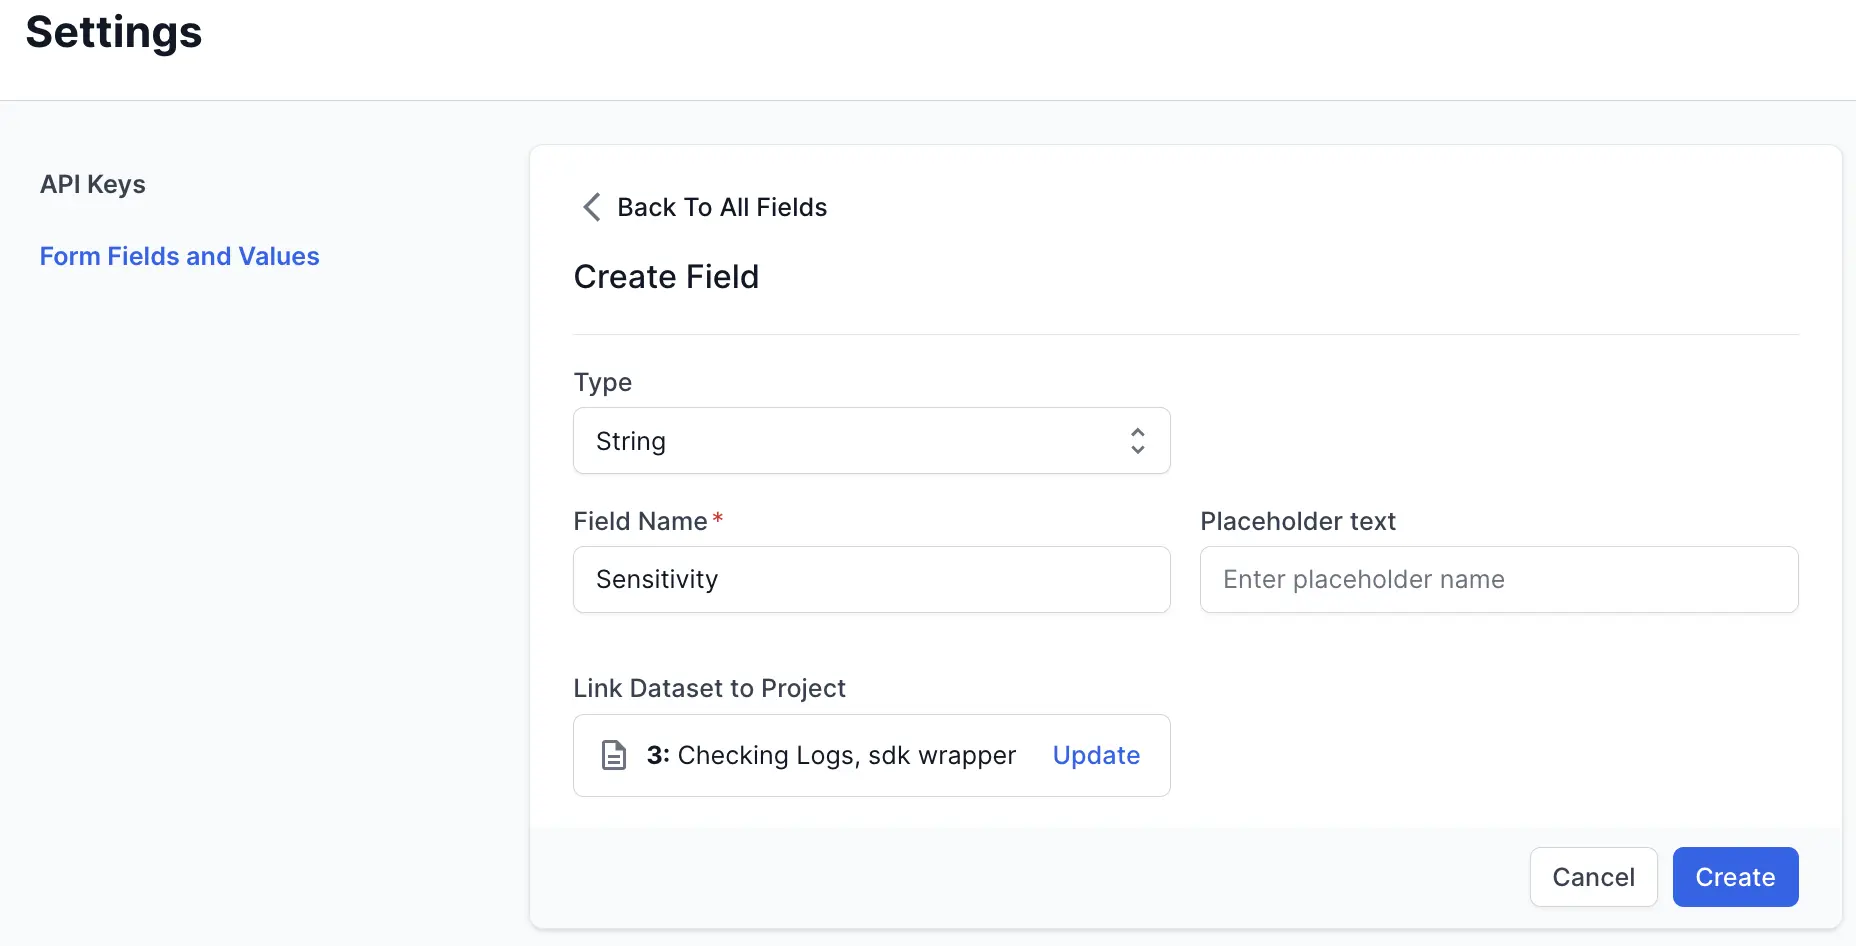
- Click Create Field.
- Select the type of custom field from the Type drop-down menu. Enter the following details:
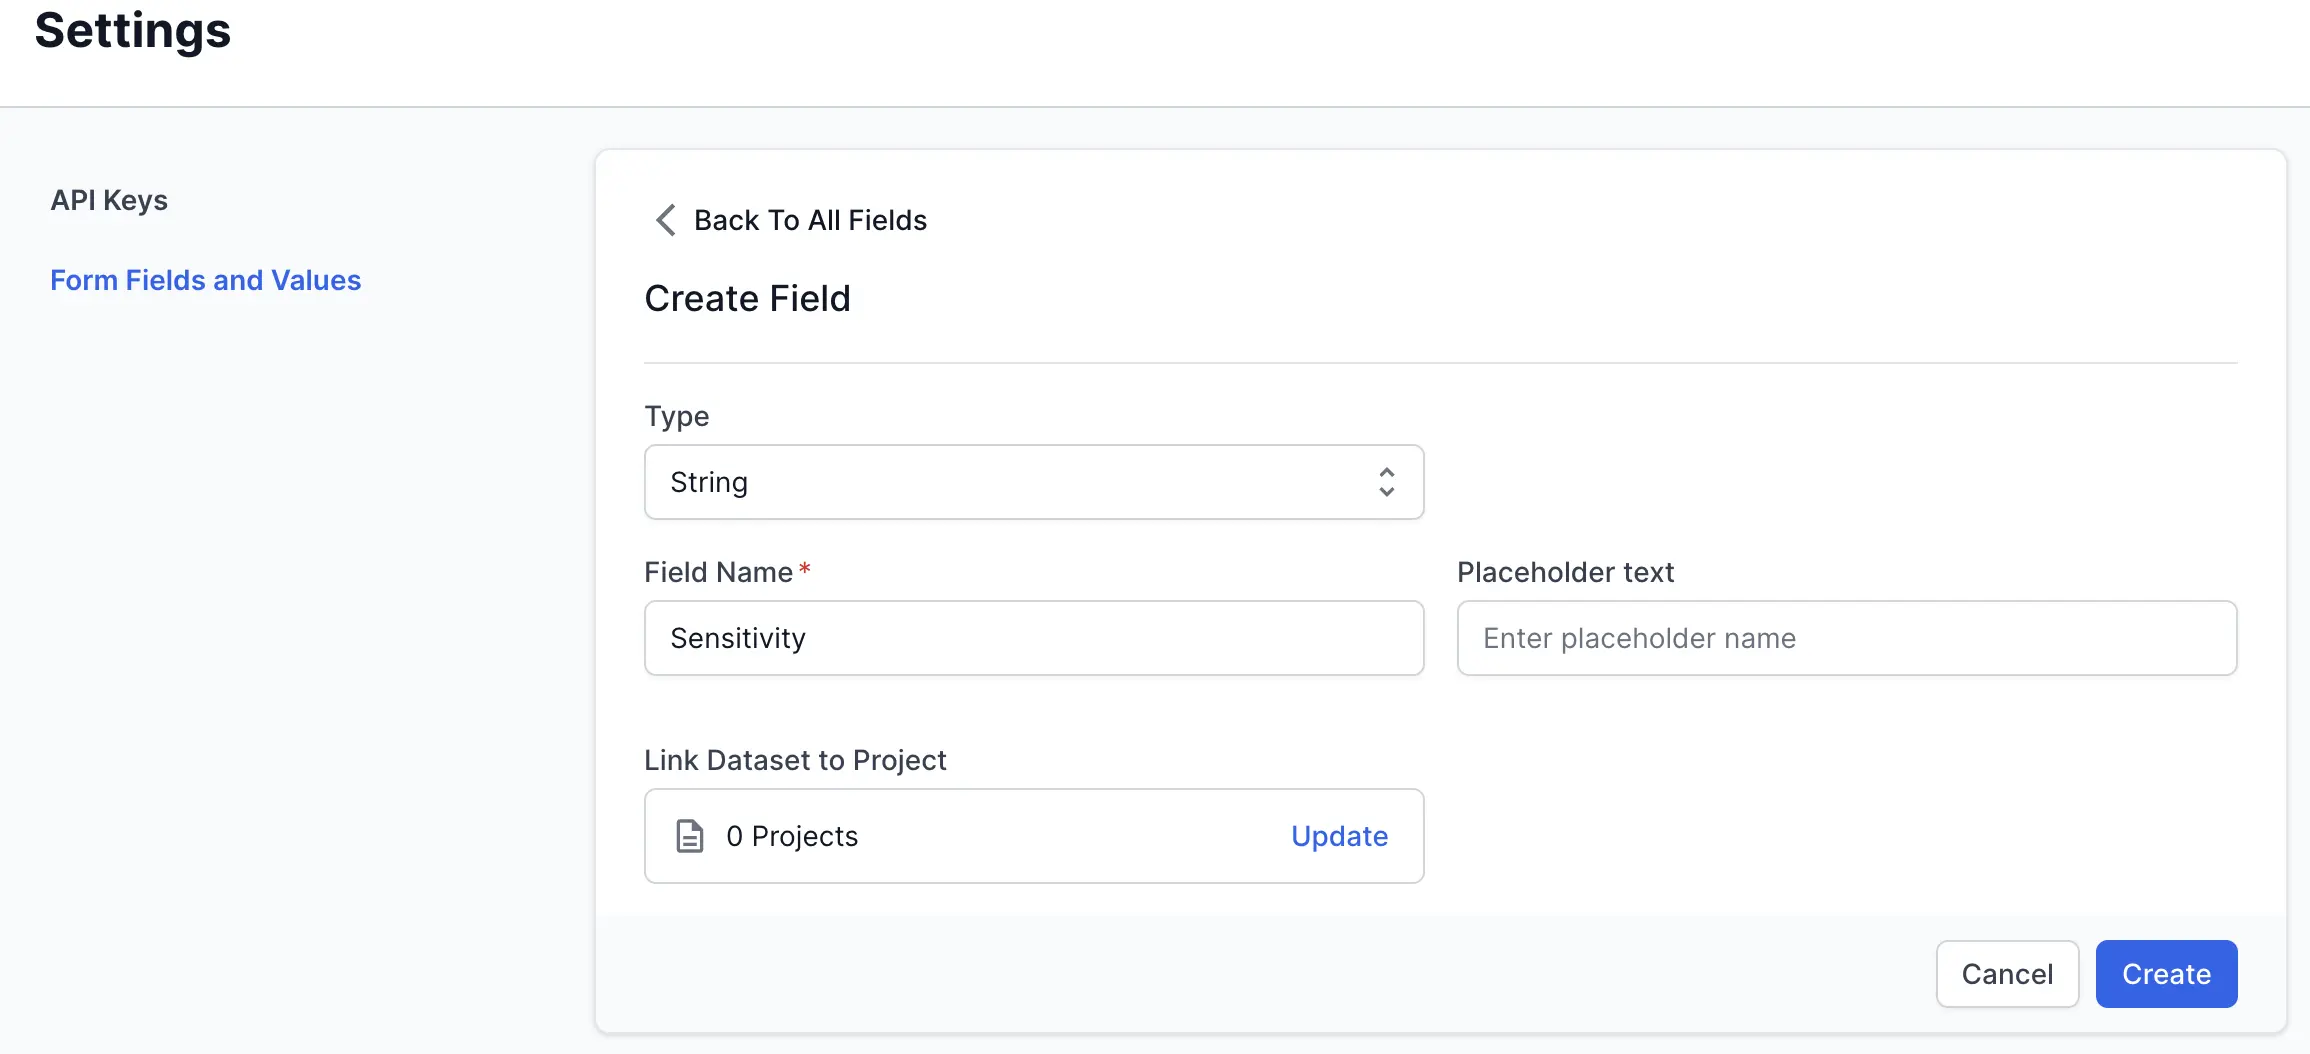
- Field Name: A unique identifier for the field (no spaces; use underscores if needed).
- Placeholder text: Optional text to provide guidance to users on how to fill the field.
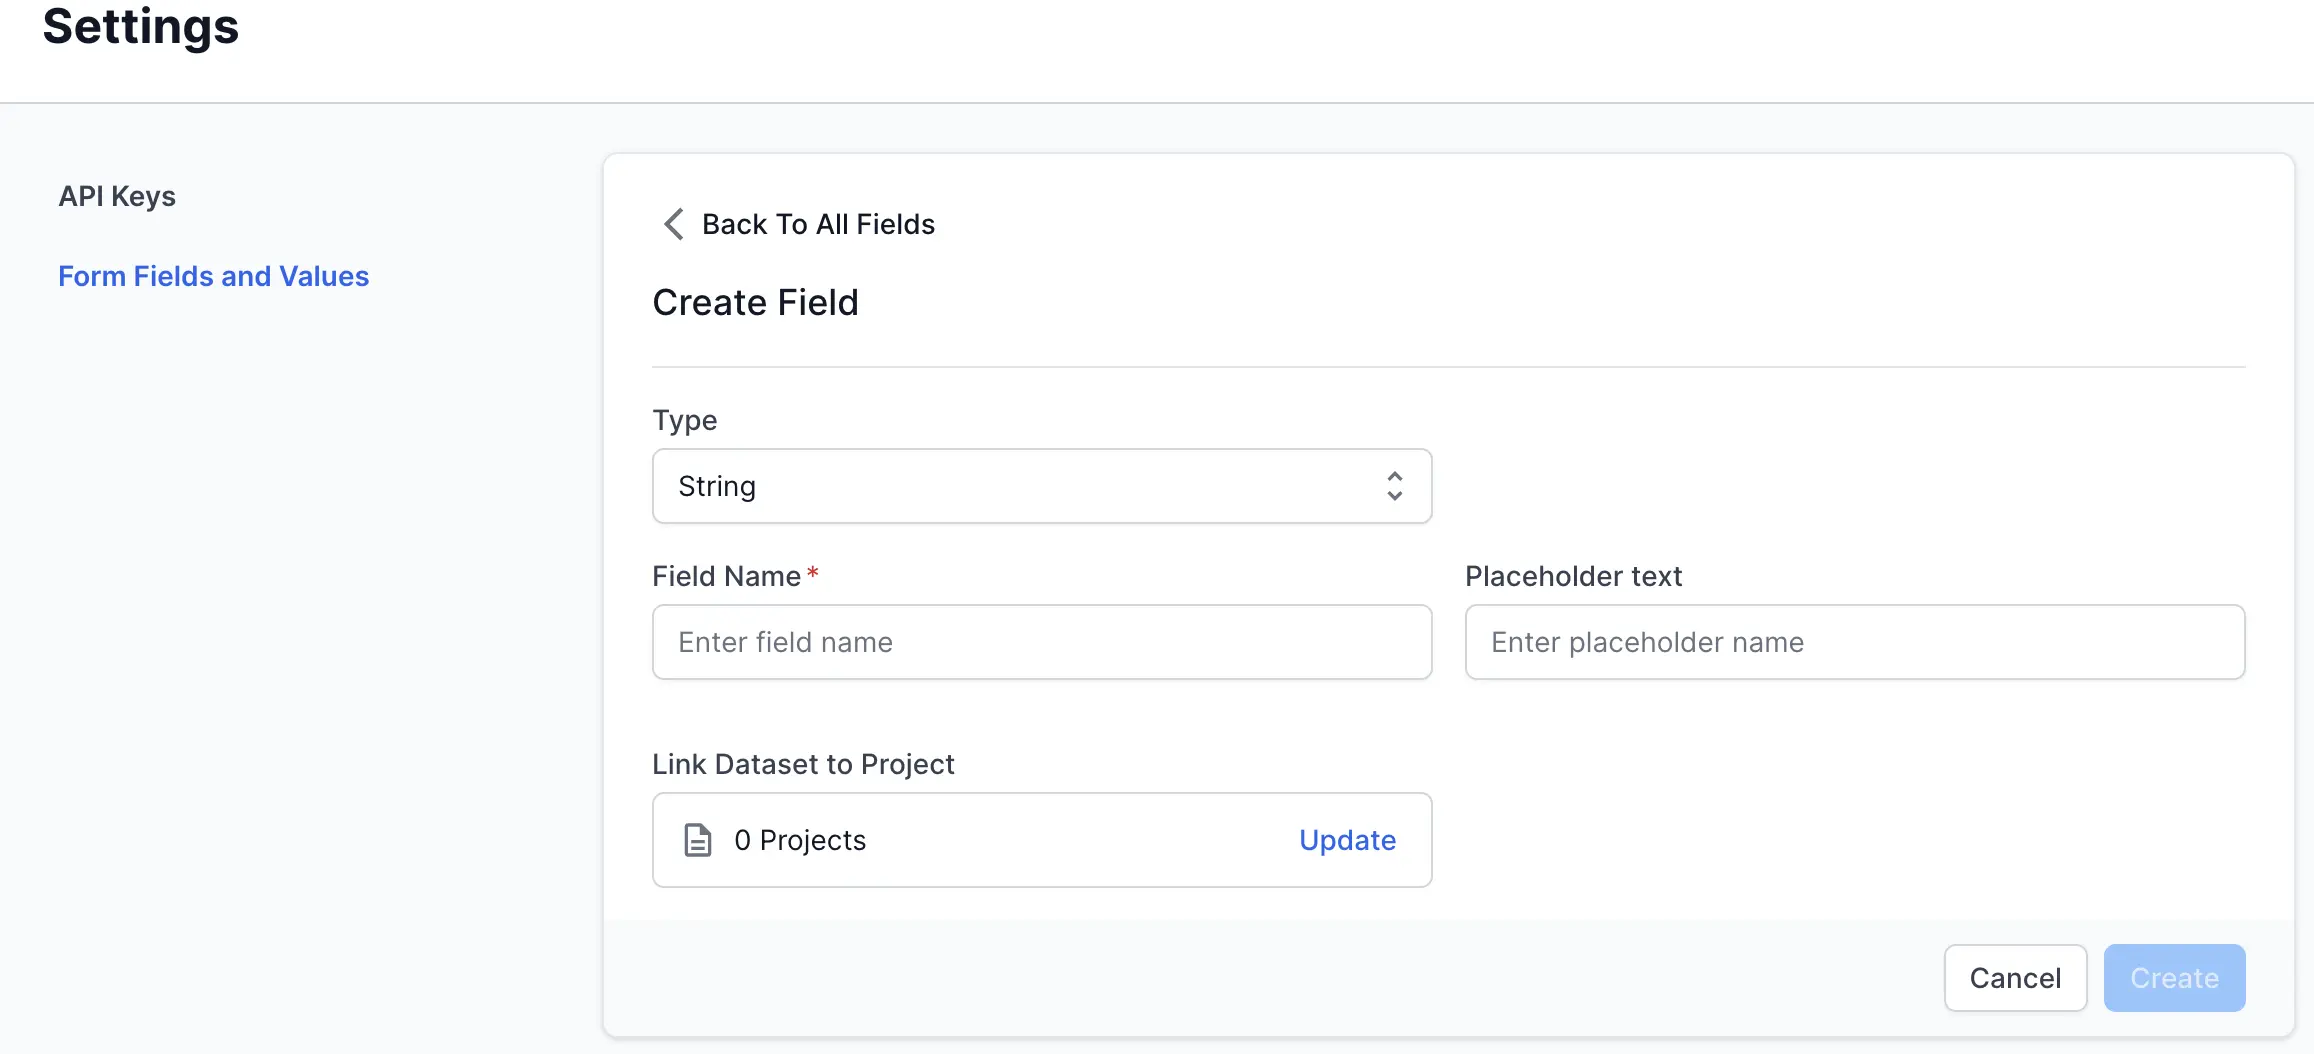
-
Click Update in the Link Dataset to Project field.
-
Select the projects where you want this custom result field to be available in the test result forms.
-
Switch on the Apply to All Future Projects toggle to use this field to all future projects.
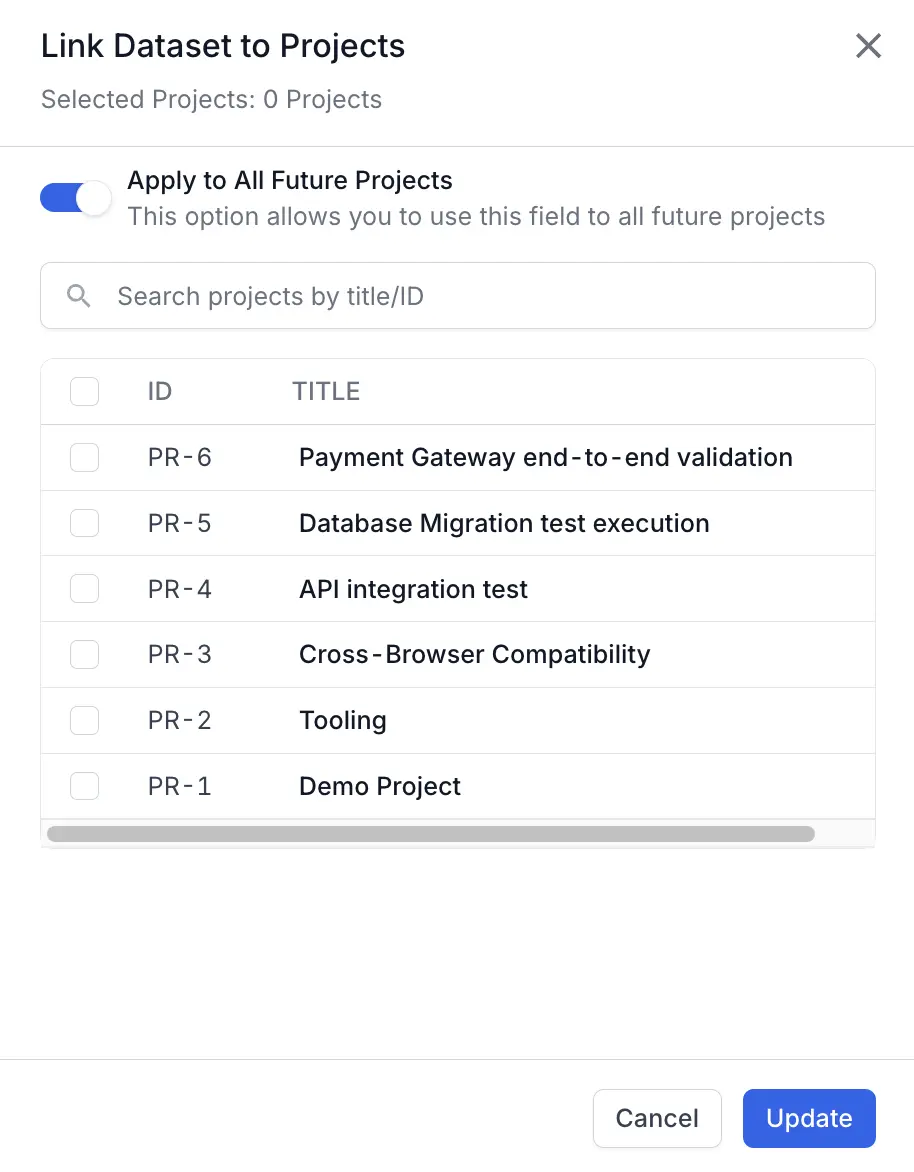
- Click Update.
- On the Create field window, click Create.
The custom field is created and appears in the custom results field tab. It will now be available for use in the test result forms of the linked projects.
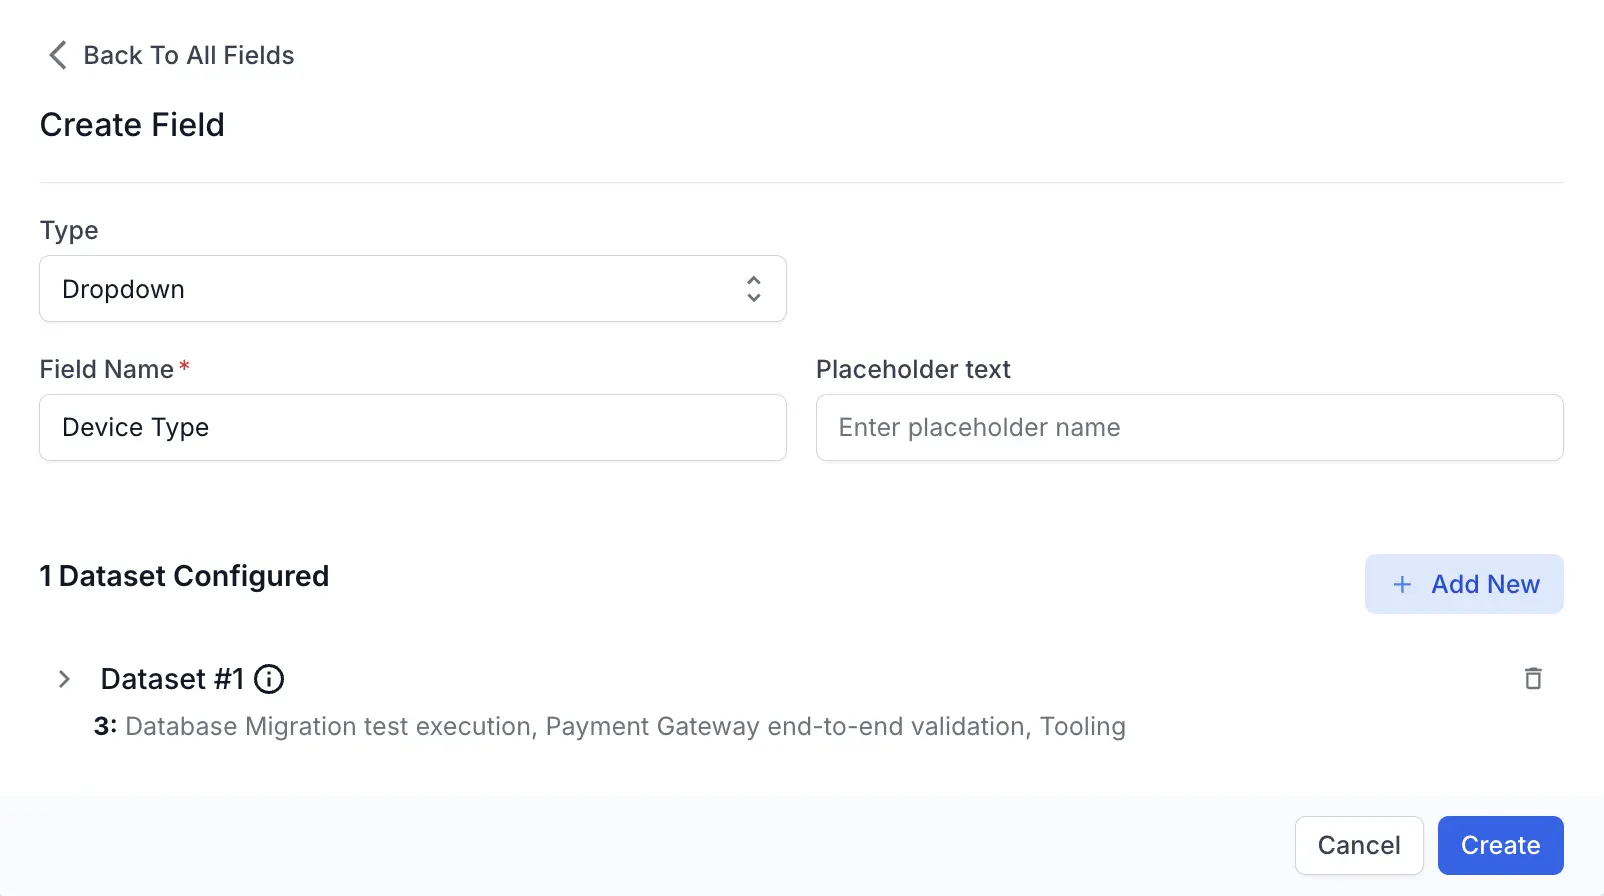
Create a custom result dropdown field
Custom result dropdown fields provide pre-defined options to select from within your projects. Datasets are collections of values that you can assign to these dropdown fields. Each dataset maps to multiple projects. The following procedure guides you through defining the field, creating datasets with dropdown options, and linking the field to relevant projects.
Points to remember
- Create at least one dataset with values when defining a custom result dropdown field.
- A project can be linked to only one dataset at a time.
- When a project is linked to a new dataset, it automatically gets unlinked from any previously associated dataset.
- You can add only thirty datasets to a custom result dropdown field.
-
Navigate to Form Fields and Values under Settings.
-
Select the Test Result Fields tab and click Create Field.
-
Select Dropdown or Multi-Select Dropdown from the Type dropdown menu.
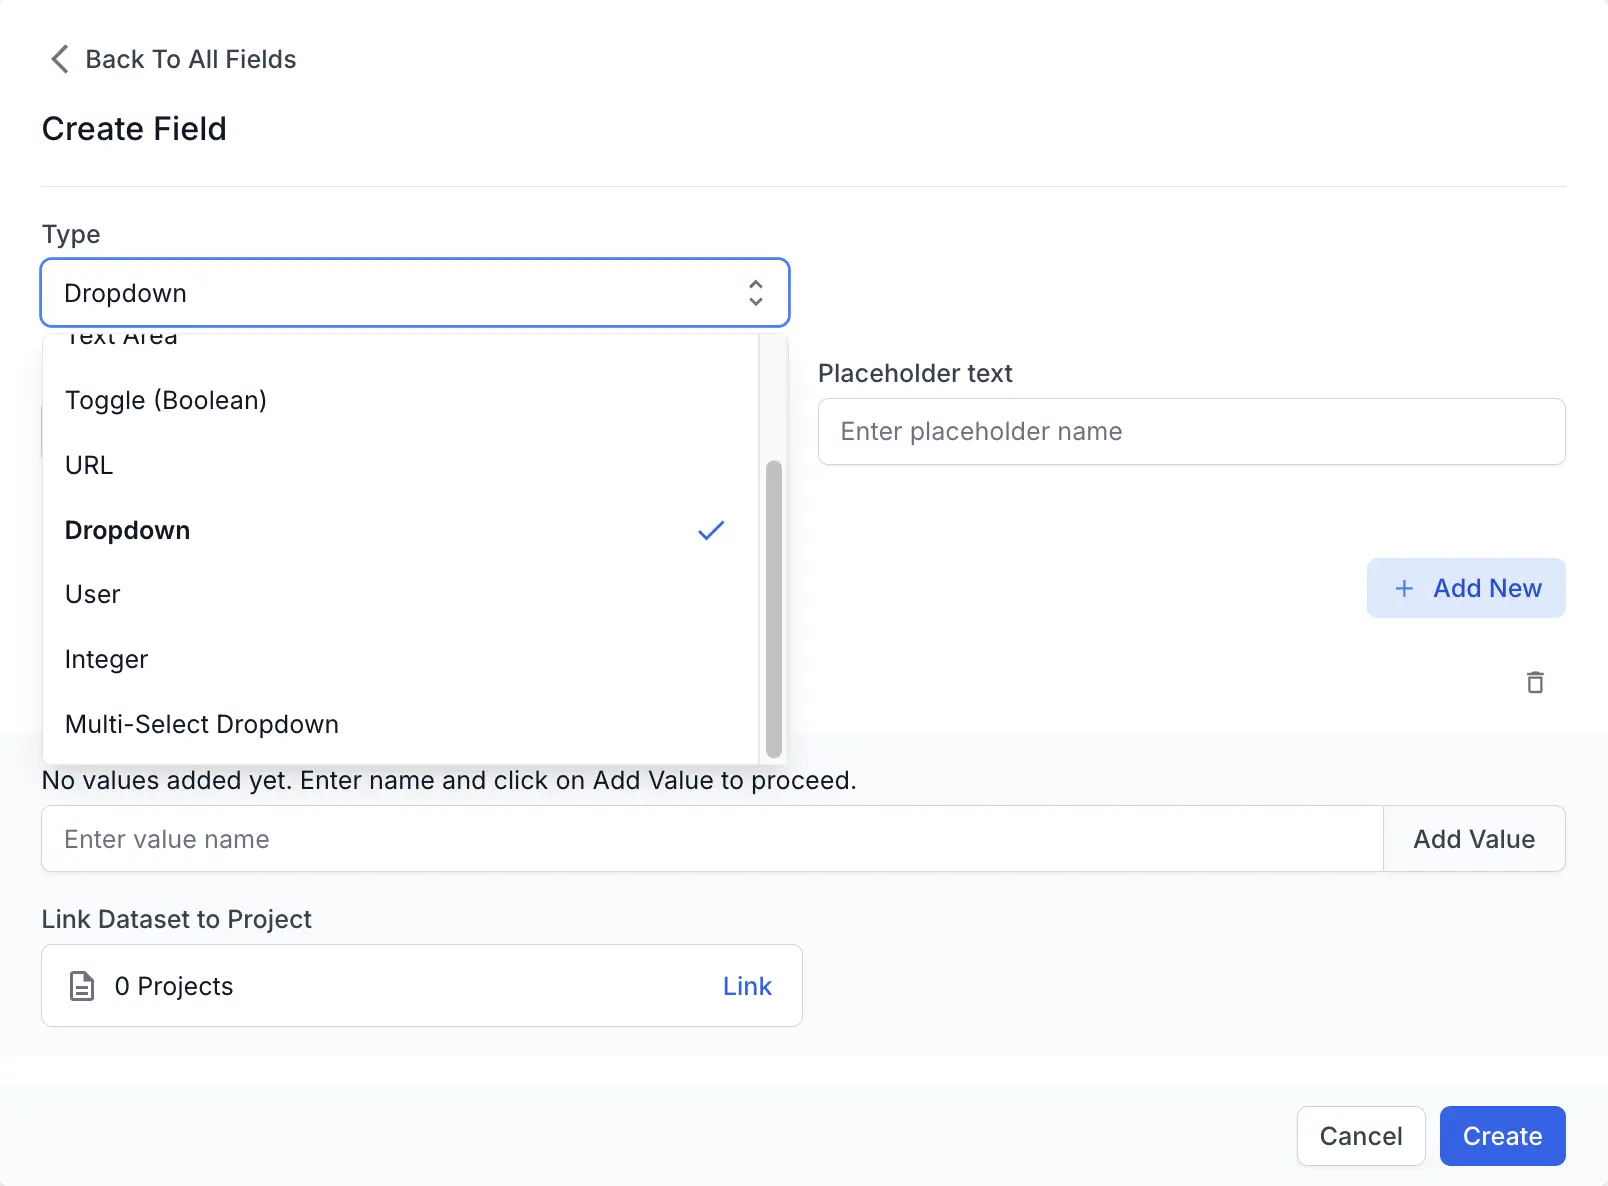
-
Enter a descriptive name in the Field Name textbox. If necessary, enter placeholder text in the Placeholder text textbox.
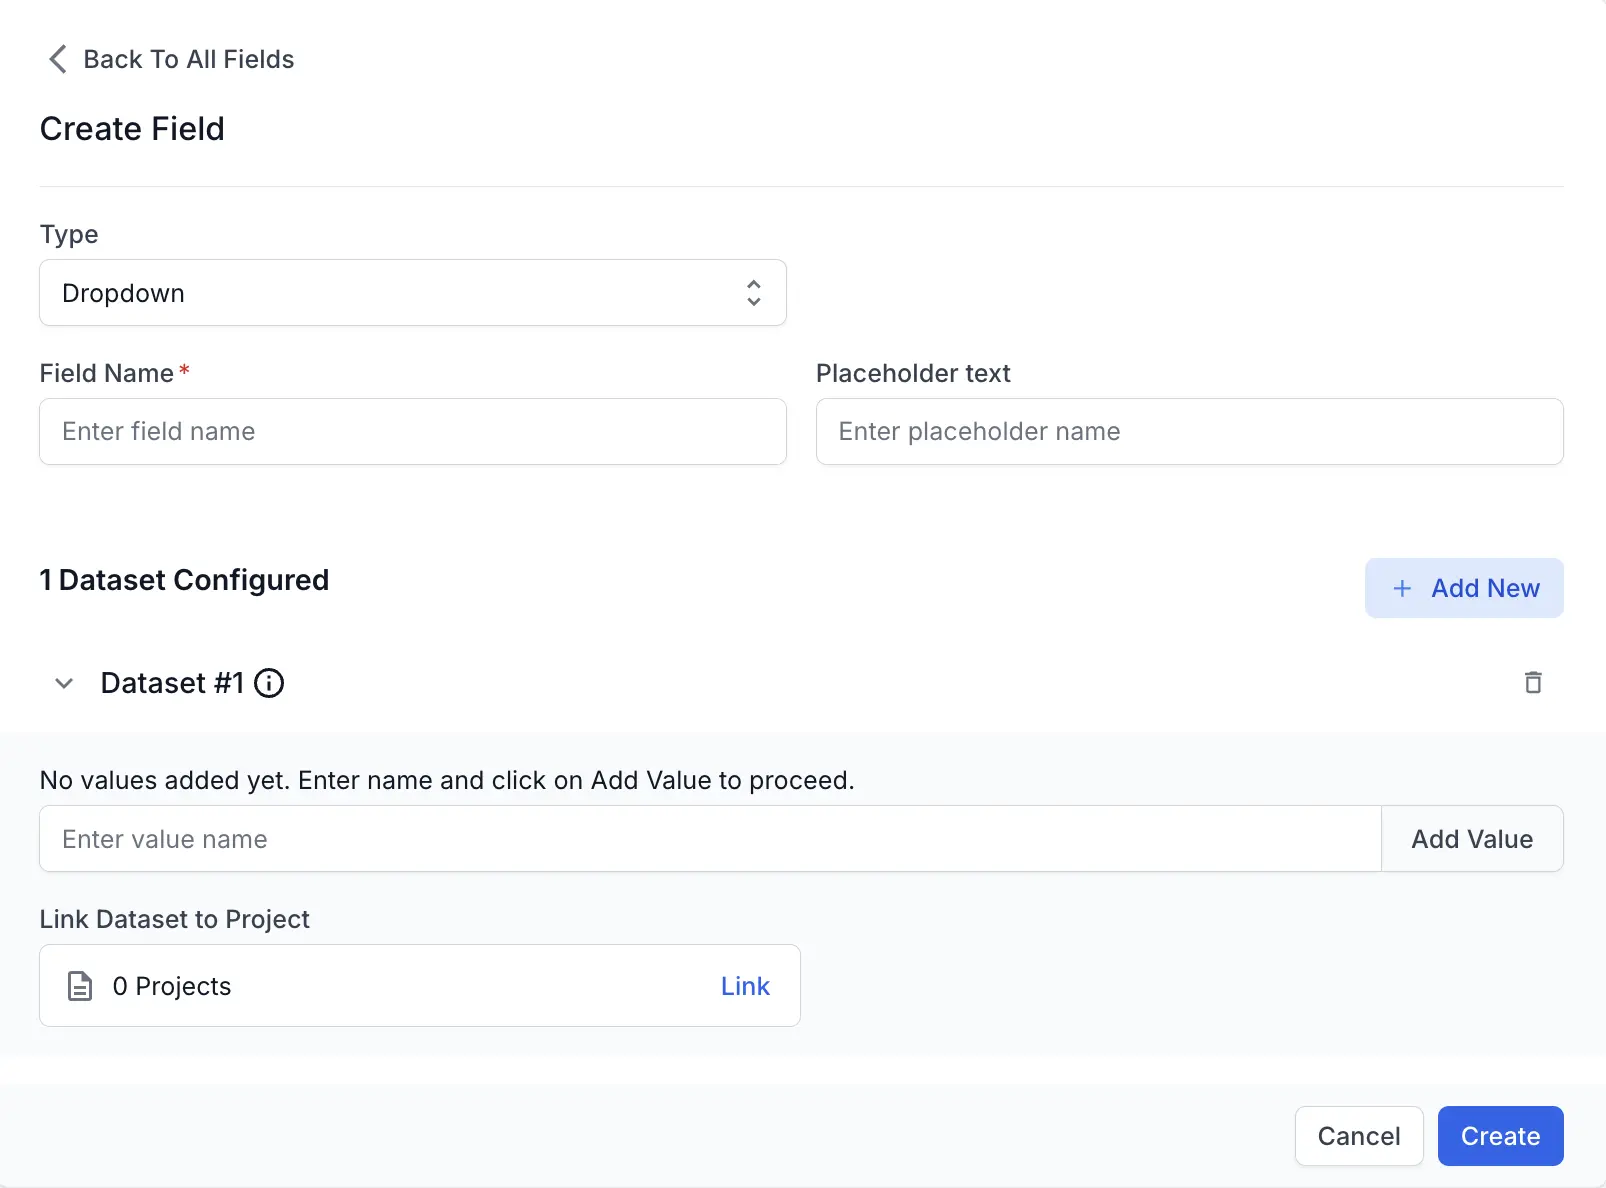
- Click Add New.
-
Enter value name in the textbox, which is an option in the dropdown, and click Add Value.
-
Optionally, select the DEFAULT toggle next to the value you want to be pre-selected in the dropdown field. This value will automatically appear as the initial selection.
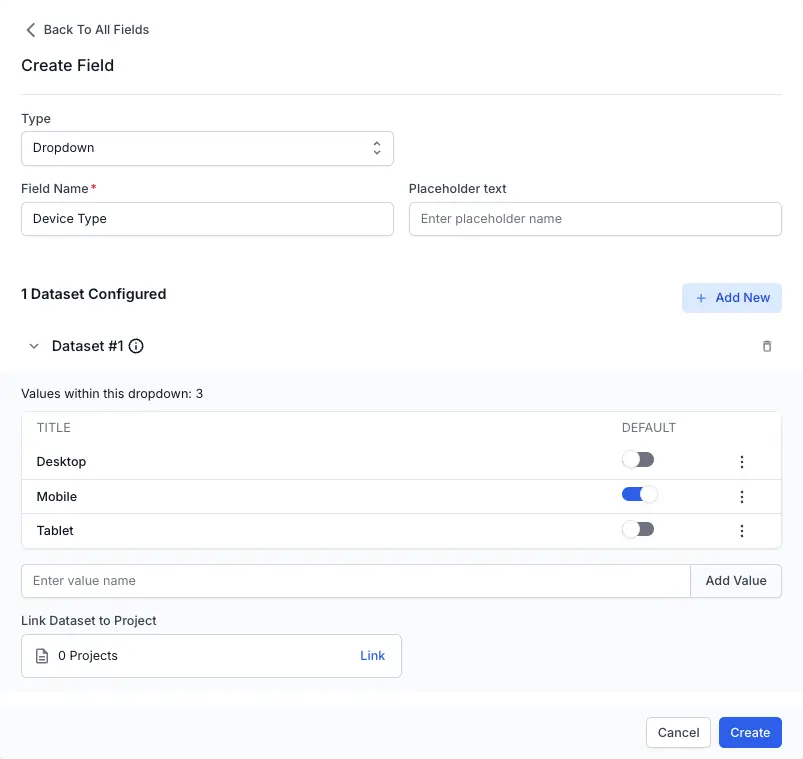
-
Click Update in the Link Dataset to Project field.
-
Select projects where you want to use this dropdown field and click Update.
-
Optionally, create additional datasets with unique values by repeating steps 6 through 10.
-
Click Create.
You have created a custom result dropdown field with its associated datasets.
Manage datasets and values associated with test runs status field
You can add and manage datasets and values associated with test runs status field.
Add dataset and custom values
You can add new datasets and custom values to the Test Runs Status field to define additional statuses relevant to your testing process.
Follow these steps to add datasets and custom values in Test Runs Status field:
-
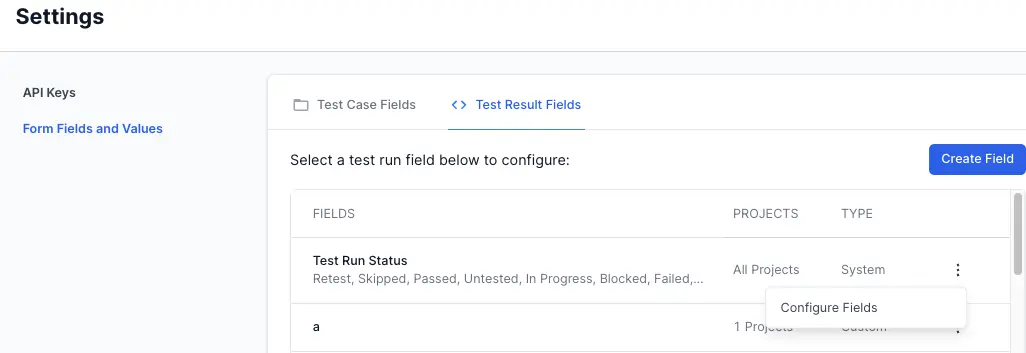
Navigate to Form Fields and Values under Settings.
-
Click the Test Result Fields tab.
-
Click Configure Fields under the menu (three dots) on the right of Test Runs Status field.
-
Click Add New Dataset.
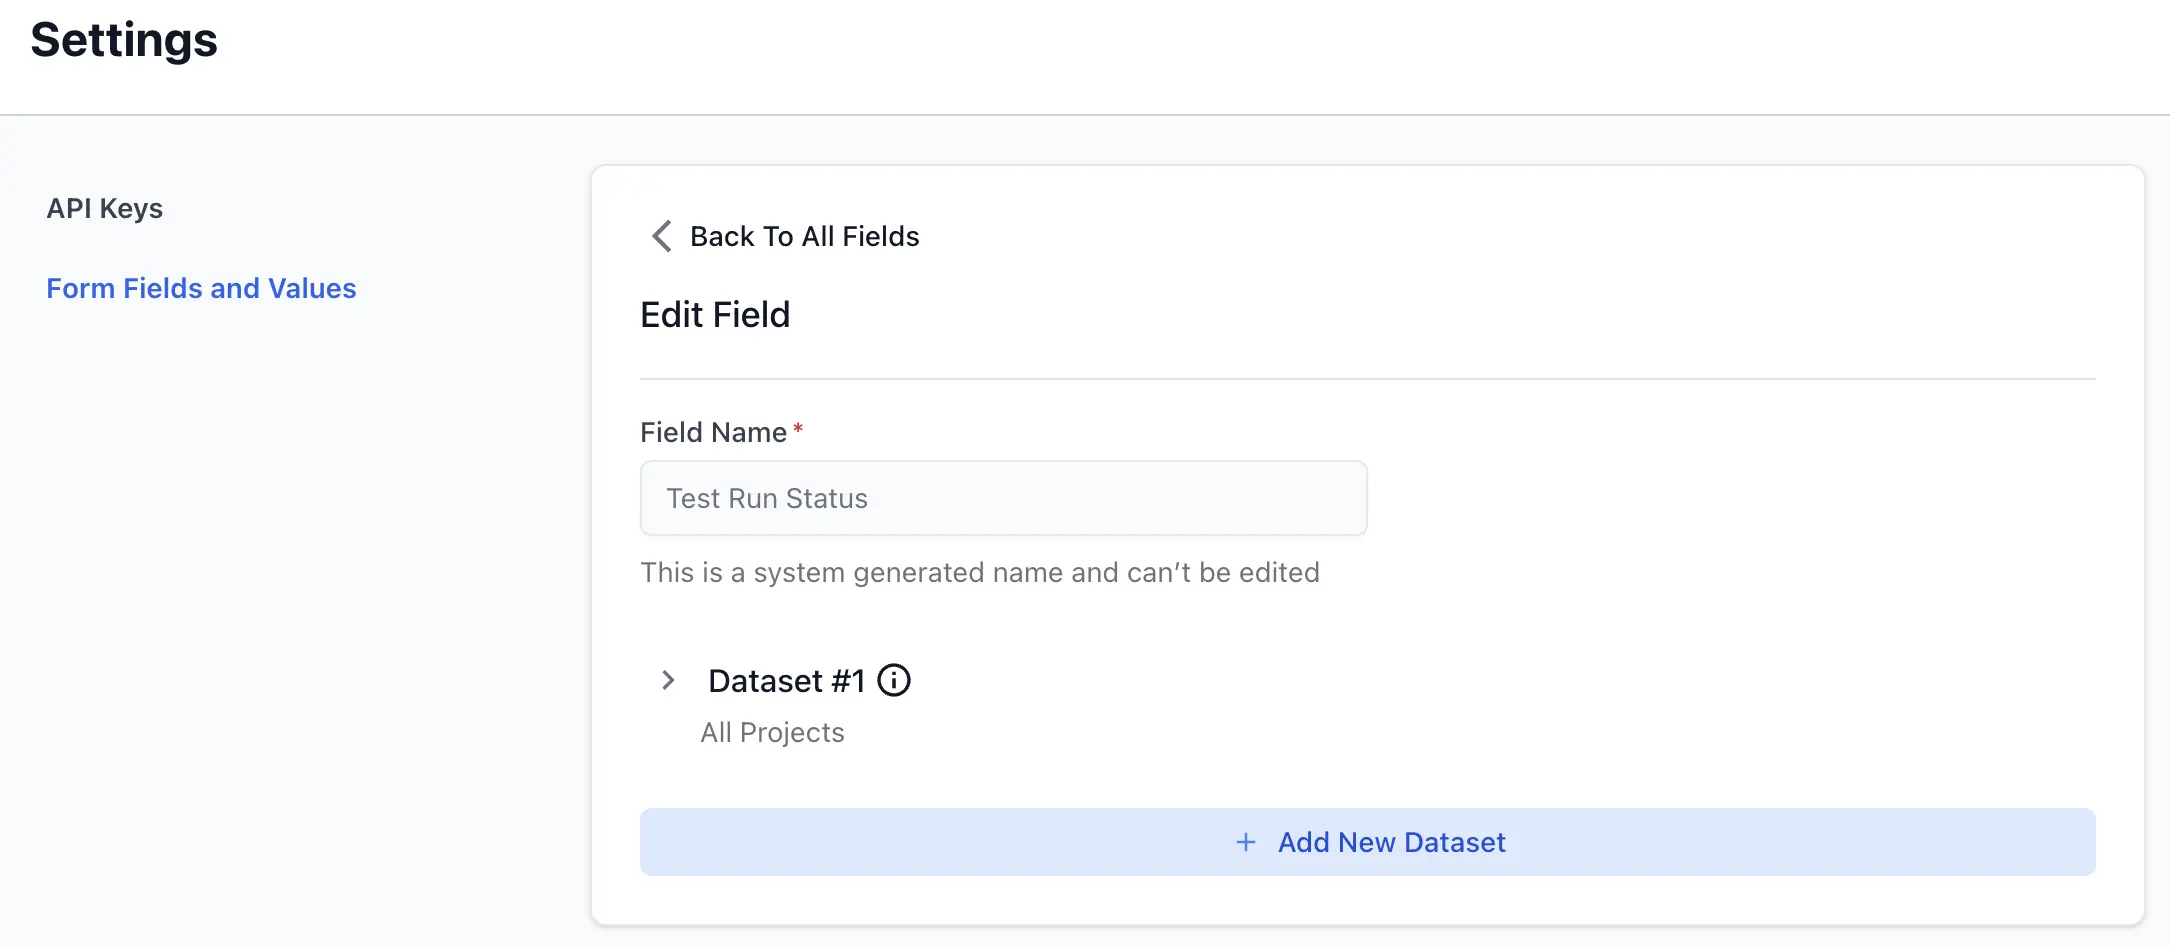
Your new dataset is created and by default all the system-defined values appear in the dataset.
-
Enter the name of the custom value in the Enter value name field.
- Click Color dropdown and select a color.
- Click Add Value.
- Click Update to link dataset to projects.
-
Select the projects where you want this custom result field to be available in test result forms.

Switch on the Apply to All Future Projects toggle to use this field to all future projects.
- Click Update.
The new dataset with custom values is created.
Edit custom values
You can edit the names of custom values to better reflect their purpose.
Follow these steps to edit custom values in the Test Runs Status field:
- Navigate to the dataset in the Test Runs Status field.
-
Click the kebab menu (three dots) next to the custom value you want to modify.
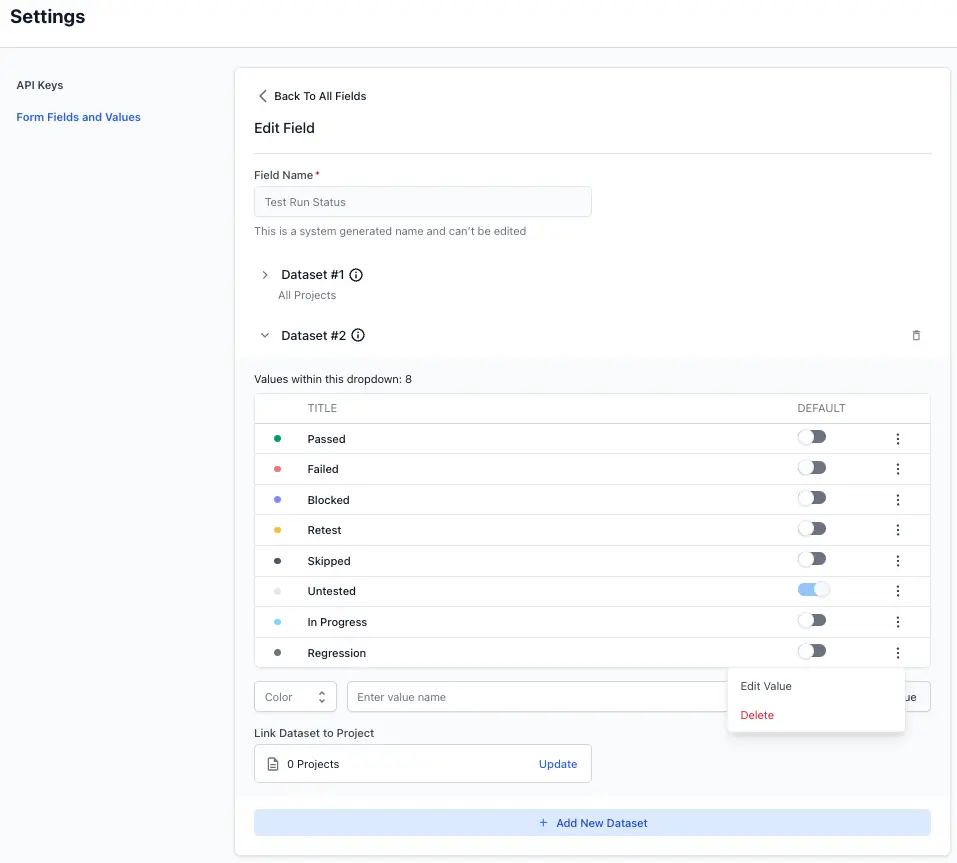
- Click Edit Value.
-
Update the name of the custom value in the text box and change the color as needed.
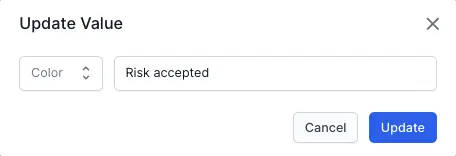
- Click Update to save the changes.
Your dataset is updated with the new custom value.
Apply test result field
To apply your test result field:
- Navigate to the project linked to the dataset.
- Go to the test run where the desired test case is available.
- Open the test case detail view and click Add Result.
Alternatively, you can click Add Notes under Status column.
-
Locate and add the required value in the custom field.
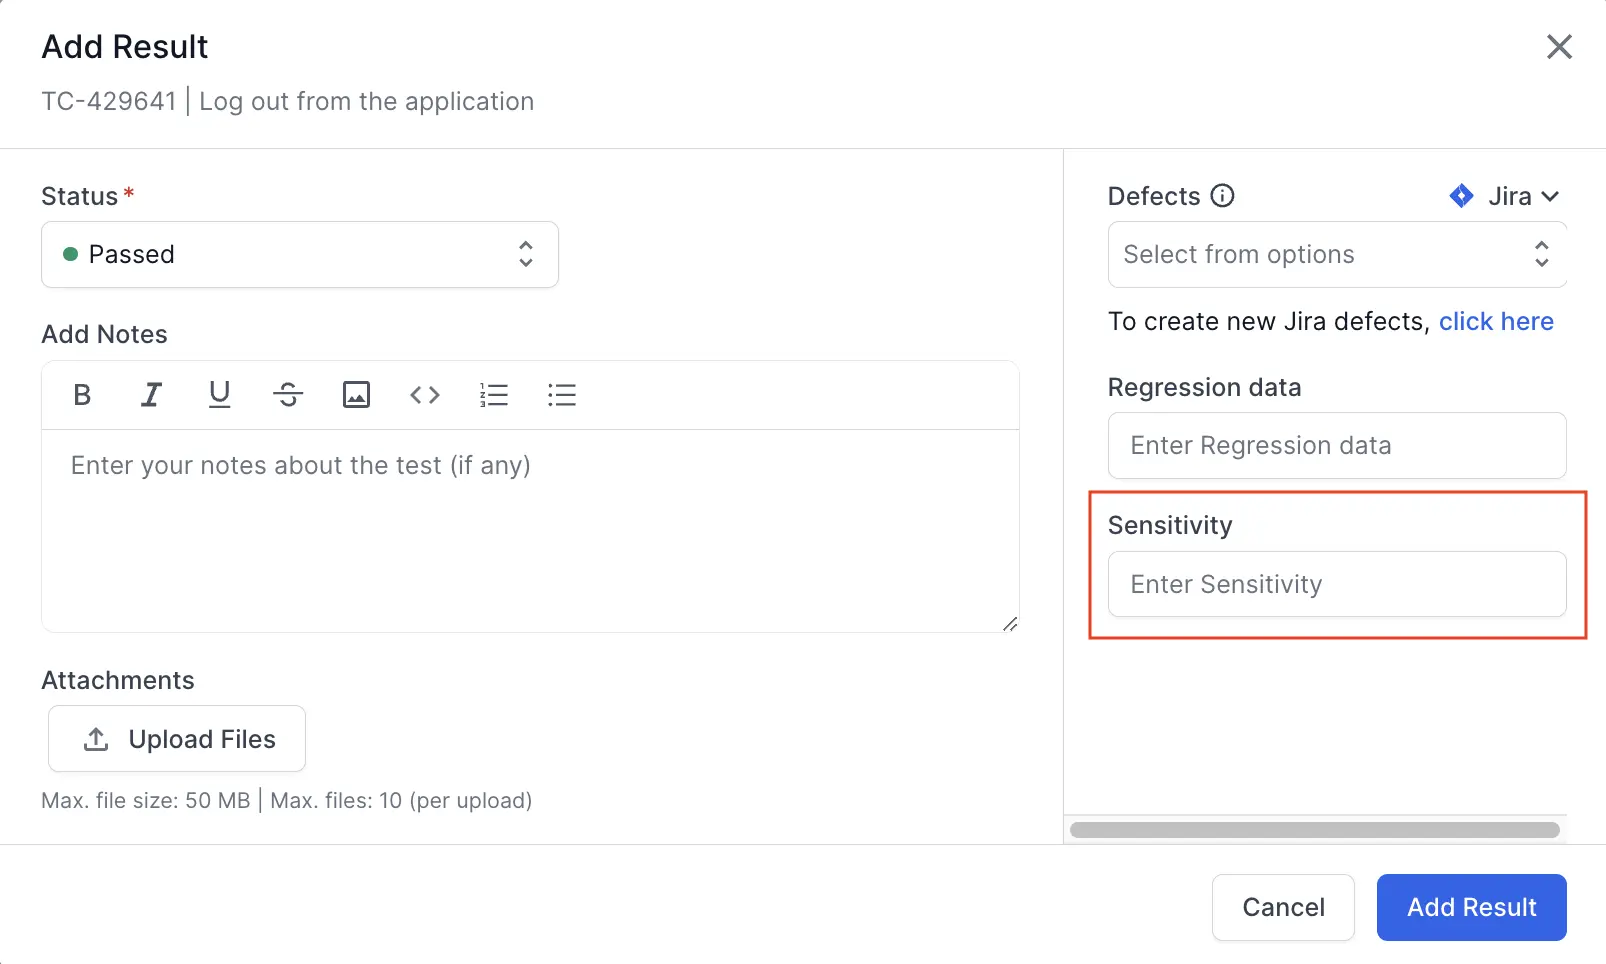
- Click Add Result.
Search custom result field
The Search functionality allows you to look up custom result field based on their Title within your custom result field list view. Quickly find the custom field you need by searching for its Title. Our intuitive search helps you locate the right entry without having to scroll or filter through long lists.
The search bar is visible above the list of custom result field in the list view.
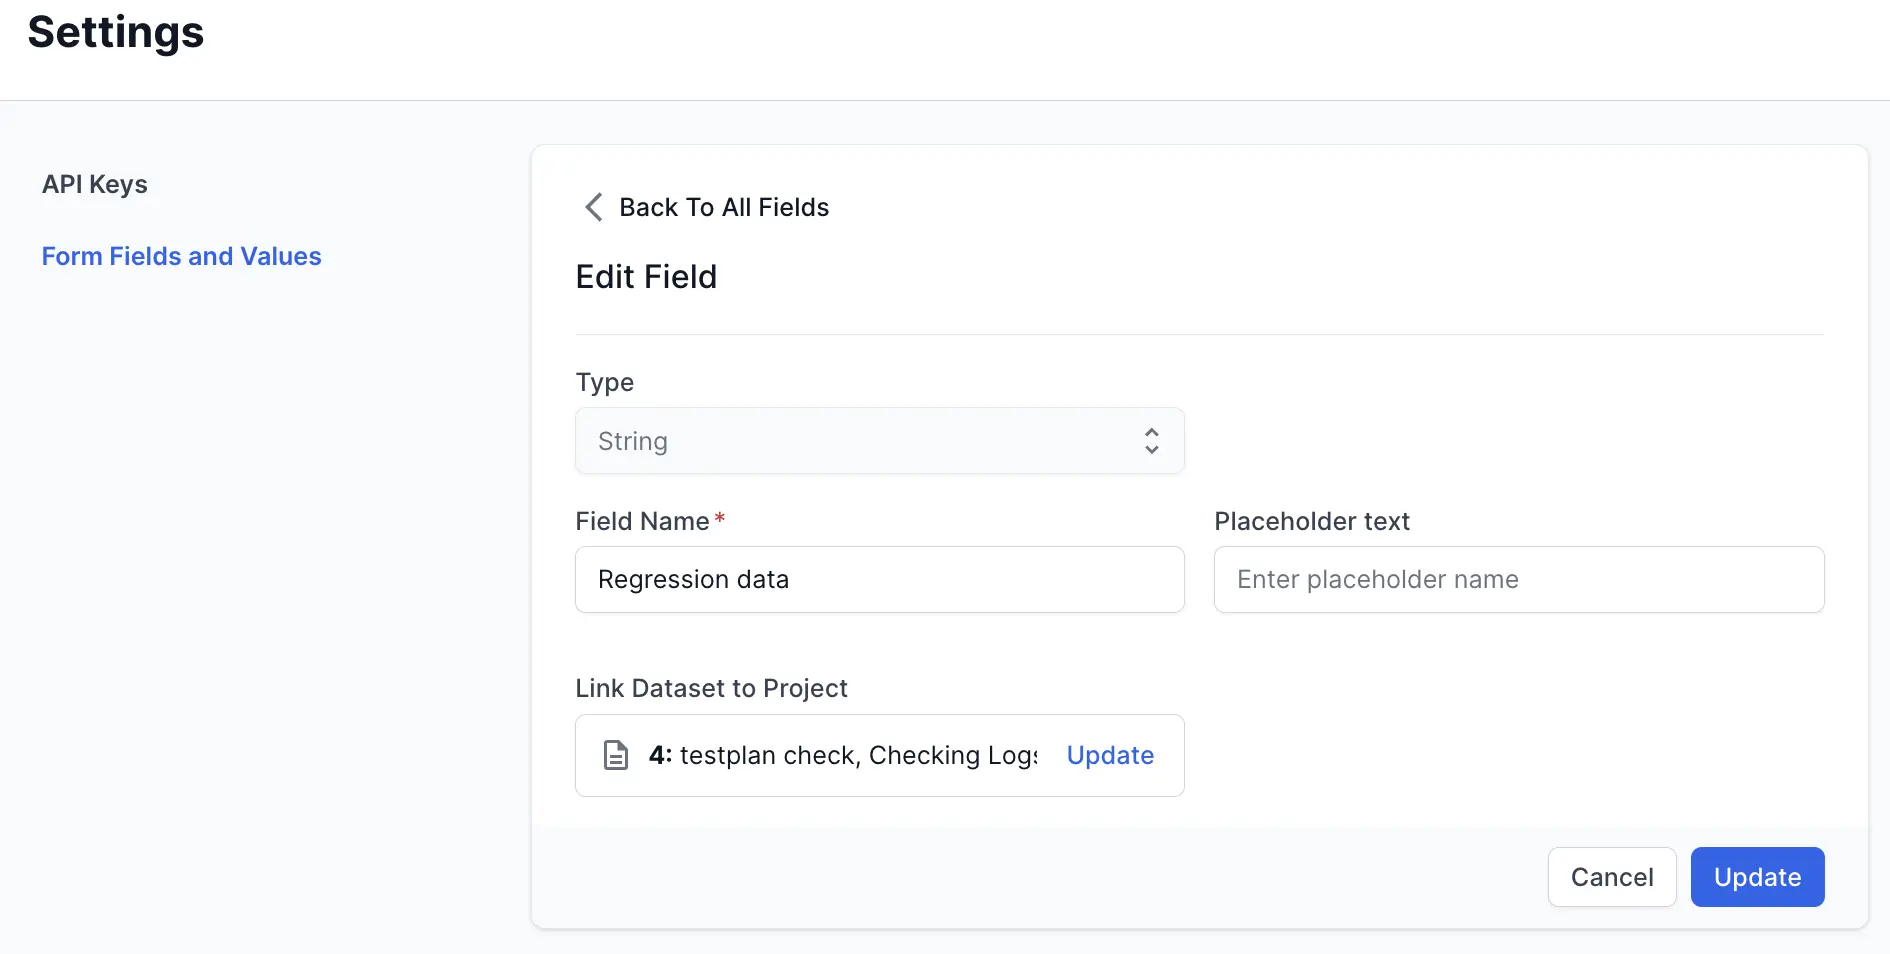
Update a custom result field
To update a custom result field follow these steps:
- Click the menu icon (three dots) on the right of the custom field you want to modify.
-
Click Configure Fields.
Make the necessary changes to the field name, placeholder text or required status.
-
Click Update.
The custom result field is updated and appears in the custom results field tab.
Delete a custom result field
When managing custom result fields, it is important to note that only the user who creates a custom field can delete it. System-defined fields cannot be deleted.
To delete a custom result field:
- Click the menu icon (three dots) on the right of the custom result field.
-
Click Delete.
-
Confirm the deletion by clicking Delete in the pop-up.

The custom result field is removed from the list view, and all test result forms in linked projects.
We're sorry to hear that. Please share your feedback so we can do better
Contact our Support team for immediate help while we work on improving our docs.
We're continuously improving our docs. We'd love to know what you liked
We're sorry to hear that. Please share your feedback so we can do better
Contact our Support team for immediate help while we work on improving our docs.
We're continuously improving our docs. We'd love to know what you liked
Thank you for your valuable feedback!