No Result Found

Run Windows OS session in Automate TurboScale

Automate TurboScale primarily runs sessions on Linux by default. However, with the latest update, you can pass the OS capability to execute test sessions on the Windows OS.

Running Windows sessions requires a Windows node pool in your cluster. If you have created a grid in an existing cluster, follow the steps below to add a Windows node pool.

Enable Windows OS support on existing cluster

To enable Windows OS support on your existing cluster, follow the configuration steps below for running sessions on Windows OS.

Prerequisite

Windows Node Pool
Ensure your cluster includes a Windows node pool. To run sessions on Windows OS requires the presence of a Windows node pool in your cluster.

How to add Windows node pool to your cluster

To enable Windows OS sessions, select the instructions specific to your cloud service provider. Click the respective tab for a detailed walkthrough.

Create Windows node pool in GCP

In this page, you learn how to add a Windows node pool to an existing GKE cluster. This enables you to run Windows containers alongside Linux containers within the same cluster.

Following are the steps to add a Windows node pool to an existing GKE cluster:

  1. Access the Google Cloud Console and locate your existing GKE cluster.
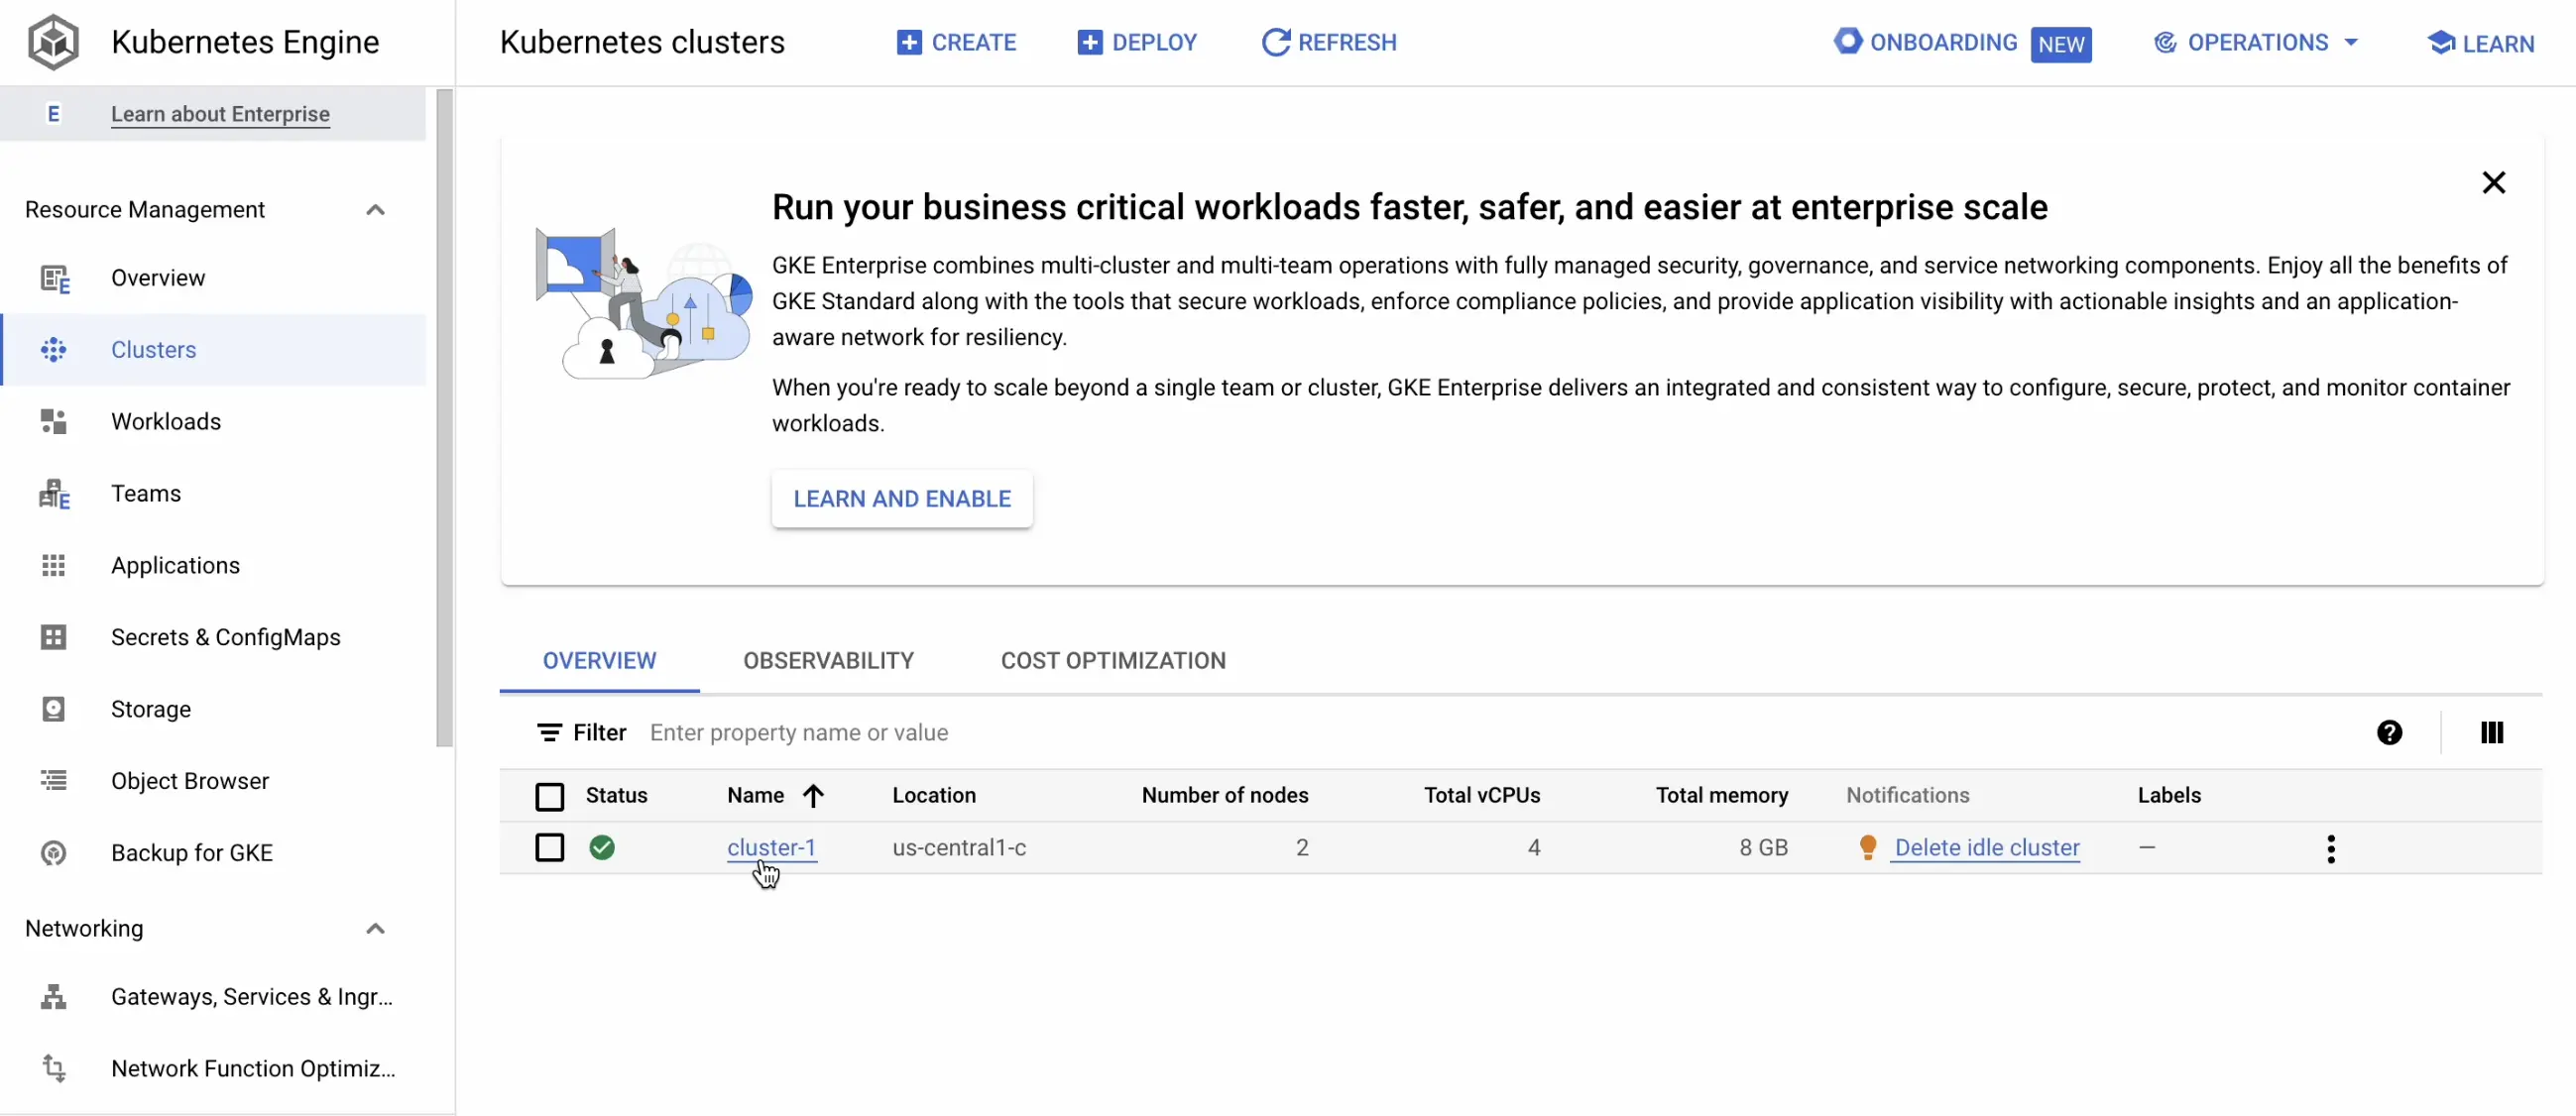
    Locate existing GKE cluster

  2. In the GKE cluster page, click Add Node Pool.
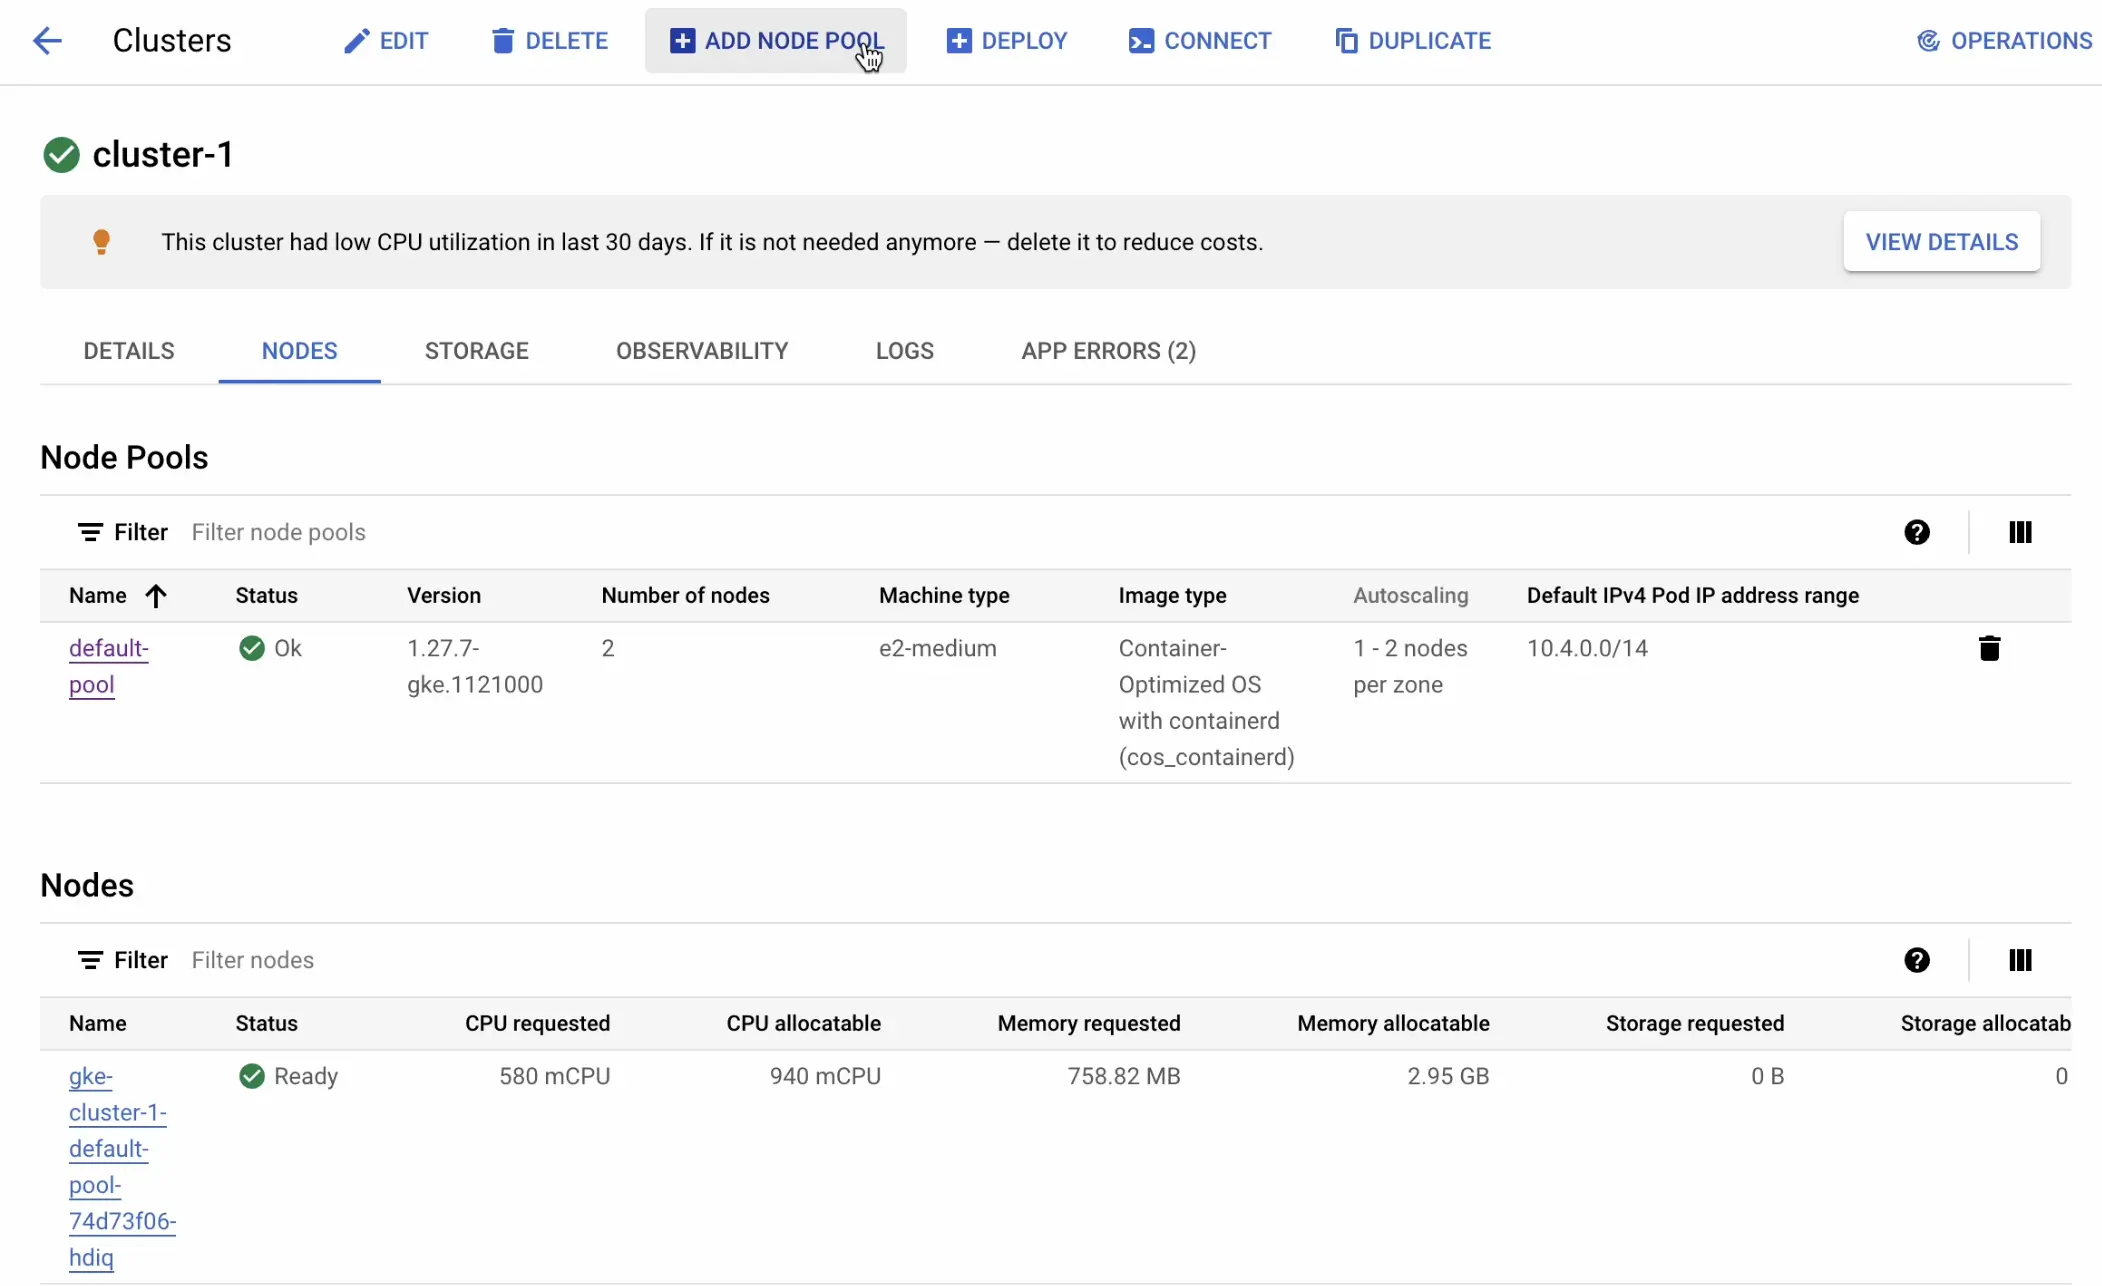
    Add node pool

  3. In Node pool details tab, configure:
    Name: Assign a descriptive name to the node pool (e.g., “windows-pool”).
    Enable cluster autoscaler: Check the box to enable automatic scaling of nodes based on workload demands.

    Node pool details

  4. In Nodes tab, configure node setting:
    Image Type: Select Windows Server LTSC as the image type.
    Machine type: Choose a VM instance type with a minimum of 2 CPUs and 2 GB of RAM.

    Nodes details

  5. In Security tab, configure:
    Service account: Select the appropriate service account for the node pool.

    Nodes security

  6. Click Create, to initiate the node pool creation process.
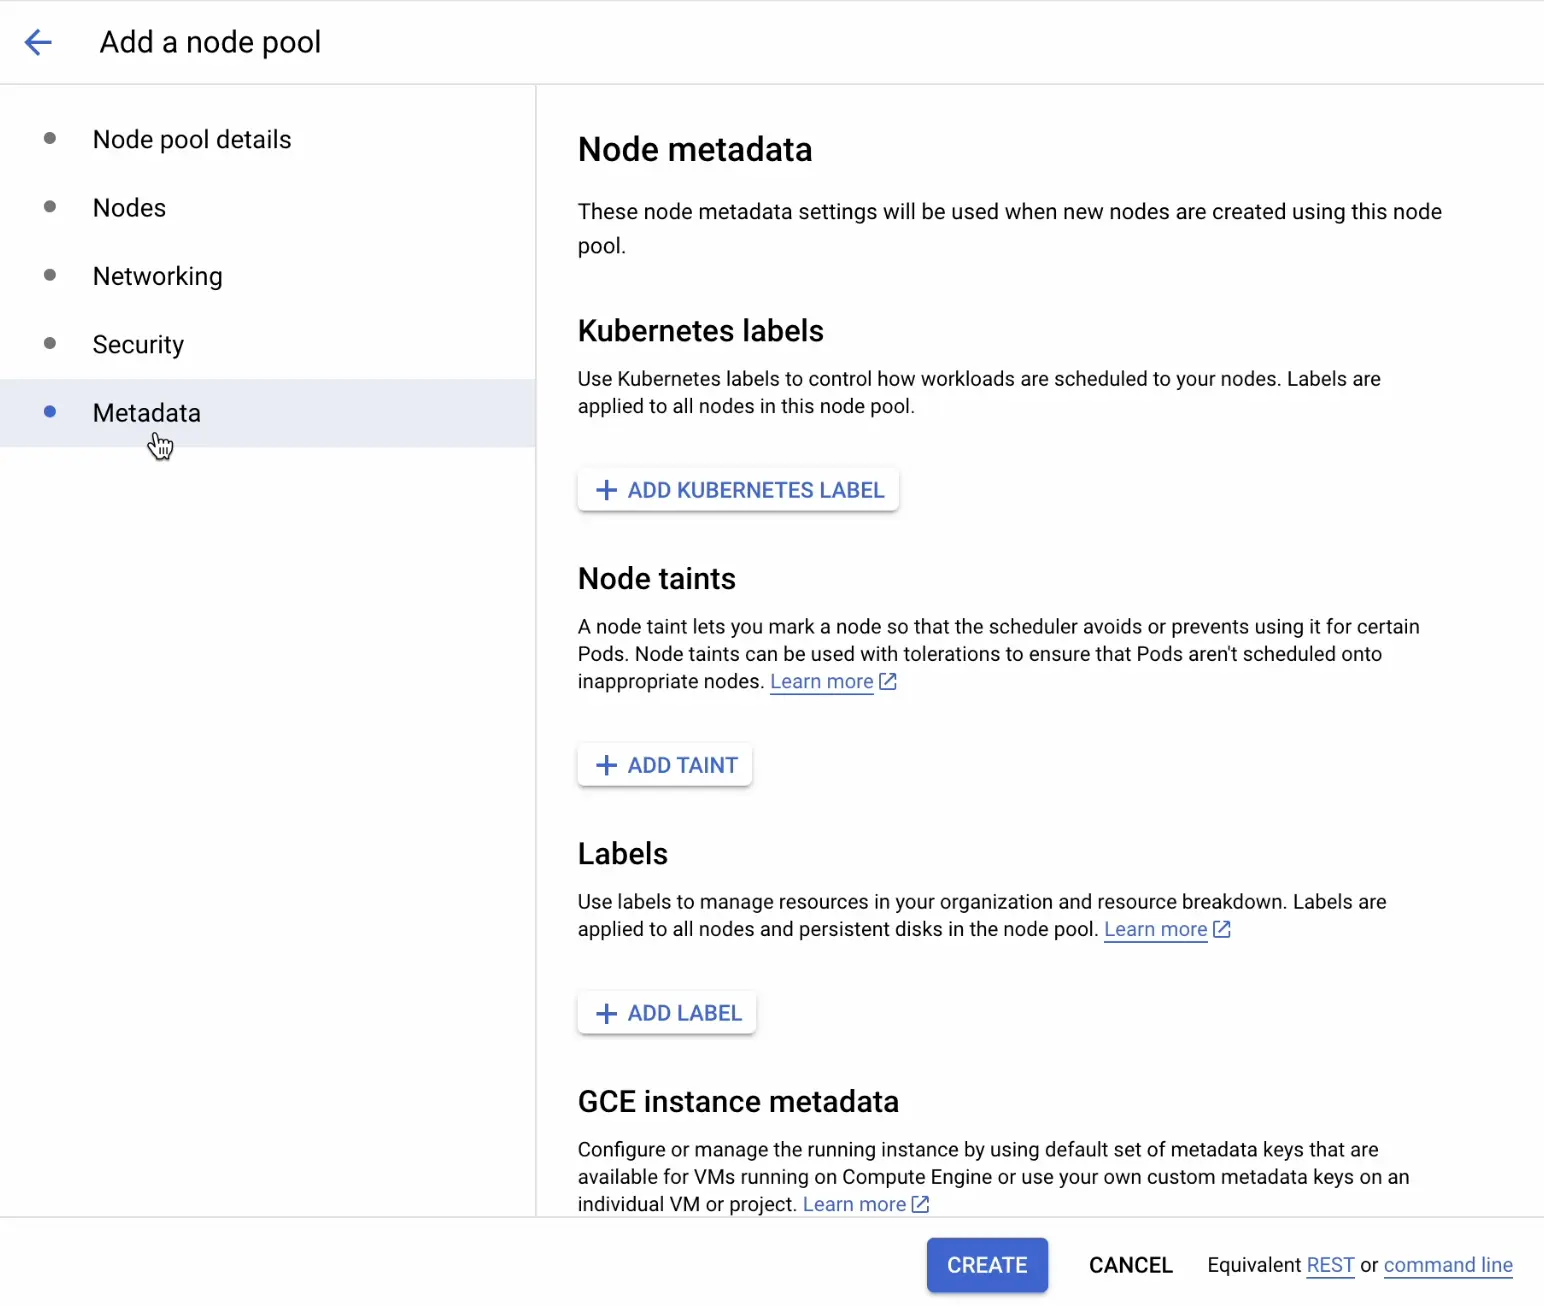
    Create node pool

Monitor the node pool creation status within the Google Cloud Console. The process typically takes a few minutes to complete. When the node pool is successfully created, verify its presence within the cluster’s node pools list.

Create Windows node pool in Amazon EKS

In this page, you learn how to add a Windows node pool to an existing EKS cluster. This enables you to run Windows sessions within the same cluster.

Prerequisite

Before proceeding, ensure you have enabled Windows support in your Amazon EKS cluster. For a detailed walkthrough, see Enable Windows support in Amazon EKS.

After Windows support is enabled, follow these steps to add the Windows node pool to your existing EKS cluster:

  1. Access the Amazon EKS console and locate your existing EKS cluster.

    Locate existing EKS cluster

  2. In the EKS cluster page, click Compute tab.

  3. Locate and click Add node group.

    Add node group

  4. Configure node group:
    Name: Assign a descriptive name to the node pool (e.g., “windows-pool”).
    Node IAM role: Select the relevant role.

    Configure node group

  5. Click Next.
  6. Configure Set compute and scaling configuration:
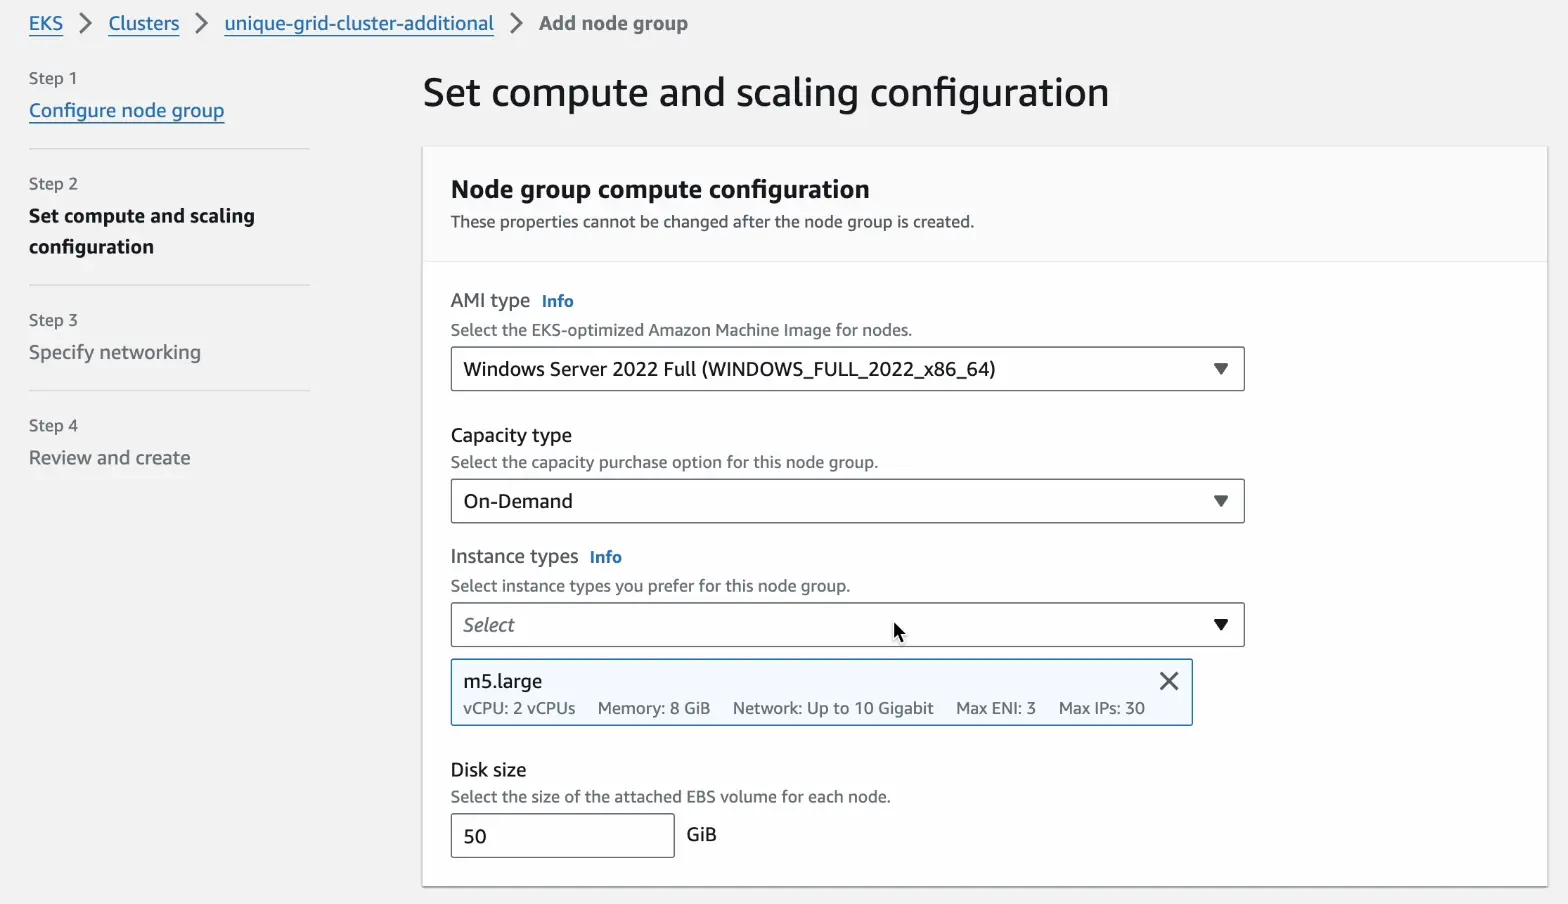
    AMI type: Select the applicable Windows Server.

    Configure AMI type

  7. Click Next.
  8. Review Specify networking tab, and click Next.
  9. Review the new node group configuration in the Review and create tab and click Create.

    Review node group configuration

The minimum requirement for the system is to have 2 vCPUs and 2 GB of memory.

Monitor the node pool creation status within the Amazon EKS console. The process typically takes a few minutes to complete. When the node pool is successfully created, verify its presence within the cluster’s node pools list.

Create Windows node pool in Azure

In this page, you learn how to add a Windows node pool to an existing AKS cluster. This enables you to run Windows sessions within the same cluster.

Following are the steps to add a Windows node pool to an existing GKE cluster:

  1. Access the Azure portal and locate your existing AKS cluster.
  2. Within the cluster’s page, click Add a Node Pool.
  3. In Basics tab, configure:
    Node pool name: Assign a descriptive name to the node pool (e.g., “windows-pool”).
    OS SKU: Select Windows.
    Node size: Click Choose a size and select the required VM size.
    Maximum node count: Enter a numerical value of maximum node counts allowed for an AKS cluster.

    Add node pool

  4. Click Review+Create.

    Click Review+Create

    A Validation passed notification appears.

  5. Click Create.

A notification Adding node pool appears in the console. The process typically takes a few minutes to complete. When the node pool is successfully created, verify its presence within the cluster’s node pools list.

After adding the node pool to your cluster, you can run sessions by passing the Windows OS capability.

Capability Description Expected values
os OS you want to test on windows

We're sorry to hear that. Please share your feedback so we can do better

Contact our Support team for immediate help while we work on improving our docs.

We're continuously improving our docs. We'd love to know what you liked


Thank you for your valuable feedback

Is this page helping you?

Yes
No

We're sorry to hear that. Please share your feedback so we can do better

Contact our Support team for immediate help while we work on improving our docs.

We're continuously improving our docs. We'd love to know what you liked


Thank you for your valuable feedback!

Talk to an Expert
Download Copy Check Circle