Visual Git
Visual Git base snapshot selection strategy for your visual test workflow.
Visual Git is a specially designed visual version control system, where App Percy does not rely on Git commit information. In this case, Percy establishes a branchline, which is the central repository for every branch, containing all approved snapshots. The primary advantage is maintaining an independent snapshot repository for your branch and merging changes back to a central repository, enabling your entire team to utilize the updated central repository.
-
Baseline: This refers to the central repository, usually the master or main branch in your project settings. It serves as the definitive source containing all approved snapshots from which other branches can branch out.
-
Branchline: Each branch has its own set of snapshots, collectively known as a branchline. These are the approved visuals for that particular branch.
Key features include the ability to synchronize or merge branchlines with the central repository. Whether you’re choosing selective snapshot synchronization or a full merge, you have control over how changes integrate, ensuring that your visual tests are always up to date.
-
Sync from Master: This feature helps you update a branchline with snapshots from the baseline. This ensures that the branchline stays up to date with the approved visuals from the master. You can sync all snapshots from the master branchline (Sync All) or choose specific ones (Selective Snapshots Sync).
-
Merge to Master: This feature enables you to incorporate approved snapshots from a feature branch into the master branchline, offering the options to merge all snapshots or selectively choose specific ones into the master branchline.
The latest approved snapshots from the earlier builds will be used as the base snapshots for the current build’s snapshots.
The following diagram shows how Visual Git works:

Visual Git Strategy Example:
QA/SDET are responsible for release with complete CI/CD setup in place, where as developers co-share the responsibility.
Developer A works on a new feature in a dedicated branch. They create 10 builds during development and compare changes against the current production version using the Git strategy. Once development is finished, they initiate a PR to merge into the staging environment. The QA team handles regression testing and proceeds with releases only when everything clears the tests.
During visual regression, the QA team employs the Visual Git strategy to test the changes against the previous production release. This involves comparing against the latest approved snapshots in the main or base branch as per the project configurations.
How are the base builds selected with Visual Git?
The following describes how your base builds are selected with the Visual Git strategy:
Percy’s snapshot-based approval feature enables you to review and make decisions on the visual changes detected in your application. By comparing the before and after snapshots in a build, you can validate and approve individual snapshots or the build as a whole.
When Percy branches a feature from the master, they establish a dedicated branchline tailored to the feature branch within its environment. If there are approved snapshots in the baseline, Percy incorporates them into this branchline; otherwise, it remains empty initially. Subsequently, as builds are initiated on this branchline, Percy evaluates the captured snapshots for approval. Approved snapshots are then copied into the branchline, serving as the foundation for subsequent comparisons. During comparisons, existing approved snapshots in the branchline are compared, and any newly approved snapshots are seamlessly integrated, ensuring a synchronized and evolving environment for the feature branch.
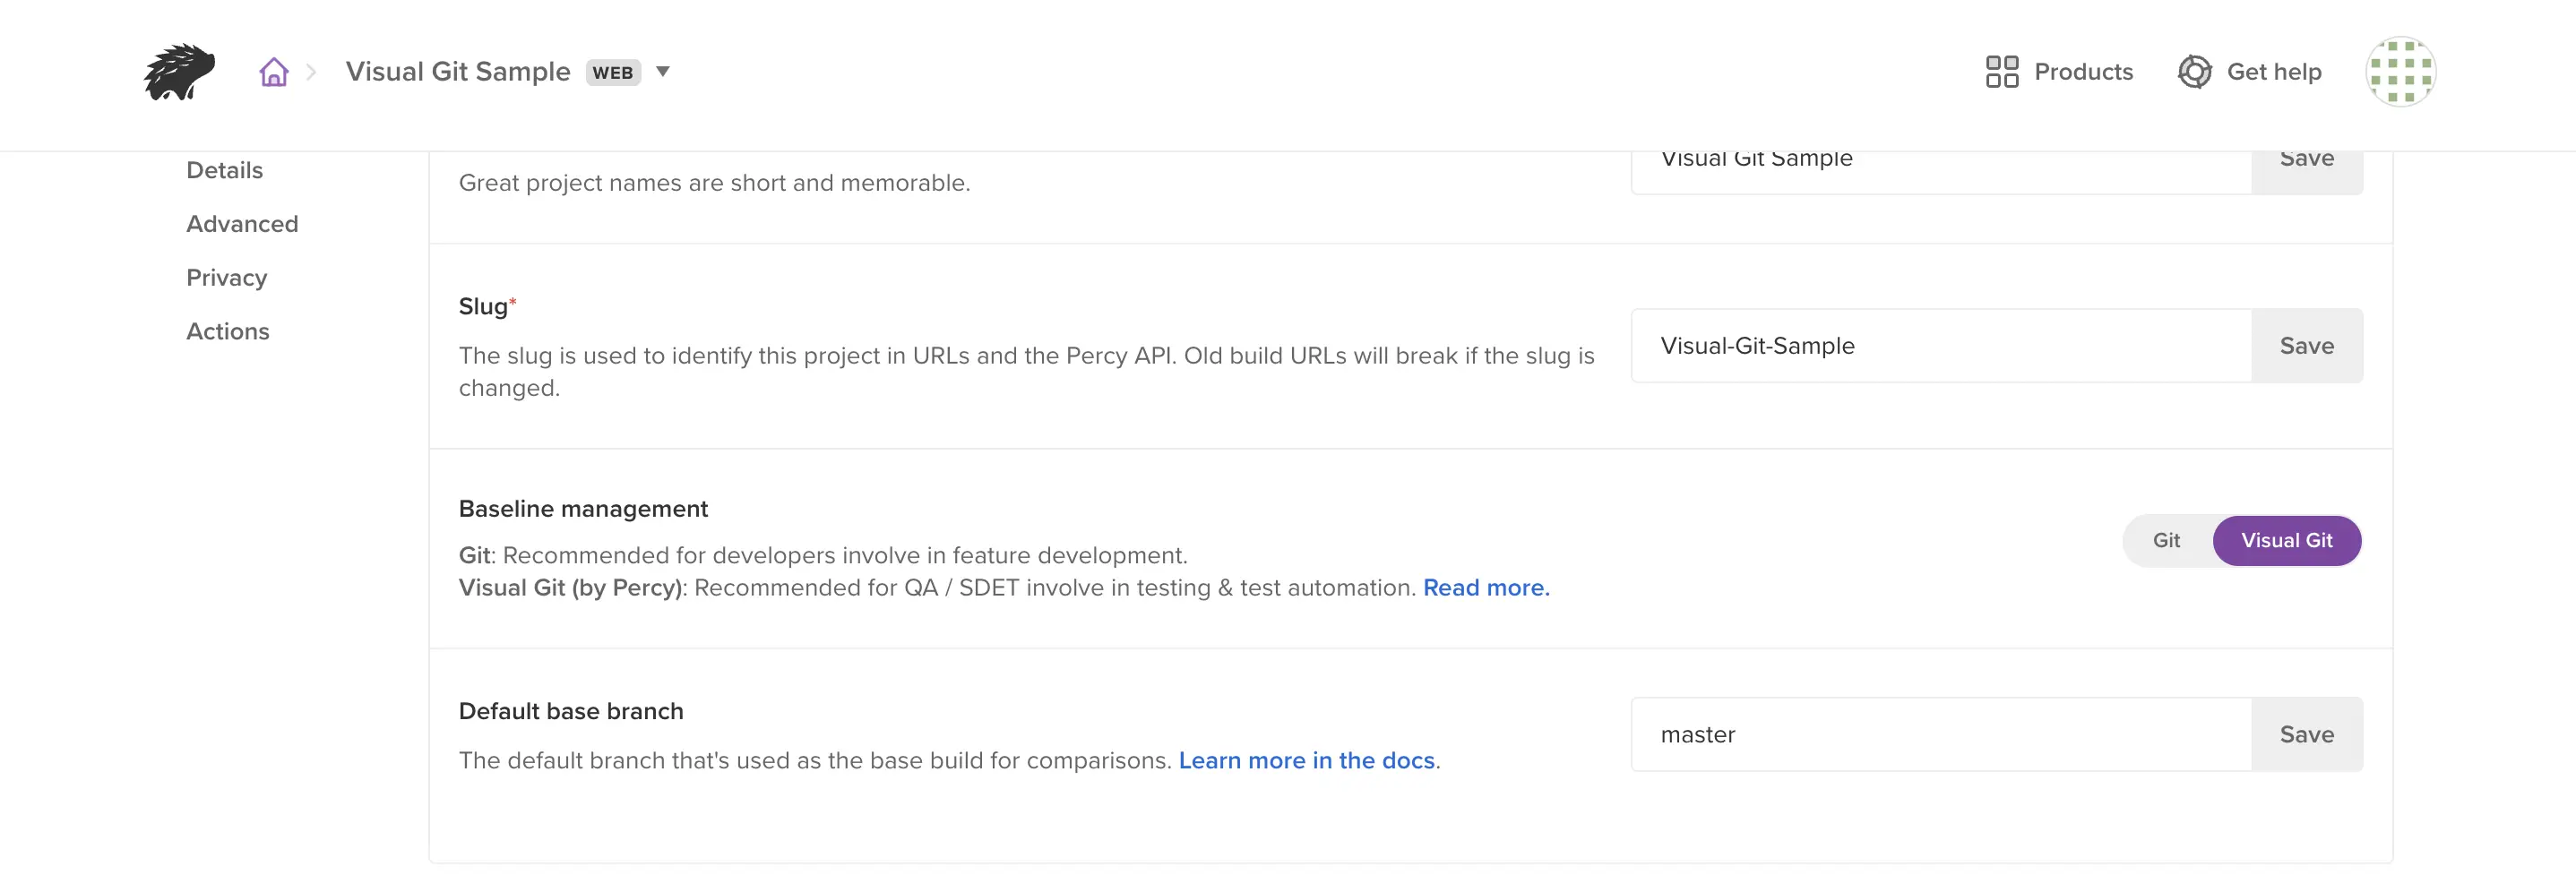
Default base branch
When Percy generates screenshots, it organizes the screenshots into snapshots, and the snapshots into a build. Subsequently, new screenshots undergo comparison with baseline screenshots from a prior build.
By default, Percy uses “master” as the default base branch. You can configure a branch to serve as the default base for comparisons. If your Git project’s main branch has a different name, it’s important to update your Percy settings to match. This ensures smooth integration and accurate visual reviews. Configuring the default base branch ensures that all subsequent branches derive their baseline for comparisons from the specified default base branch.
If the default branch is not set as ‘master’ and no branch is specified, Percy comparisons are not possible in that scenario.
Setting the projects default base branch
If your projects default branch is different from master, you will want to update your App Percy projects settings to mirror that. By default, App Percy uses master as the default branch, but it’s not uncommon for teams to use a branch like develop as the main development branch.
To update this setting, you will need to go to your projects settings page. Once you’re on the settings page, look for a “Default base branch” heading under “Project Details”and update the “Default base branch” input.

We're sorry to hear that. Please share your feedback so we can do better
Contact our Support team for immediate help while we work on improving our docs.
We're continuously improving our docs. We'd love to know what you liked
We're sorry to hear that. Please share your feedback so we can do better
Contact our Support team for immediate help while we work on improving our docs.
We're continuously improving our docs. We'd love to know what you liked
Thank you for your valuable feedback!
