Percy specific CSS
Learn how to apply Percy-specific CSS to ignore areas from being rendered by Percy
Percy provides a powerful way to take control of rendering to do whatever you want – ignore regions, stabilize dynamic elements, etc.
Percy’s way to do this is something we call “Percy-specific CSS”, which is only applied in the Percy rendering environment. You can use any CSS and it’ll only be rendered in Percy’s rendering environment. This can be very helpful for ignoring regions, hiding areas that produce false-positive visual diffs, or when you’d like more specific control over the state of UI elements like visualizations and animations.
- This applies to both BrowserStack SDK and Percy SDK.
- Use
percy_snapshotfunction if you’re using the Percy SDK for web projects. For Automate projects with the Percy SDK or when using the BrowserStack SDK, usepercy_screenshotfunction.
You can apply Percy specific CSS in most SDKs without editing your site or applications CSS files. This can be done by passing a percyCSS option via the options object. For example:
await percySnapshot('Home page', {
  percyCSS: `iframe { display: none; }`
});
Percy snapshot
You can also configure global Percy CSS via the .percy.yml file:
version: 1
snapshot:
  percy-css: |
    iframe {
      display: none;
    }
Priority between snapshot level Percy CSS and global Percy CSS
There can be the case when we want certain CSS to get applied on all snapshots and particular CSS on specific snapshot. For this in Percy user can provide both the global CSS and snapshot level CSS by providing the configurations mentioned above.
In these cases we merge the Percy CSS from both the configs to be applied on the snapshot.
-
Snapshot Level Percy CSS:
p { font-size: 2em; } -
Global Percy CSS :
p { color: purple; }
The final Percy CSS that would be applied on snapshot would look like :
p { color: purple; }
p { font-size: 2rem; }
We give priority to snapshot level CSS over global CSS in the case where same selector is modifying same property.
-
Snapshot Level Percy CSS :
p { background-color: yellow !important; } -
Global Percy CSS :
p { background-color: green !important; }
The final Percy CSS that would be applied on snapshot would look like:
p { background-color: green !important; }
p { background-color: yellow !important; }
In this case we merged Snapshot Level CSS later which leads to higher priority according to CSS Specificity Rules an hence in final rendered snapshot background-color of p tag would be Yellow.
Percy CSS does not change specificity
Percy CSS is appended to the bottom of the </body> tag to help with order, but it’s likely you will need to out-specify your applications CSS (with !important or otherwise).
Consider an example to understand specificity rules:
-
Snapshot level Percy CSS:
p { background-color: yellow; } -
Global Percy CSS:
p { background-color: green !important; }
Now in this case although snapshot level CSS has higher priority, but due to !important keyword in Global CSS that would take priority over Snapshot Level CSS according to CSS specificity rules and hence in final rendered snapshot, background-color of p tag would be Green.
Final merged Percy CSS would look like :
p { background-color: green !important; }
p { background-color: yellow; }
Percy CSS @media query
You can do so using the @media only percy CSS media query. CSS that is nested under this media query will only apply in Percy and will not affect your normal pages outside of Percy.
For example, you might have an element that renders differently each time and you want Percy to ignore that element. You can use Percy specific styles to achieve this.
Let’s say you want to apply a hide-in-percy class to elements you want hidden in Percy. Here’s how you can do that:
@media only percy {
  .hide-in-percy {
    visibility: hidden;
  }
}
And your page would have HTML like this:
<div class="hide-in-percy">an element we know we want to ignore in visual tests</div>
The class names don’t have to be Percy specific, you can put any normal CSS selectors and rules that you want in the media query and they will only be applied when rendering in Percy.
@media only percy {...}.
Percy CSS @media query for Storybook
When using Storybook, you can provide percyCSS along with other common options either with story percy parameters or using a Percy config file.
In order to use the Percy CSS media query with Storybook snapshots, you need to modify the Storybook’s preview-head.html file to serve static CSS overrides. This is because Percy uses a content-type-based system to apply styles to HTML and CSS files, and CSS-in-JS breaks this paradigm. See the storybook documentation for how to add custom head tags to your project. Here’s an example of a preview-head.html file that includes a default stylesheet, and adds a .hide-in-percy class styling:
<link rel="stylesheet" type="text/css" href="default.css">

<style>
@media only percy {
  .hide-in-percy {
    visibility: hidden;
  }
}
</style>
You would then add a percy-specific className attribute to your component the example show className as per React syntax:
<div className="hide-in-percy">
  <img src="https://i.giphy.com/bcKmIWkUMCjVm.gif" alt="Bom dia"/>
</div>
You can see a complete example of this technique in this pull request.
Debugging Storybook Percy-Specific CSS
It may be helpful to render your storybook project to a static build in order to debug any changes. See the Storybook documentation for details on how to do this. Once you have generated a static version of your app, you can remove the surrounding @media only percy block in the markup to preview your Percy-specific styles in your browser.
Screenshot Issue
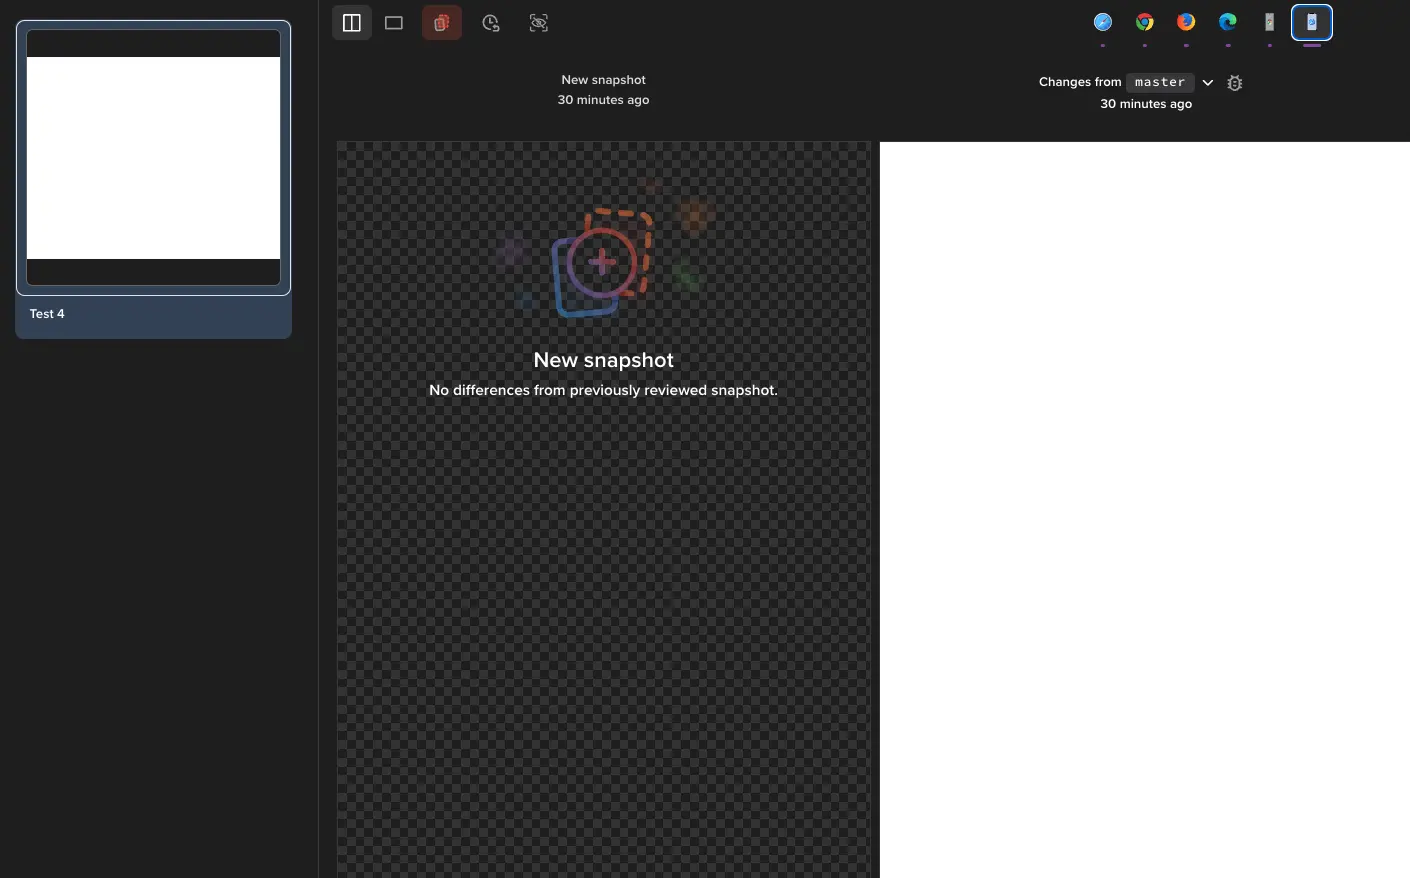
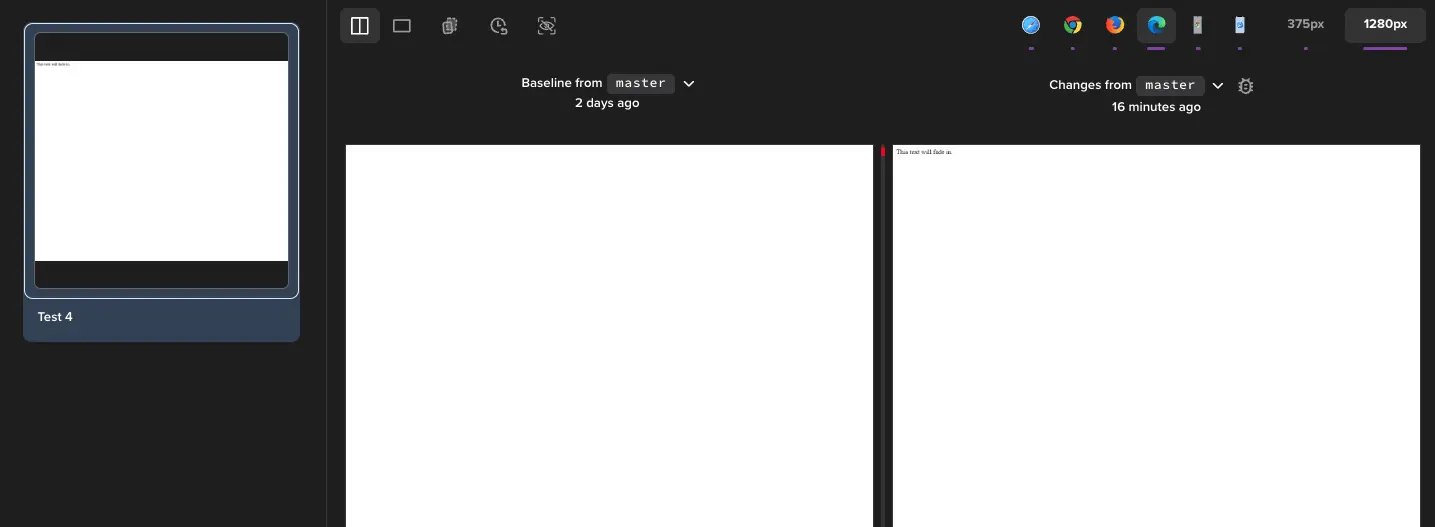
If an animated element isn’t rendering correctly in Percy, it may be because Percy disables animations initially to maintain page stability. If the element is hidden or has opacity: 0 at the start, it might not render since the animation is blocked. To fix this, use Percy-specific CSS to make the element visible or display it in its final state.
Here’s an example to illustrate this approach:
<!DOCTYPE html>
<html lang="en">
<head>
    <meta charset="UTF-8">
    <meta name="viewport" content="width=device-width, initial-scale=1.0">
    <title>Fade-In Animation Example</title>
    <style>
        .hidden {
            opacity: 0;
        }
        .fade-in {
            opacity: 0;
            animation: fadeIn 2s forwards;
        }
        @keyframes fadeIn {
            to {
                opacity: 1;
            }
        }
    </style>
</head>
<body>
    <div id = 'hidden-ele' class="hidden fade-in">This text will fade in.</div>
</body>
</html>
});
The element starts with opacity: 0 and gradually changes to opacity: 1 during the animation. However, because Percy disables animations, this element won’t be visible in Percy.

Now, apply the following percyCSS code to the animated element to make it visible (or in its final state).
await percySnapshot(driver, 'Fading_element', {
      percyCSS: `.hidden {
          opacity: 1
          }`
    })
After applying the percyCSS code, the element will render in its final state and be visible.

We're sorry to hear that. Please share your feedback so we can do better
Contact our Support team for immediate help while we work on improving our docs.
We're continuously improving our docs. We'd love to know what you liked
We're sorry to hear that. Please share your feedback so we can do better
Contact our Support team for immediate help while we work on improving our docs.
We're continuously improving our docs. We'd love to know what you liked
Thank you for your valuable feedback!
