Your guide to running tests using C# SDK on BrowserStack’s Playwright Grid of 100+ browser-OS combinations.
This section covers running your first build with BrowserStack’s sample repo. To run builds with your existing test suite(s), skip to integrate your test suite.
Prerequisites
BrowserStack Username and Access key. You can find this in your account profile section. If you do not have an account yet, sign up for a Free Trial.
If you are using Mac computers with Apple silicon chips, use the BrowserStack SDK CLI workflow.
Run a sample build
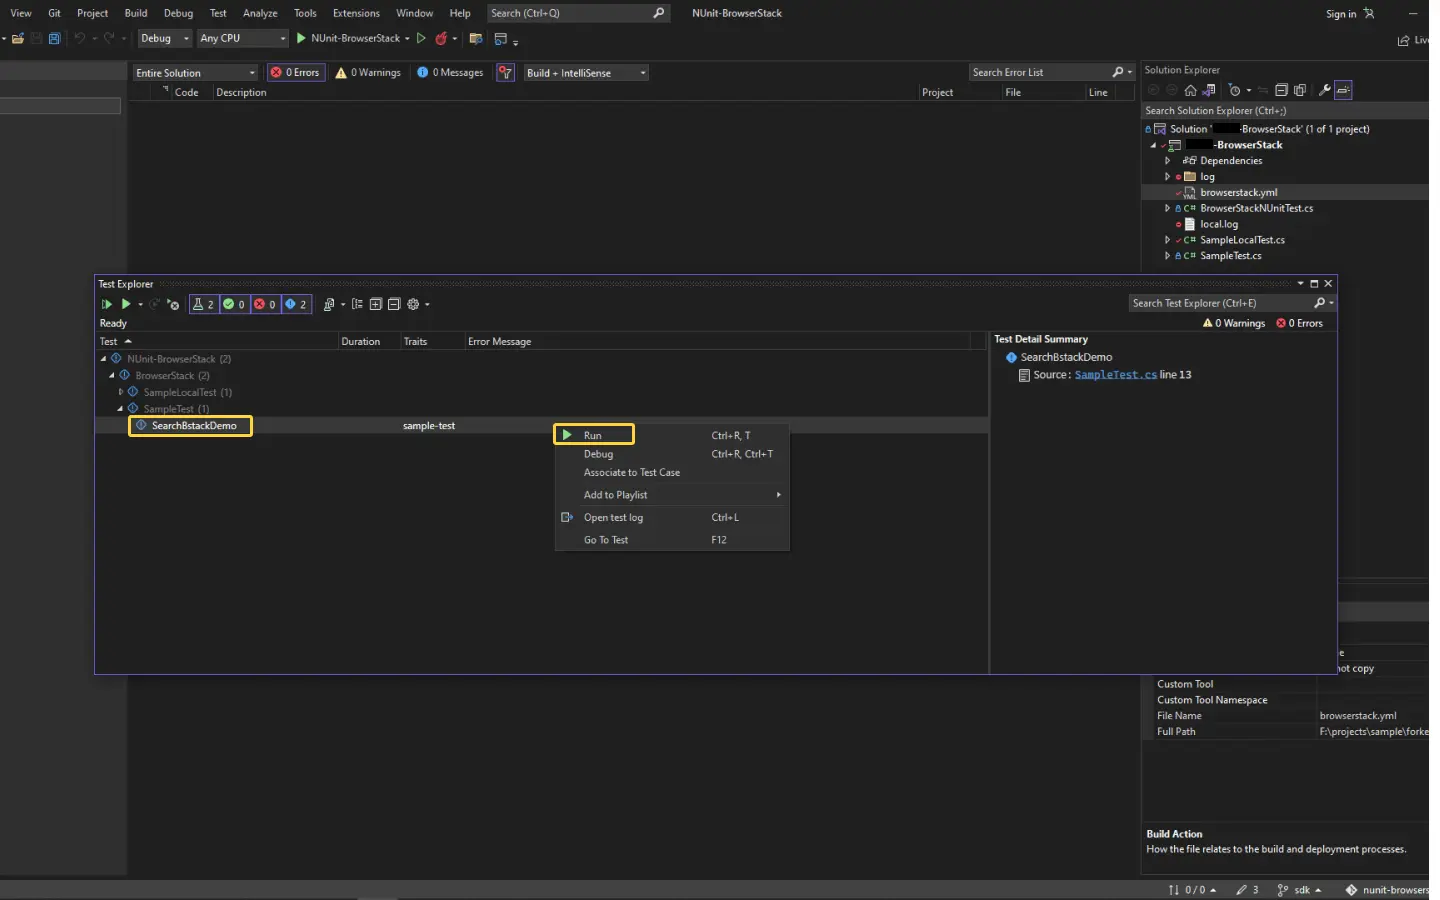
Run a sample C# test build, which is based on the NUnit, using your preferred method on BrowserStack:
After downloading the sample project, unzip it in a desired location.
Import the downloaded project
Click File > Open. Navigate to your project and open it.
Configure your browserstack.yml config file
The browserstack.yml file holds all the required capabilities to run your tests on BrowserStack.
Set access credentials
Set userName and accessKey parameters in the browserstack.yml file, available in the root directory, to authenticate your tests on BrowserStack.
Specify platforms to test on
Set the browsers/OS you want to test under the platforms object. Select over 100+ browsers-OS combinations from the list of supported browsers and OS.
Update the browserstack.yml config file
Copy and replace the following config in the browserstack.yml file available in the root directory of the project. Note that the values in the platforms section are sample values. Replace them with the browser-OS combination of your choice.
<path> - Mention the absolute path to the directory where you want to save dotnet x64
<version> - Mention the dotnet version which you want to use to run tests
This command performs the following functions:
Installs dotnet x64
Installs the required version of dotnet x64 at an appropriate path
Sets alias
Sets an alias for the dotnet installation location on confirmation (enter y option)
The command sets the installation path in your ~/.zshrc (zsh) or ~/.bashrc (bash) profile and you can use this alias to run your tests later. If you choose not to set the alias, when you run the tests, you have to use the entire path to the installation location on every test run.
Configure your browserstack.yml config file
The browserstack.yml file holds all the required capabilities to run your tests on BrowserStack.
Set access credentials
Set userName and accessKey parameters in the browserstack.yml file, available in the root directory, to authenticate your tests on BrowserStack.
Specify platforms to test on
Set the browsers/OS you want to test under the platforms object. Select over 100+ browsers-OS combinations from the list of supported browsers and OS.
Update the browserstack.yml config file
Copy and replace the following config in the browserstack.yml file available in the root directory of the project. Note that the values in the platforms section are sample values. Replace them with the browser-OS combination of your choice.