Introduction to UI Testing in Flutter
The Nerdy Geek, Community Contributor - February 11, 2022
Flutter framework, designed by Google, is a free and open-source framework for building natively compiled and multi-platform applications from a single codebase. Flutter apps can be developed once and cross-compiled for numerous platforms – Android, iOS, Linux, Mac, Windows, Google Fuchsia, and the web.
Flutter has become very popular over the last few years due to its capability of creating multi-platform apps.
This article will explore Flutter UI Testing in some detail.
UI Testing in Flutter
Writing UI tests on Flutter is not that different from other mobile technologies. Its the interaction between the user and the application which is important in both cases.
In order to enable the creation of UI tests, Flutter provides the flutter driver package which, provides tools to create instrumented apps and drive those apps from a test suite.
Before proceeding with the actual process, let’s take a moment to recognize that all UI tests in Flutter (or any framework) must ideally be run on real devices.
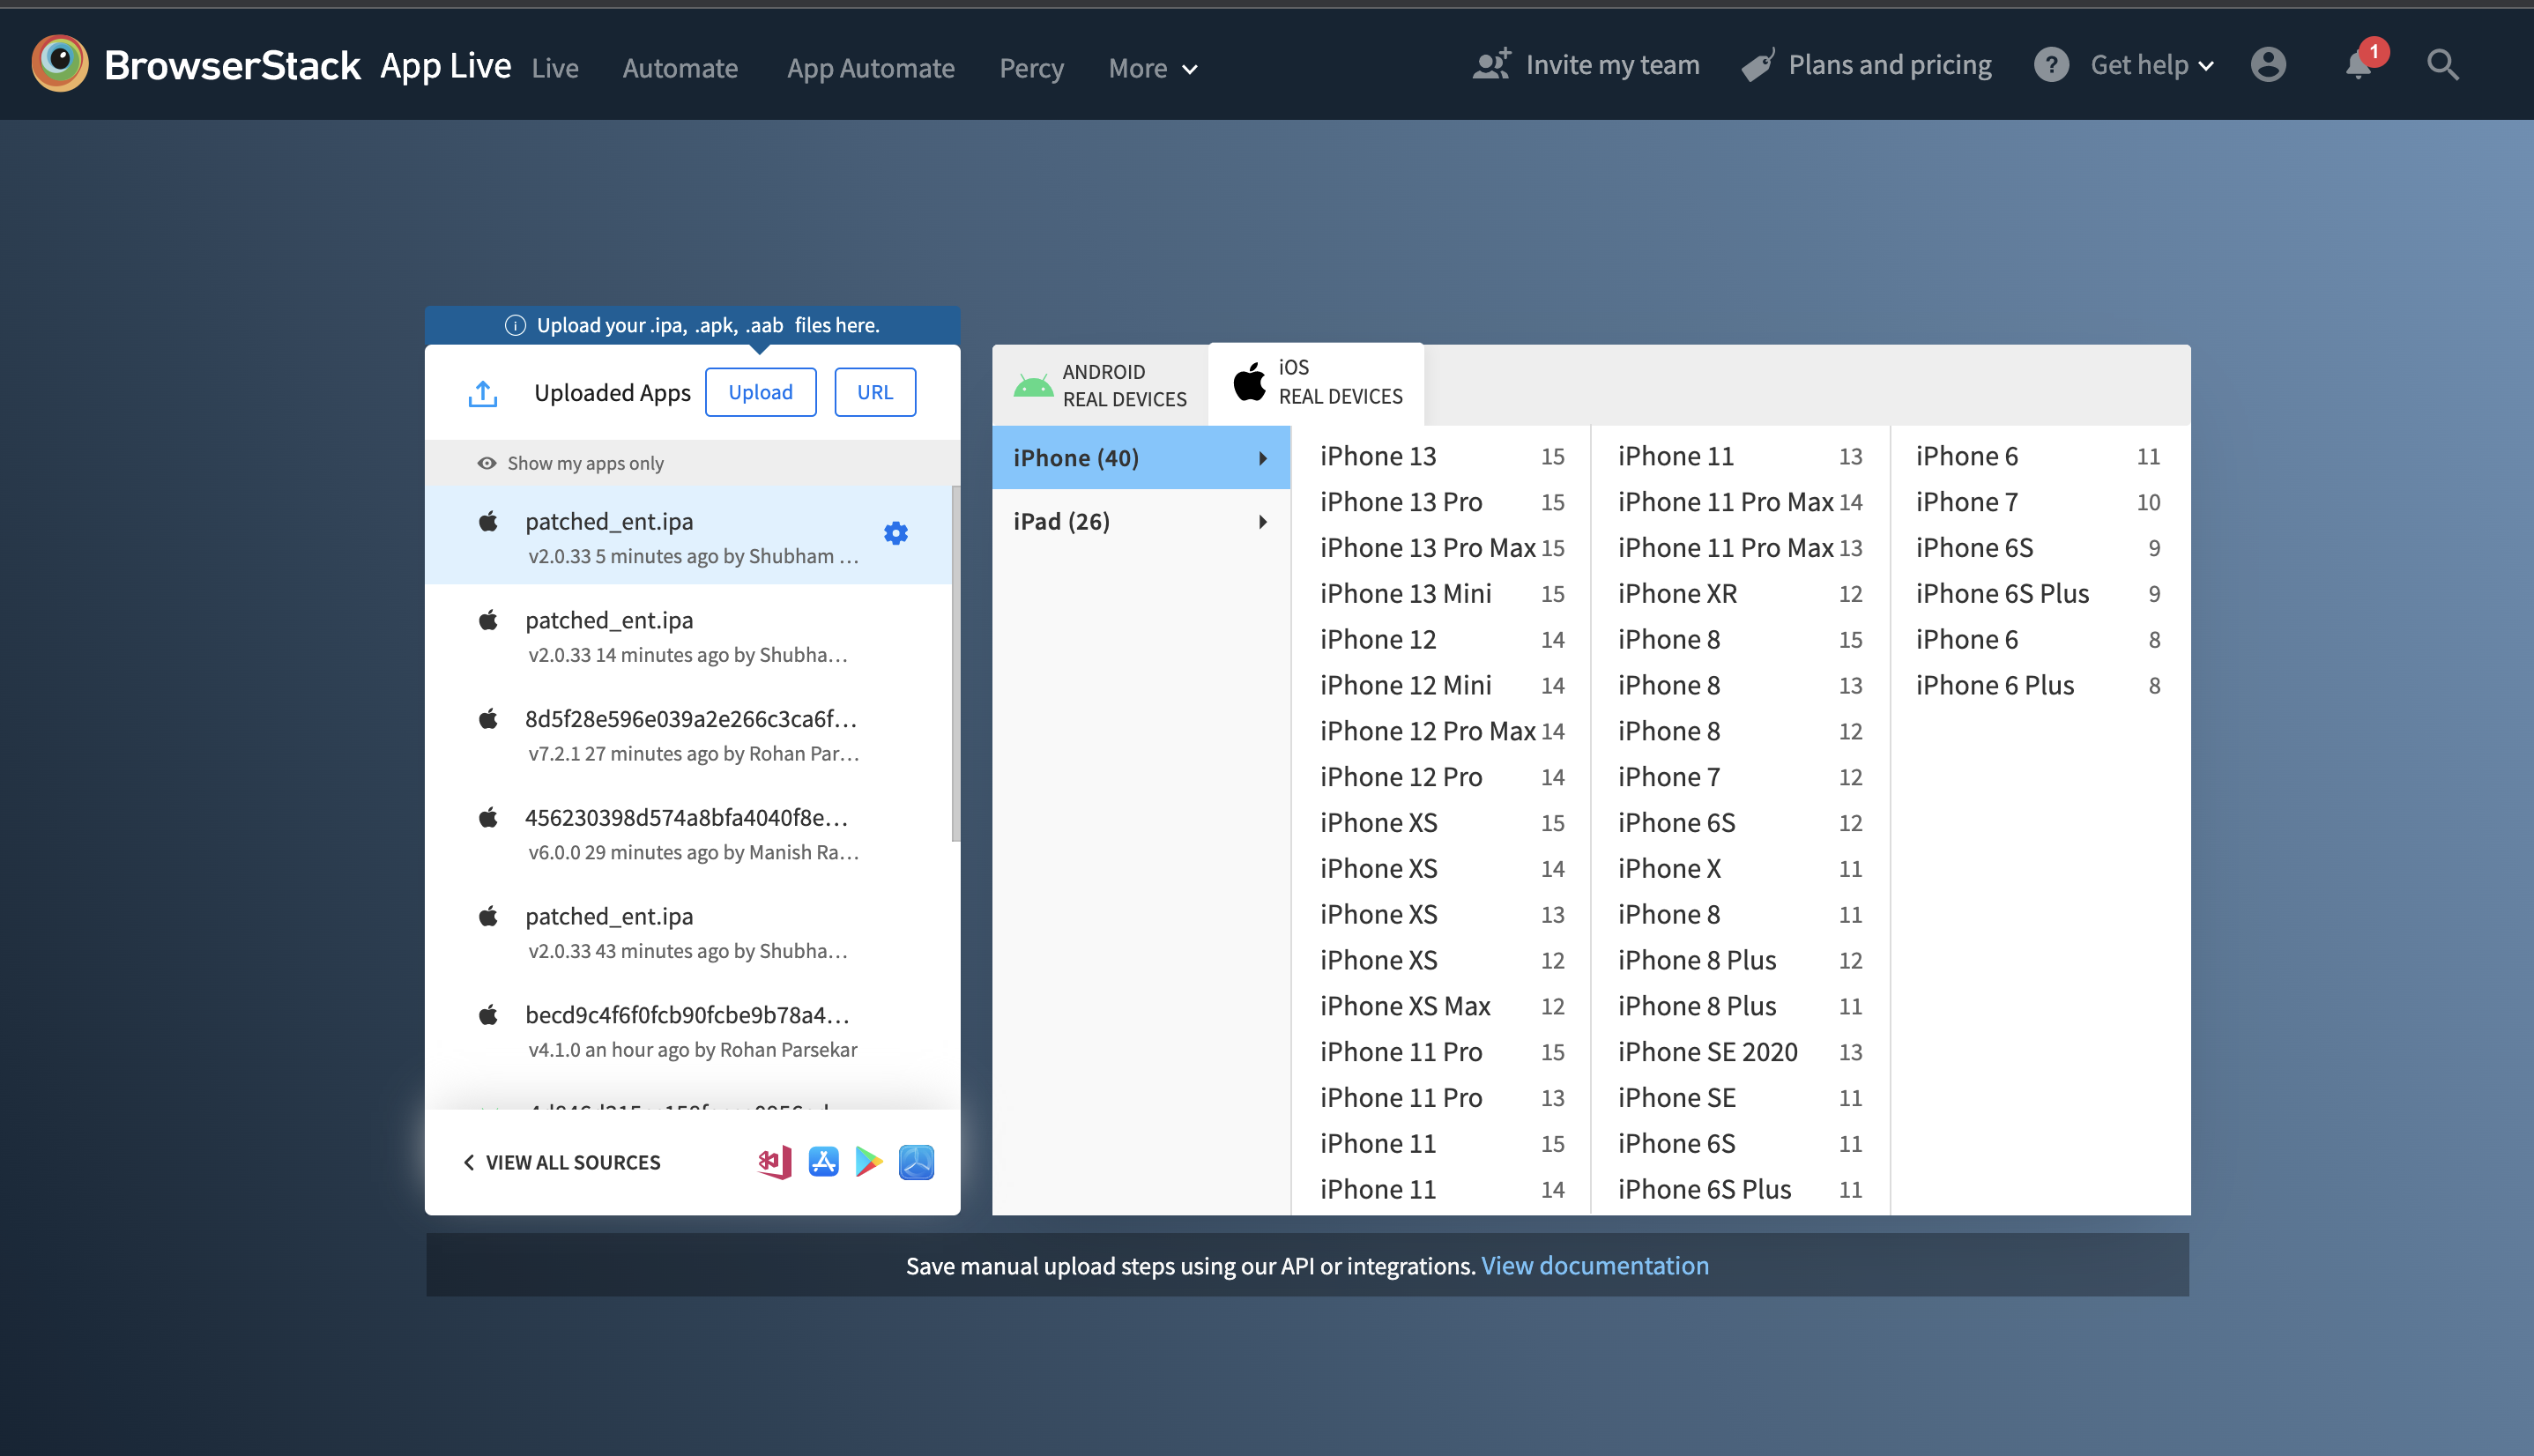
BrowserStack’s real device cloud offers thousands of real mobile devices from major vendors and manufacturers for app testing (manual and automated). Each device is loaded with real operating systems – multiple versions of popular operating systems in use.

Run UI Tests on Real Mobile Devices
Flutter Driver
Flutter driver is a class that creates a driver which uses a connection provided by the given serviceClient, _peer, and appIsolate.
In many aspects, it matches functions offered by testing frameworks such as Selenium WebDriver, Protractor, etc.
When run with the flutter drive command, Flutter initiates two processes:
- A “driver” process on the host machine sending instructions to and receiving data from the app.
- The app itself is configured to listen to incoming connections from the driver process.
Read More: Test Flutter Apps on BrowserStack
Methods in Flutter Driver class
Let’s examine a few of the methods offered by the Flutter Driver class. You can read more about them at Methods Of Flutter Driver Class.
- checkHealth
This method checks the status of the Flutter Driver extension. It returns two values.
- HealthStatus.ok
- HealthStatus.bad
- enterText
This method enters a text into an inputField which is currently focused.
- getBottomRight, getBottomLeft, getCenter, getTopRight, getTopLeft
These methods return the point at the specified location of the widget as identified by the finder.
- getText
This method returns the text in the Text widget located by the finder.
- requestData
This method sends and returns a string.
Flutter driver element identification
Flutter offers numerous methods for element identification. A few of them are listed below:
- bySemanticsLabel()– This method finds Semantics widgets matching the given label, either by RegExp.hasMatch or string equality.
- byTooltip()– This method finds Tooltip widgets with the given message.
- byKey()– This method finds widgets by searching for one with a particular Key.
- byIcon()– This method finds Icon widgets containing icon data equal to the icon argument.
You can read more about such methods here at Element Identification Methods.
Steps to Perform UI Testing in Flutter
- Adding Dependencies
Integrate your flutter app by adding flutter_driver dependency.
Edit your pubspec.yaml file.
# pubspec.yaml

dev_dependencies:

 flutter_driver:

   sdk: flutter

 test: any
Copied |
- Adding Files
Create a folder test_driver and add two files in it, app.dart and app_test.dart.
app_name/

 lib/

   main.dart

 test_driver/

   app.dart

   app_test.dart
Copied |
- Enabling the flutter driver
Add the code below into your app.dart file. This will enable the flutter_driver and call the runApp method.
import 'package:flutter_driver/driver_extension.dart';

import 'package:fluttertest/main.dart' as app;

void main() {

 // This line will enable the Flutter Driver extension.

 enableFlutterDriverExtension();

 // Call the `main()` function of the app, or call `runApp` with

 // any widget you will test.

 app.main();

}
Copied |
- Writing the test
It involves the following steps:
- Create SerializableFinders to locate the widgets
- Connect to the app
- Test the scenarios
- Disconnect the app
1. Create SerializableFinders to locate the widgets
final writeDataFinder = find.byValueKey("write_data");

final addDataFinder = find.byValueKey("add_data");
Copied |
2. Connect to the app
// Connect to the Flutter driver before running any tests.

setUpAll(() async

{driver = await FlutterDriver.connect();

});
Copied |
3. Test the scenarios
test("check health", () async {

 Health health = await driver.checkHealth();

 print(health.status);

});

test("flutter drive test", () async {

 await driver.tap(writeDataFinder);

 await driver.enterText(dummy_data);

 await driver.tap(addDataFinder);

});
Copied |
4. Disconnect the app
tearDownAll(() async {

 if (driver != null) {

   driver.close();

 }

});
Copied |
- app_test.dart
// Imports the Flutter Driver API.

import 'package:flutter_driver/flutter_driver.dart';

import 'package:test/test.dart';

void main() {

  group('Flutter driver test App', () {

    // First, define the Finders to locate widgets from the

    // test suite. Note: the Strings provided to the `byValueKey` method must

    // be the same as the Strings we used for the Keys in step 1.

    final writeDataFinder = find.byValueKey("write_data");

    final addDataFinder = find.byValueKey("add_data");

    var dummy_data = "hello";

    FlutterDriver driver;

    // Connect to the Flutter driver before testing.

    setUpAll(() async {

      driver = await FlutterDriver.connect();

    });

    // Close the connection to the driver after the tests are completed.

    tearDownAll(() async {

      if (driver != null) {

        driver.close();

      }

    });

    test("check health", () async {

      Health health = await driver.checkHealth();

      print(health.status);

    });

    test("flutter drive test", () async {

      await driver.tap(writeDataFinder);

      await driver.enterText(dummy_data);

      await driver.tap(addDataFinder);

    });

  });

}
Copied |
- Run the test
Run the command below in the terminal window. It will build and launch the target app and run the app_test.dart in the test_driver/ folder.
flutter drive --target=test_driver/app.dartCopied |
How BrowserStack helps with Flutter UI Tests
When it comes to UI Tests, multiple device-OS combinations must be supported to ensure compatibility across platforms. Now, with an increasing number of platforms to support, configuring and maintaining them becomes a time and effort-consuming task.
However, with BrowserStack, QAs can access thousands of popular mobile device-OS combinations to test their app and script their automation cases. They do not have to worry about buying and updating devices or installing software. They just need to sign up for free, choose the required device-OS combination and start testing their app.


