How to Test iOS Apps on Windows
By Neha Vaidya, Community Contributor - May 2, 2023
In app development and testing, cross platform testing has become a fixture in QA pipelines. This is done to ensure that the application works flawlessly across all operating systems and mobile devices.
However, QAs may not always have the requisite devices on hand for testing. For example, they may not have all the necessary iOS devices to test an iOS app. For instance, they might have to test iOS apps on a Windows PC because that is all they can currently access.
This article will explore how to do exactly that. It will outline two methods – using the XCode simulator and using the real iOS devices on the BrowserStack cloud.
Method 1: Using the XCode Simulator
So let’s look at the process of setting up an iOS simulator. This will enable users to test any iOS app on a Windows device.
Apple does not offer a standalone simulator on the App Store. Instead, look for and download XCode which is freely available in the store. Xcode is an integrated development environment (IDE) developed by Apple. It enables the development of applications for all Apple operating systems, including iOS, macOS, tvOS, and WatchOS.
Learn More: Xcode vs VSCode: Everything you need to know
Follow the steps below to test iOS apps on the XCode simulator:
- Download the Xcode simulator and start by creating a project.
- You can build and run your app without writing code on a simulated or real device.
- You can connect a real device to your Mac using a cable or connect it over Wi-Fi for iOS or tvOS apps after you pair it with Xcode. For macOS apps, choose a scheme, then click the Run button in the toolbar.
![]()
A scheme is a collection of settings that specify the targets to build, the build configuration, and the executable environment for an app. There’s a scheme for each product (app, library, or framework) in your project. For projects that build an app, choose the scheme that matches your app’s name from the scheme menu in the toolbar. For watchOS apps, choose the WatchKit App target as the scheme.
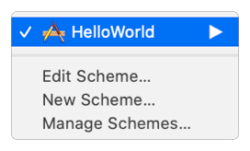
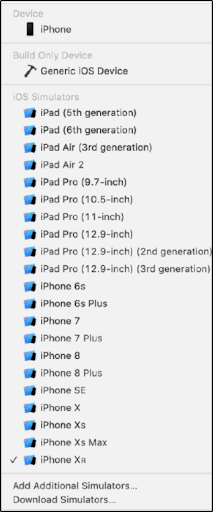
Now, select a simulator. For iOS, and watchOS apps, you can choose a simulated device, under [Platform] Simulators, from the run destination menu next to the scheme menu in the toolbar.
- The next step is to select a real device. Before distributing the application, launch it on a real device.
- Connect the device to your Mac, and choose the device in the run destination menu.
- If you choose a real device, add your Apple ID in Accounts and assign the project to the project editor’s Signing & Capabilities window pane.
- For macOS apps, code signs the app by enabling specific capabilities.
- Click the Run button to build and run the app on the selected simulated or real device.
- If the build is successful, Xcode runs the app and opens a debugging session in the debug area.
- Use the controls in the debug area to step through your code, inspect variables, and interact with the debugger.
If the build is unsuccessful, click the indicators in the activity area to read the error or warning messages in the Issue Navigator. Alternatively, choose View > Navigators > Show Issue Navigator to view the messages.
Now let’s understand how to test an iOS app on a Windows machine using Browserstack’s real device cloud.
Whether manual or automated app testing, QAs can utilize BrowserStack’s infrastructure to get 100% accurate results in real-world circumstances.
Test Apps on Real Mobile Devices
Method 2: Test iOS apps on Windows using BrowserStack
There are two ways to test iOS apps on Windows – Manual App Testing (testing an iOS app on your physical Windows PC) and Automated App Testing. We will be discussing the automation approach in detail.
- Login to Browserstack platform and launch App Automate.
- The sample code is already available; you need to modify and add your code.
- Once configured, the next step is to set up the dependencies and desired capabilities to run the test.
- To test, you must first upload an iOS app to BrowserStack servers. In this case, I will modify the sample iOS app according to my code.
Before writing the final test case, you need to configure your test case by giving details to the following:
- Use desired capabilities
- Set access credentials
- Specify application under test
- Select a device for testing (In this case, it is iOS and iPhone 12 Pro Max)
- Create a remote webdriver
- Write the test case
Now let’s code the program.
package ios;

import java.net.URL;

import java.util.List;

import java.net.MalformedURLException;;

import org.openqa.selenium.support.ui.WebDriverWait;

import org.openqa.selenium.remote.DesiredCapabilities;

import org.openqa.selenium.support.ui.ExpectedConditions;

import io.appium.java_client.MobileBy;

import io.appium.java_client.ios.IOSDriver;

import io.appium.java_client.ios.IOSElement;

public class BrowserStackSample {

  public static void main(String[] args) throws MalformedURLException, InterruptedException {

      DesiredCapabilities caps = new DesiredCapabilities();

   // Set your access credentials

      caps.setCapability("browserstack.user", "Username");

      caps.setCapability("browserstack.key", "Password");

   // Set URL of the application under test

      caps.setCapability("app", "bs://444bd0308813ae0dc236f8cd461c02d3afa7901d");

   // Specify device and os_version for testing

      caps.setCapability("device", "iPhone 12 Pro Max");

      caps.setCapability("os_version", "14");

   // Set other BrowserStack capabilities

      caps.setCapability("project", "First Project");

      caps.setCapability("build", "Java iOS");

      caps.setCapability("name", "first_test");

   // Initialise the remote Webdriver using BrowserStack remote URL

   // and desired capabilities defined above

        IOSDriver<IOSElement> driver = new IOSDriver<IOSElement>(

         new URL("http://hub-cloud.browserstack.com/wd/hub"), caps);

     // Test case for the BrowserStack sample iOS app.

  IOSElement textButton = (IOSElement) new WebDriverWait(driver, 30).until(

            ExpectedConditions.elementToBeClickable(MobileBy.AccessibilityId("Text Input")));

         textInput.sendKeys("mail.gogle.com");

     IOSElement textInput = (IOSElement) new WebDriverWait(driver, 30).until(

            ExpectedConditions.elementToBeClickable(MobileBy.AccessibilityId("Text Input")));

        textInput.sendKeys("abc@gmail.com");

        Thread.sleep(5000);

     IOSElement textOutput = (IOSElement) new WebDriverWait(driver, 30).until(

             ExpectedConditions.elementToBeClickable(MobileBy.AccessibilityId("Text Output")));

        if(textOutput != null && textOutput.getText().equals("abc@gmail.com"))

            assert(true);

     else

            assert(false);

     // Invoke driver.quit() after the test is done to indicate that the test is completed.

        driver.quit();

  }


}
You can also download the file and save it to upload it to App Live for real-time testing on iOS.
Now, execute the program using the below command on the command line.
mvn test -P <ios-first-test>Also, you can go to App Live and upload this file to run the test on your preferred device.
Now that you have an iOS app ready, you can deploy it into the Windows platform to test the application and check its compatibility.
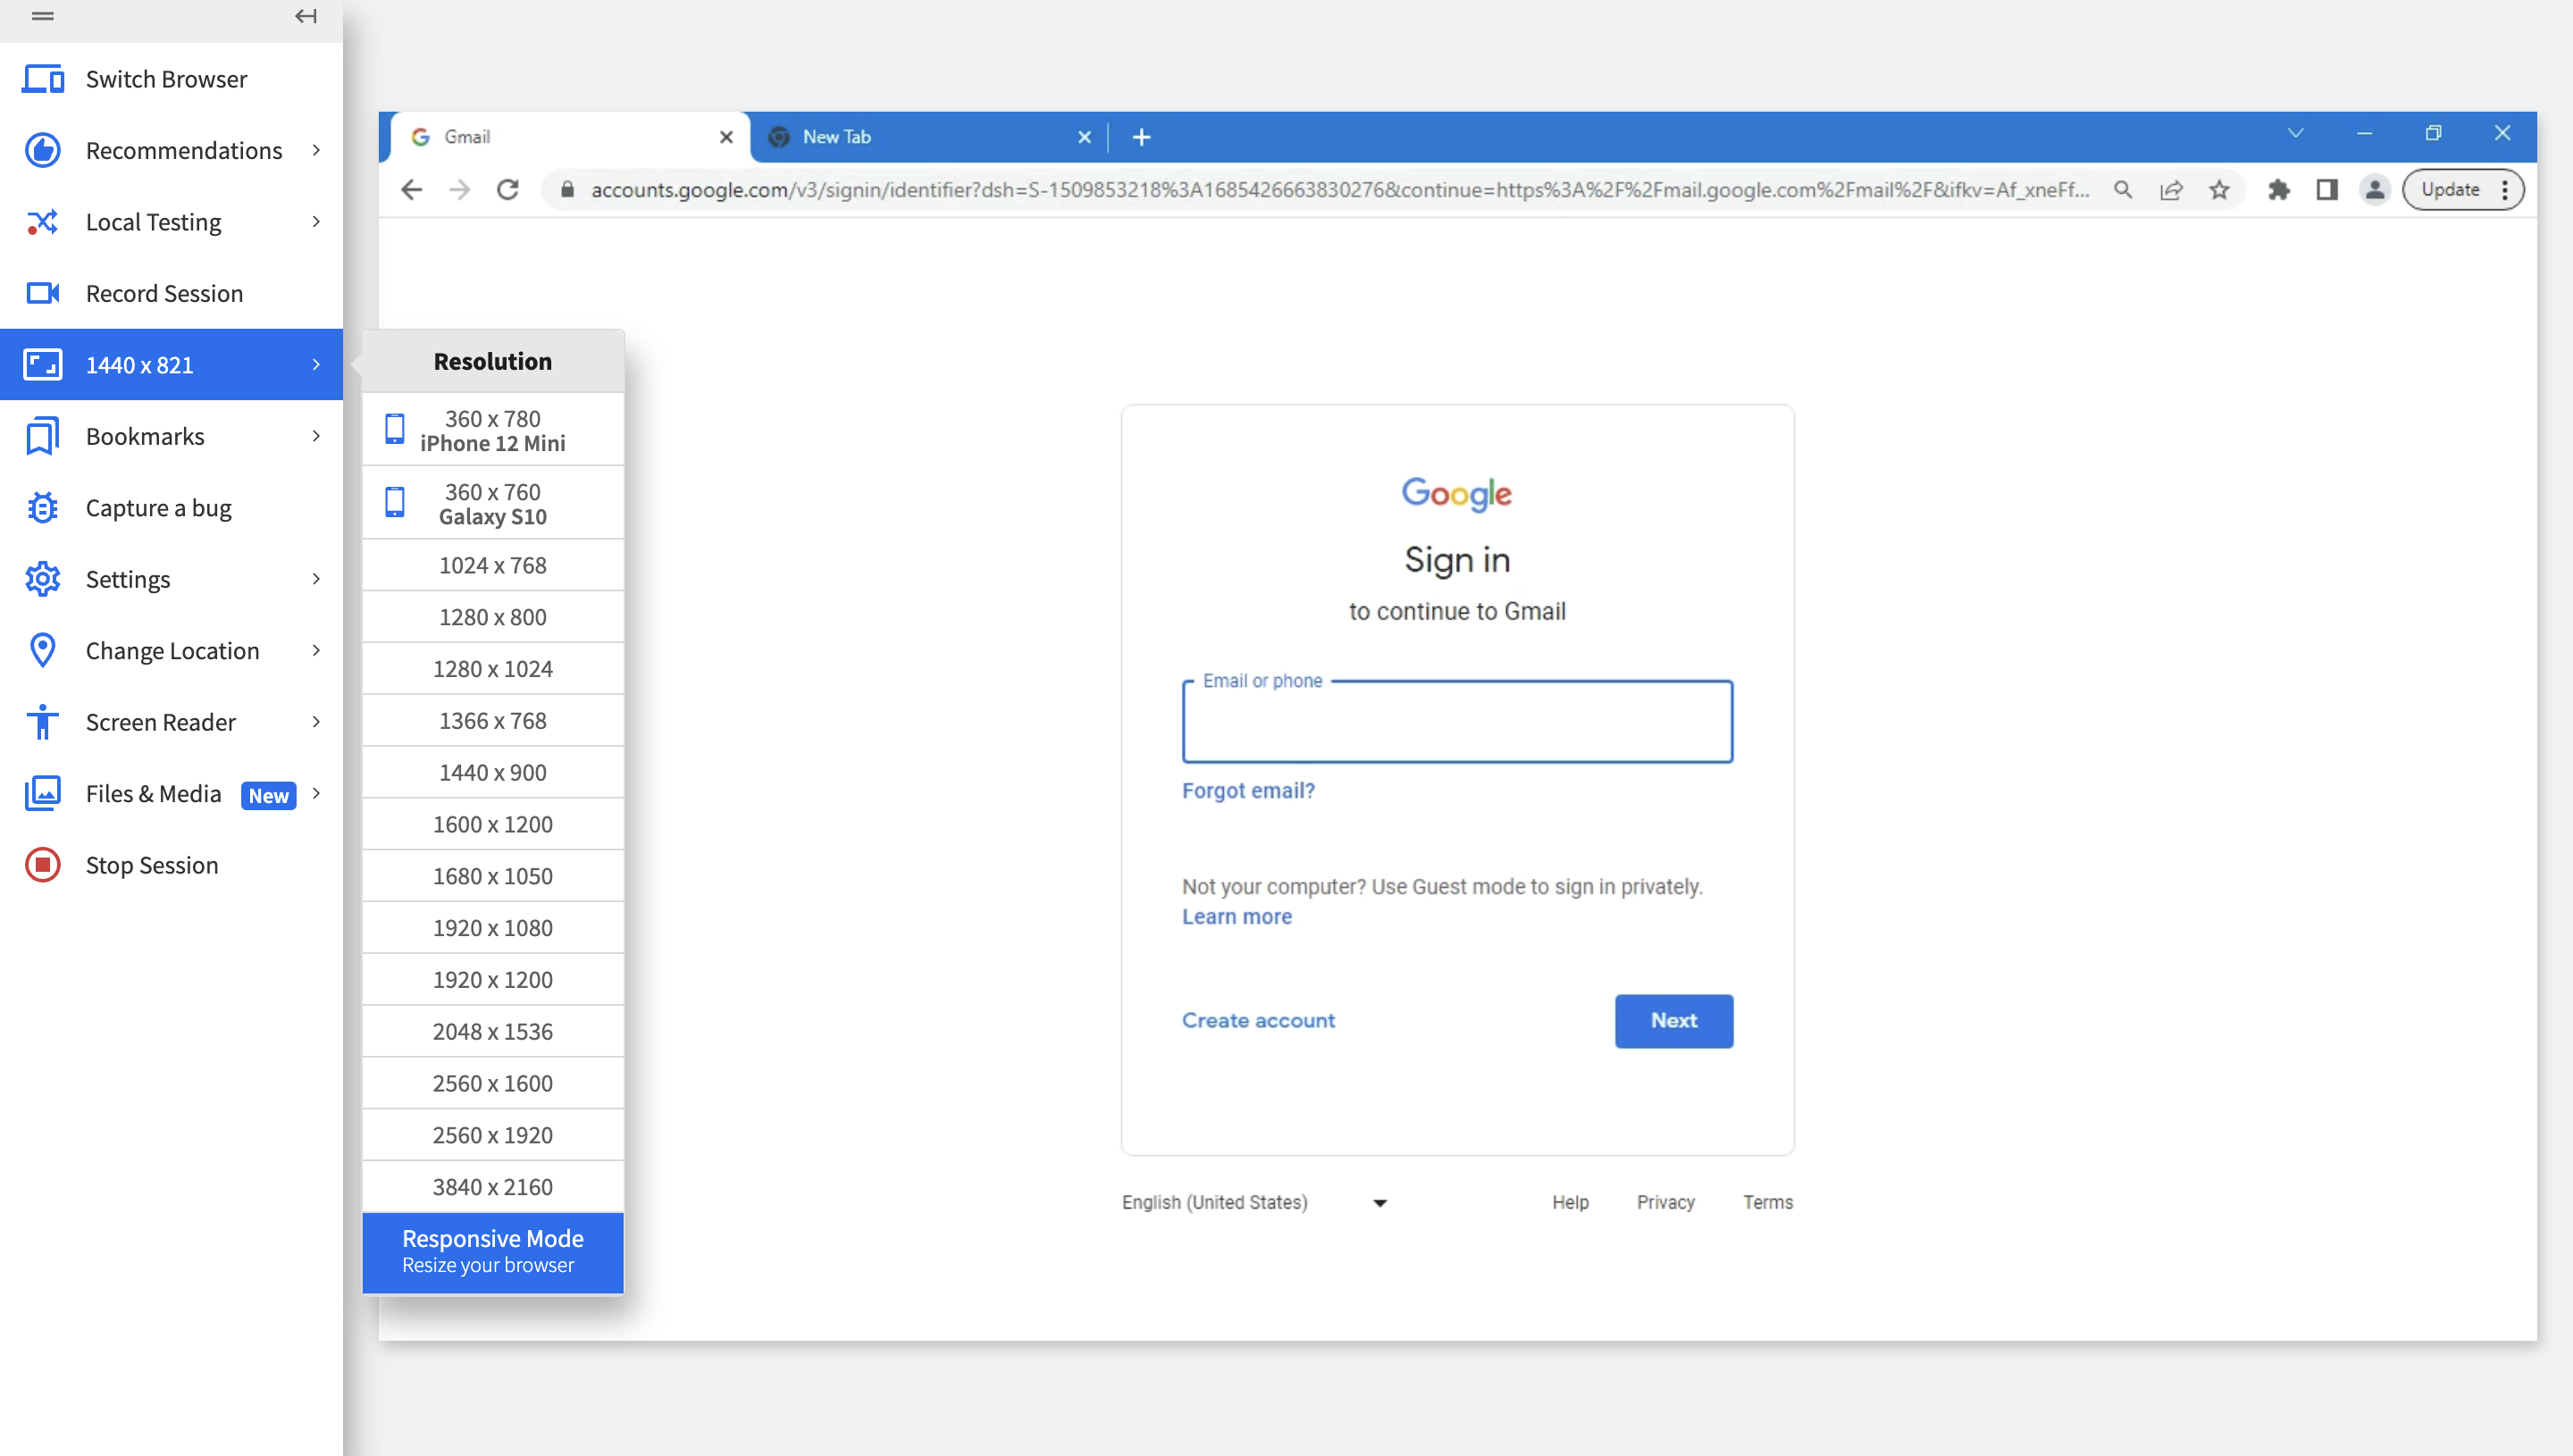
Now, let’s launch the Live Browserstack tool to test the application on Windows. Upload the developed application and set the Windows environment you want to test the application in. This example uses Windows 10 and Chrome 113.
Output goes like this:
That’s how you can test the application.
- However, to take full advantage of its features, tests must be run on real mobile devices (iOS, Android, Windows, etc.)
- There is no way to accurately identify all possible bugs without testing apps in real user conditions, and that is where BrowserStack App Automate comes in.
- BrowserStack’s real device cloud offers thousands of real mobile devices from major vendors and manufacturers for app testing (manual and automated).
- Each device is loaded with real operating systems – multiple versions of popular operating systems.
QAs can access thousands of popular mobile device-OS combinations to test their app. They don’t have to worry about buying and updating devices and installing software. They must sign up for free, choose the required device-OS combination and start testing their app.
