Monetization is key to an app’s success, so developers must test in-app purchases (IAP) on Android devices.
Overview
What is In-App Purchase Testing
In-app purchase (IAP) Testing is the process of validating the functionality, reliability, and user experience of an application’s in-app purchase features. It ensures end-users easily browse, purchase, and access digital products or subscriptions. It also validates edge-case scenarios like failed transactions or different payment methods.
Benefits of In-App Purchase Testing
- Facilitates smooth transaction flow
- Validates payment methods
- Improves user trust and experience
- Helps prevent payment issues
- Spots security vulnerabilities in the payment process
This article discusses In-App Purchase testing in detail, covering effective processes and best practices.
Prerequisites for Testing In-App Purchases
Prerequisites for testing in-app purchases are:
1. Google Play Developer Account
- You need an active Google Play Developer account to manage in-app products & testing processes.
- Access the Google Play Console to define & configure your app’s in-app purchases.
2. Create In-App Products
- Define your in-app products/subscriptions in the Google Play Console. Examples include consumables, subscriptions, or managed items.
- Ensure these products are correctly integrated with the Google Play Billing Library.
3. Configure Test Accounts
- Add licensed test accounts in the Play Console under “License Testing.”
- Use these test accounts to simulate purchases without real charges.
4. Install Google Play Billing Library
- Integrate the latest version of the Google Play Billing Library into your app.
- This ensures smooth & secure handling of in-app purchases.
5. Enable Developer Mode
- Activate Developer Mode on your testing devices to access detailed logs & diagnostics during testing.
6. Use Real Devices
- Testing in-app purchases requires physical Android devices. Emulators do not support in-app billing functionality.
- Real devices provide the most accurate simulation of real user conditions and behaviors.
7. Prepare Static Responses
- Use Google’s static responses to simulate different purchase flows and error scenarios.
- These include predefined responses for success, user cancellations, and various error cases, helping ensure thorough testing.
Also Read: How to Test In-App Purchases on iOS Devices
In-App Purchase Testing Process for Android Devices
Testing in-app purchases on Android devices is important to facilitate seamless & secure transactions for users. Below are the approaches for performing in-app purchase testing effectively:
In-App Purchase Testing Process for Android Devices:
- Integrate Google Play Billing Library
- Test with Static Responses from Google Play
- Validate the Purchase Flow
- Test Refunds and Cancellations
- Test on Real Devices
1. Integrate Google Play Billing Library
- Ensure your app is using the Google Play Billing Library to manage in-app purchases.
- This library provides a secure and standardized way to handle purchase transactions, subscriptions, and product deliveries.
- Keep the library updated to the latest version to maintain compatibility with Google Play policies.
2. Test with Static Responses from Google Play
- Utilize the static response feature provided by Google Play to simulate various purchase outcomes.
- Examples include:
- Success: Simulate a successful purchase transaction.
- Pending: Test how your app behaves when a purchase is incomplete.
- Failure: Simulate failed transactions due to user cancellations or technical issues.
- These responses help verify your app’s error handling and purchase flow logic in a controlled environment without real payments.
3. Validate the Purchase Flow
- Test the entire purchase process, including:
- Displaying available products.
- Adding items to the cart.
- Completing a transaction via Google Play.
- Ensure that after a successful transaction:
- Digital goods or features are delivered immediately.
- Purchase status is recorded in your database.
- Users receive confirmation (e.g., emails, in-app receipts).
4. Test Refunds and Cancellations
- Use Google Play’s test tools to simulate refunds and cancellations:
- Refunds: Verify that access to the purchased content is revoked once the refund is processed.
- Cancellations: Ensure the subscriptions or one-time purchases are handled correctly whenever canceled.
- Check notifications from the Google Play API to confirm your app responds correctly to these two events.
5. Test on Real Devices
- Conduct testing on a variety of Android devices to:
- Identify compatibility issues across device models, OS versions, and screen sizes.
- Validate the UI/UX of the purchase flow for a smooth user experience.
- Avoid relying solely on emulators, as real devices provide more accurate results regarding performance, notifications and user interactions.
- Use platforms like BrowserStack to test on a wide range of real devices remotely without the need for physical hardware.
How to Test In-App Purchase on Real Android Devices
This section will cover how to test in-app purchases for both published and in-development apps. But, to test this feature, sign up for a free account on BrowserStack.
Note: You will need a valid online payment option to test this feature.
Once the prerequisites above have been completed, follow the steps below:
1. Login to your free BrowserStack account.
2. Navigate to App Live.
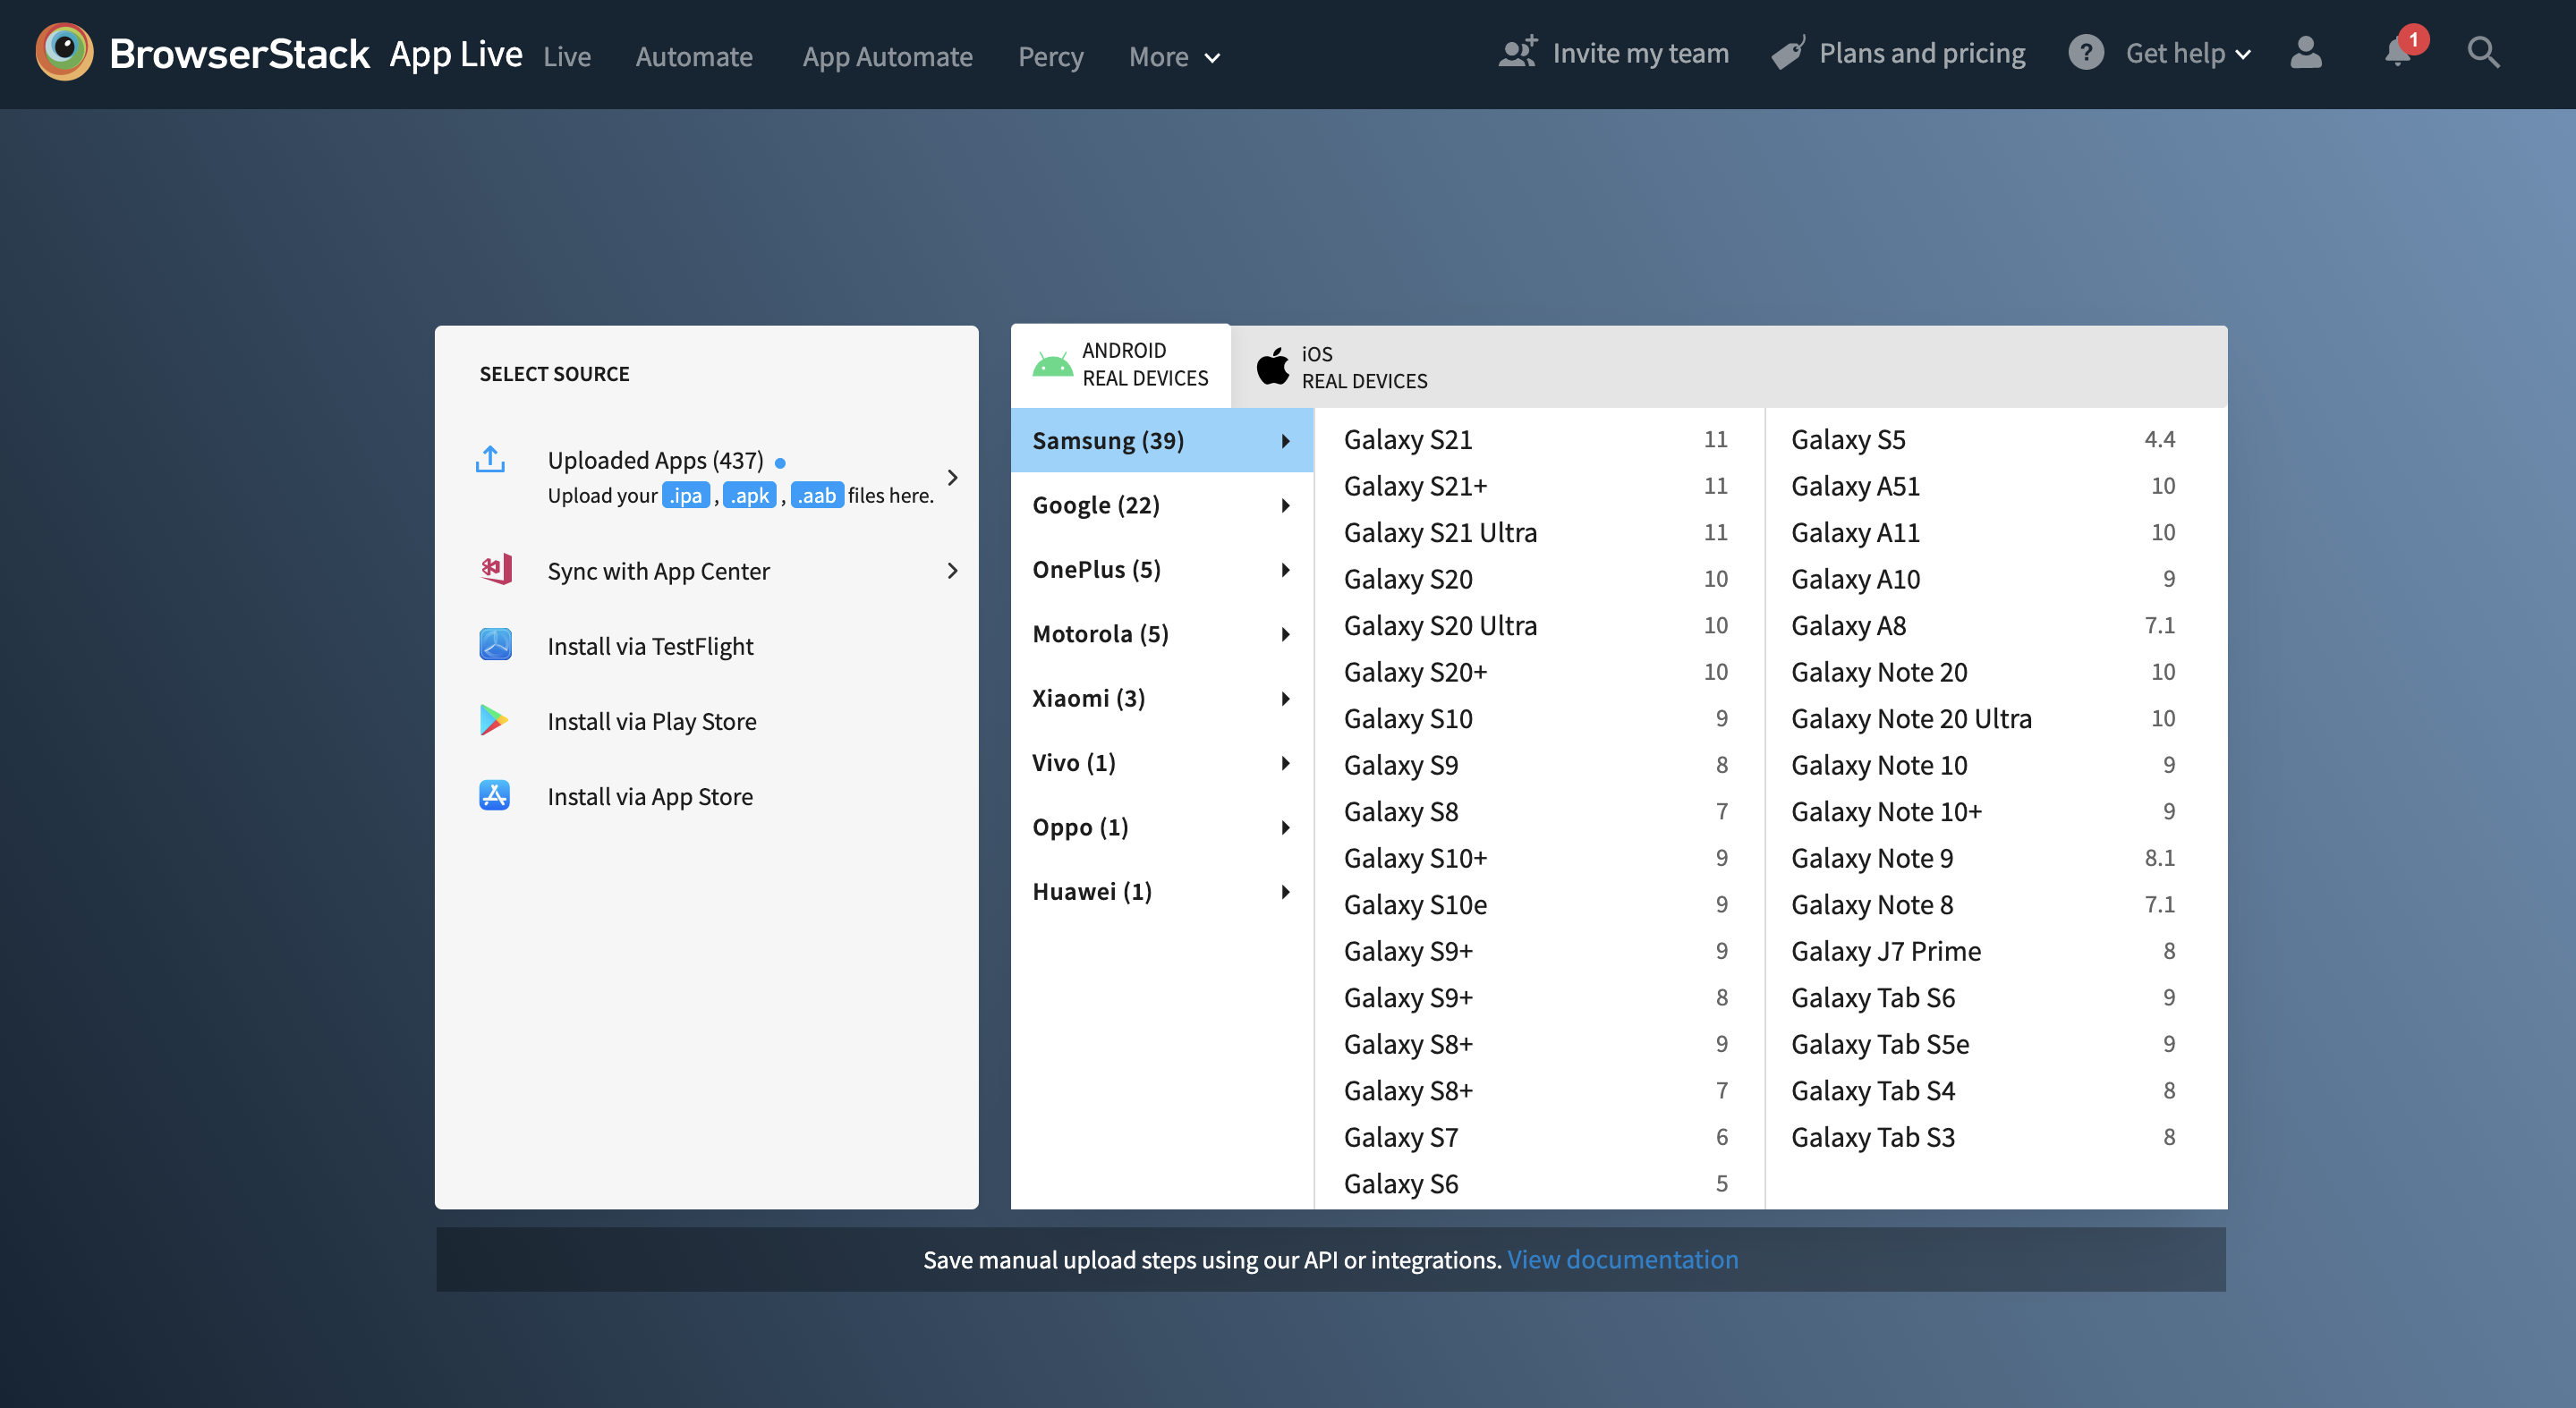
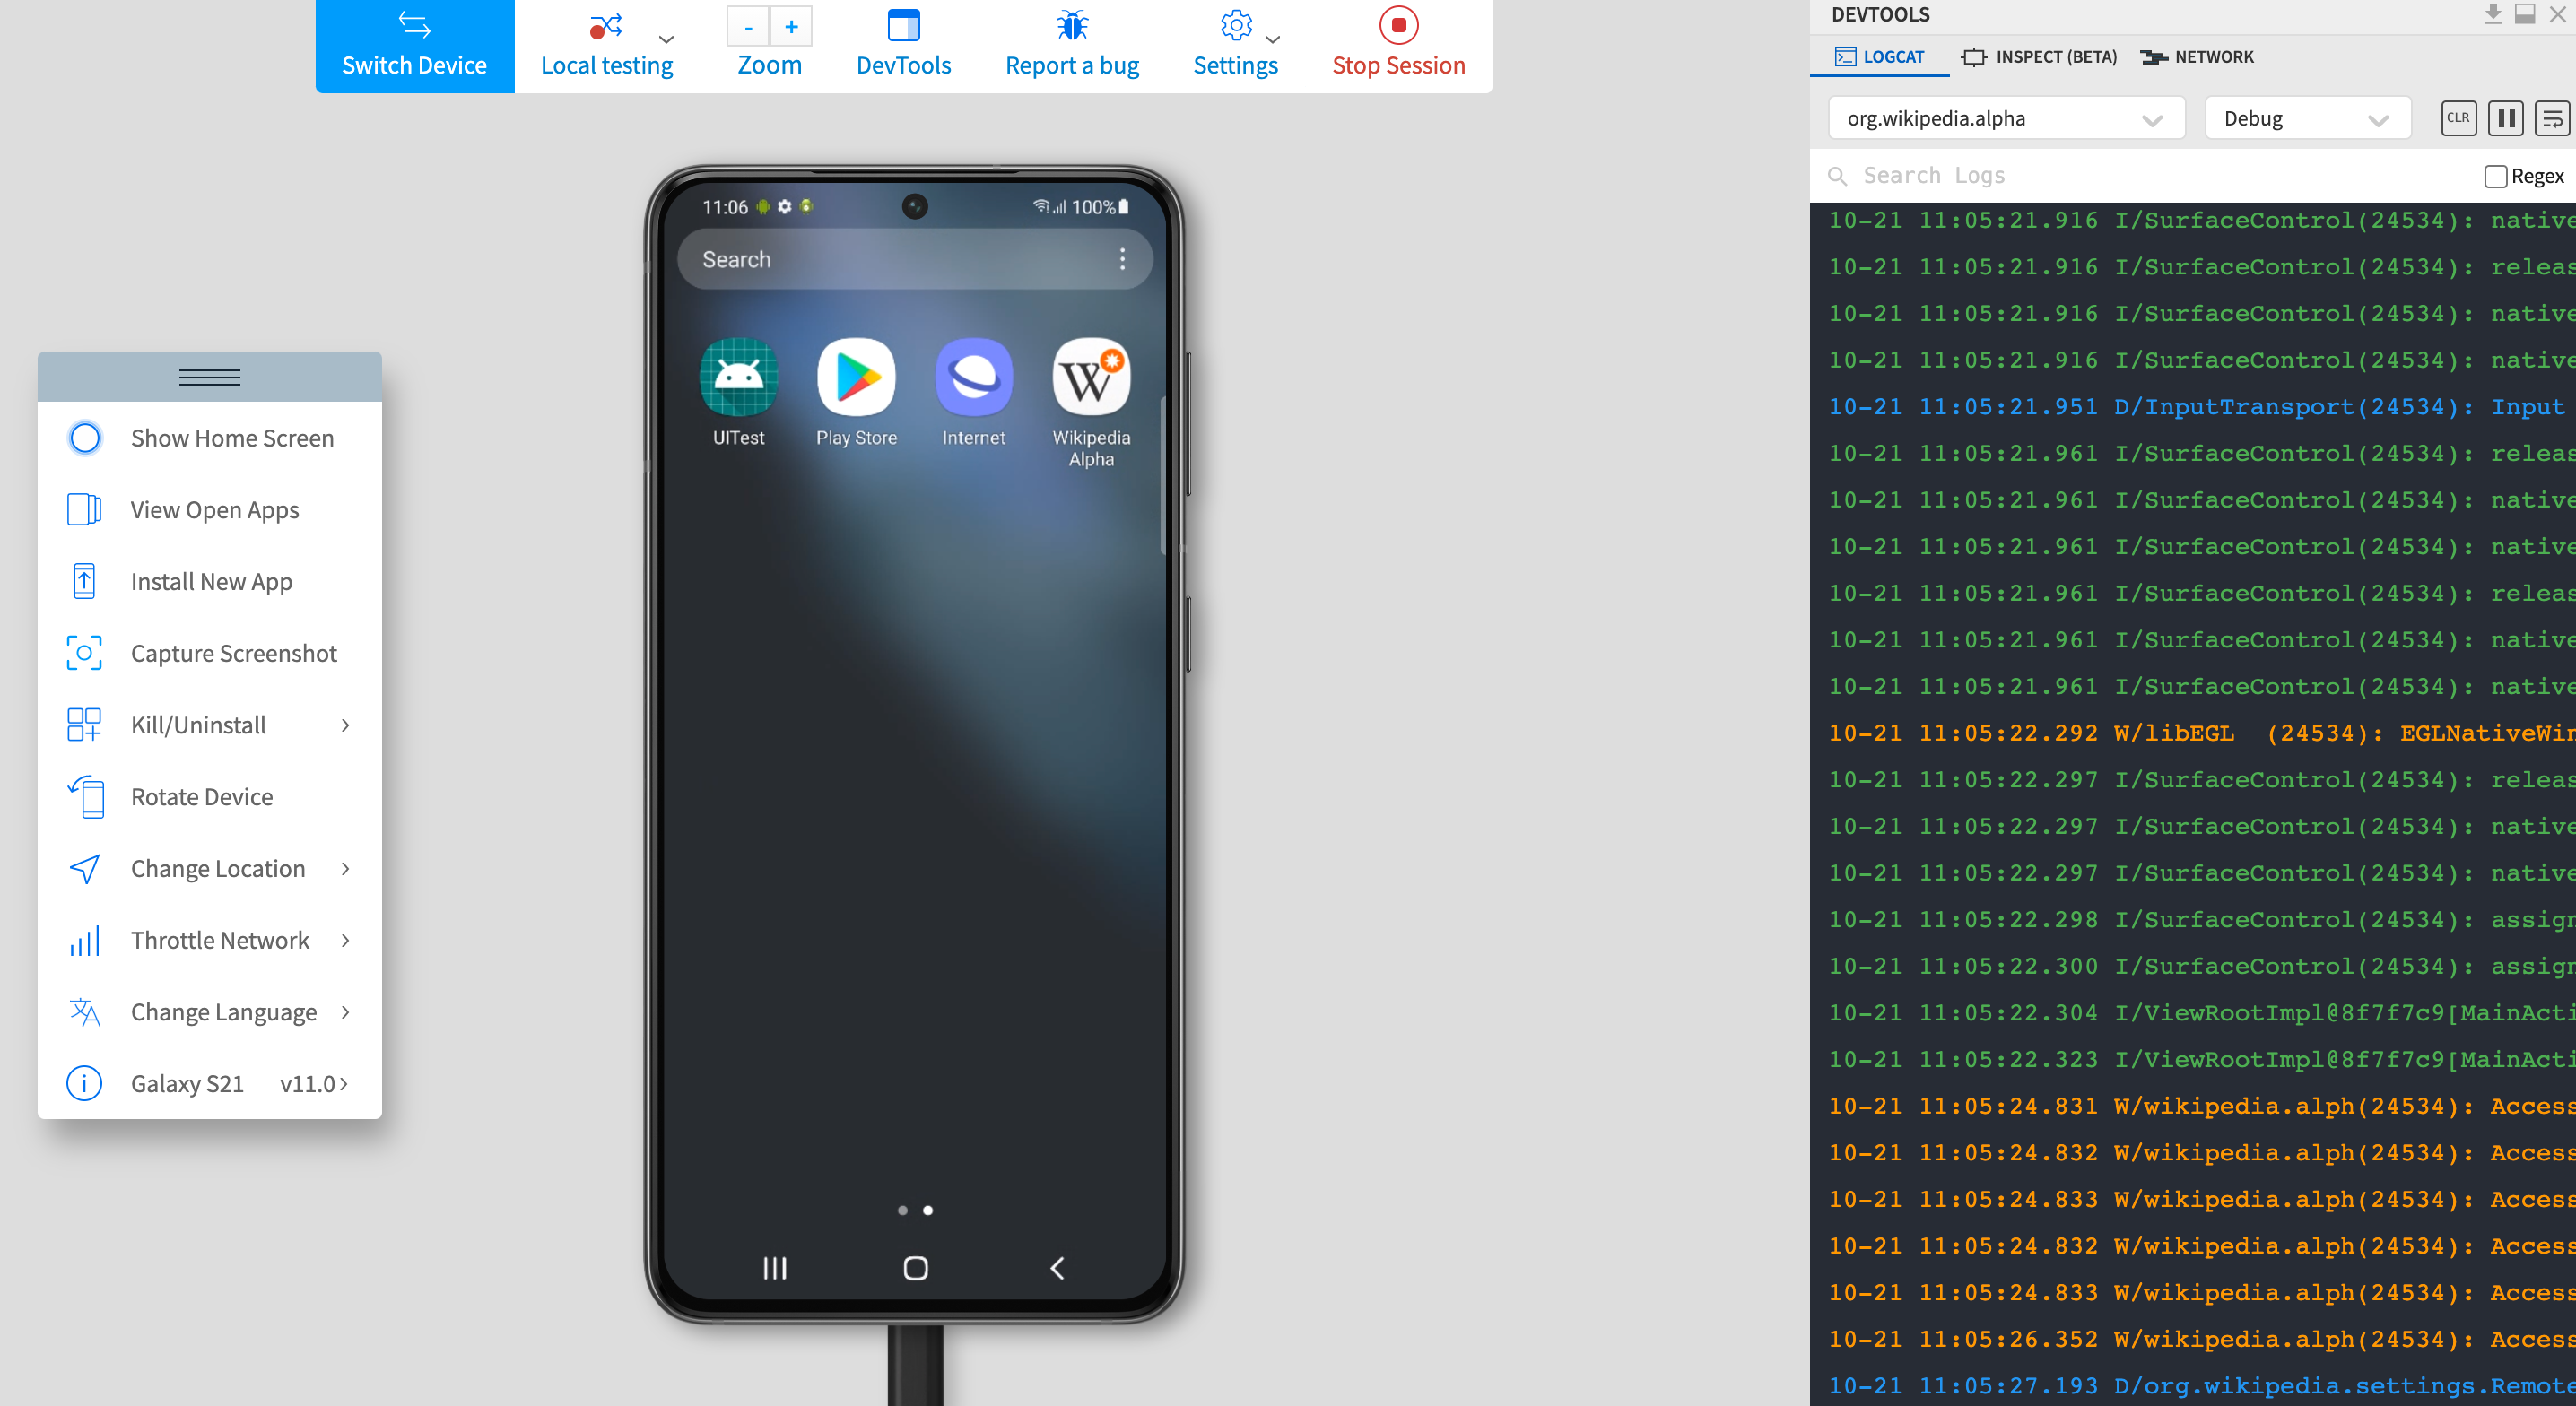
3. After signing in, the App Live dashboard will appear, displaying the list of real Android devices available for app testing.
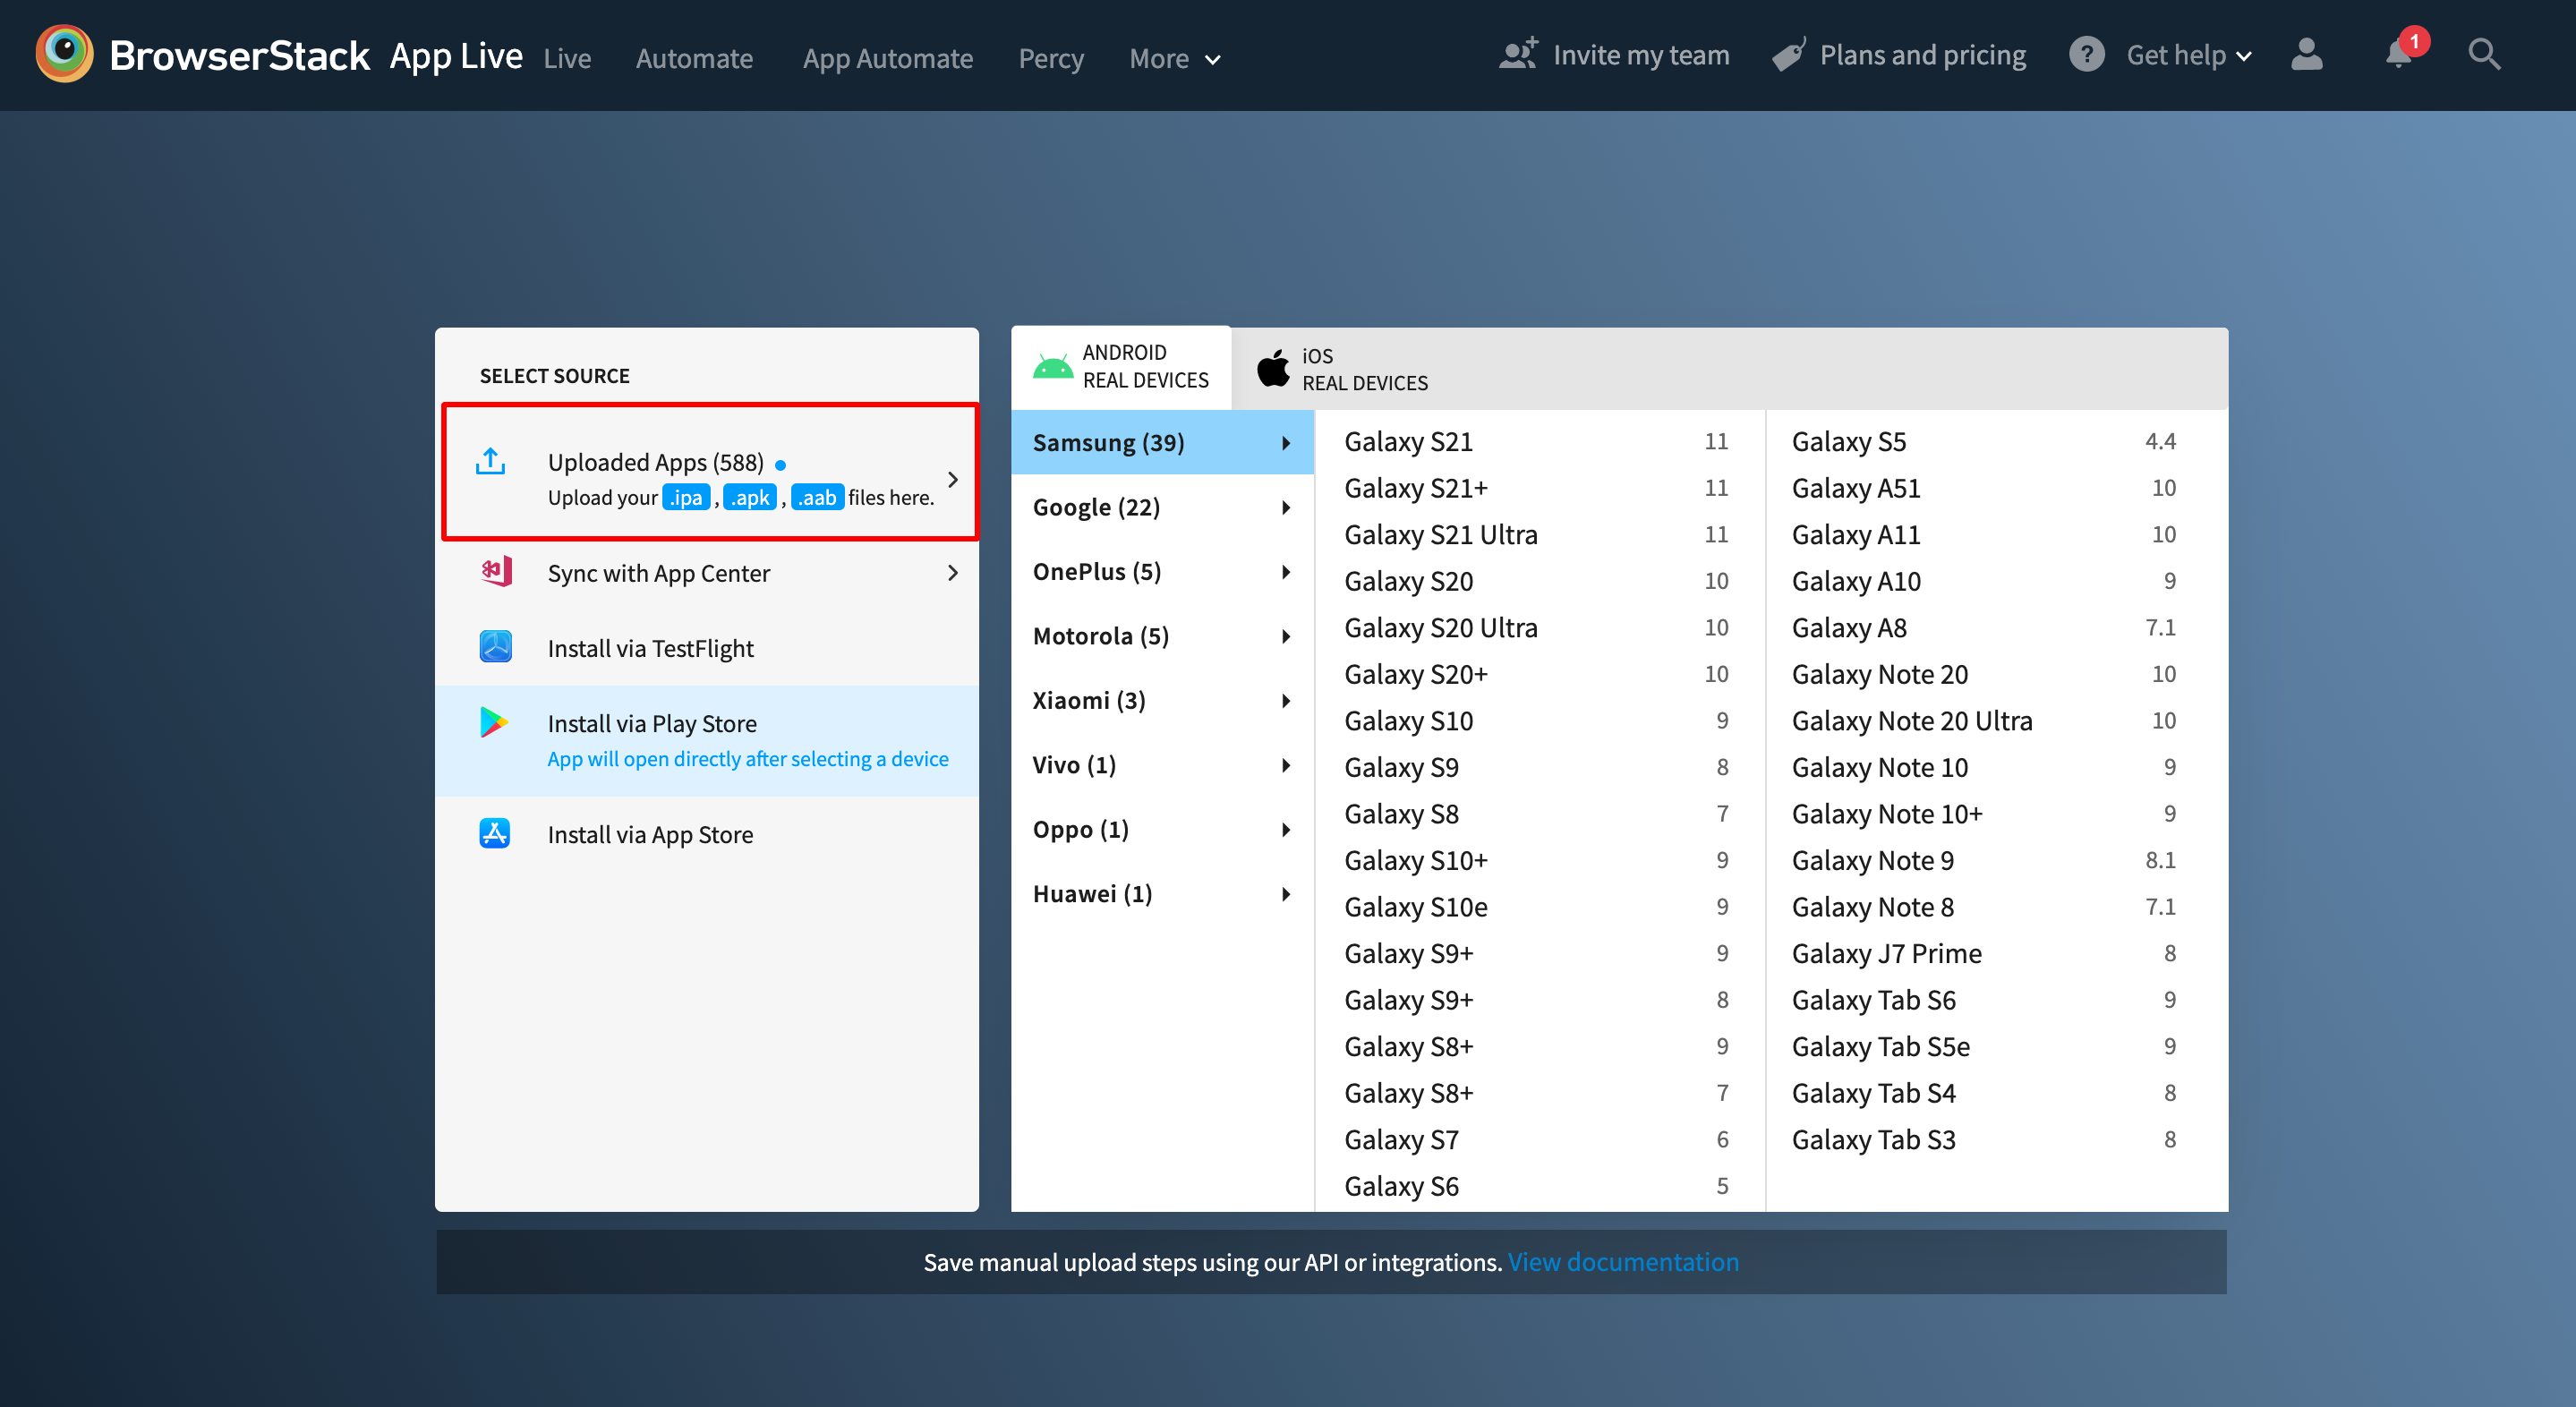
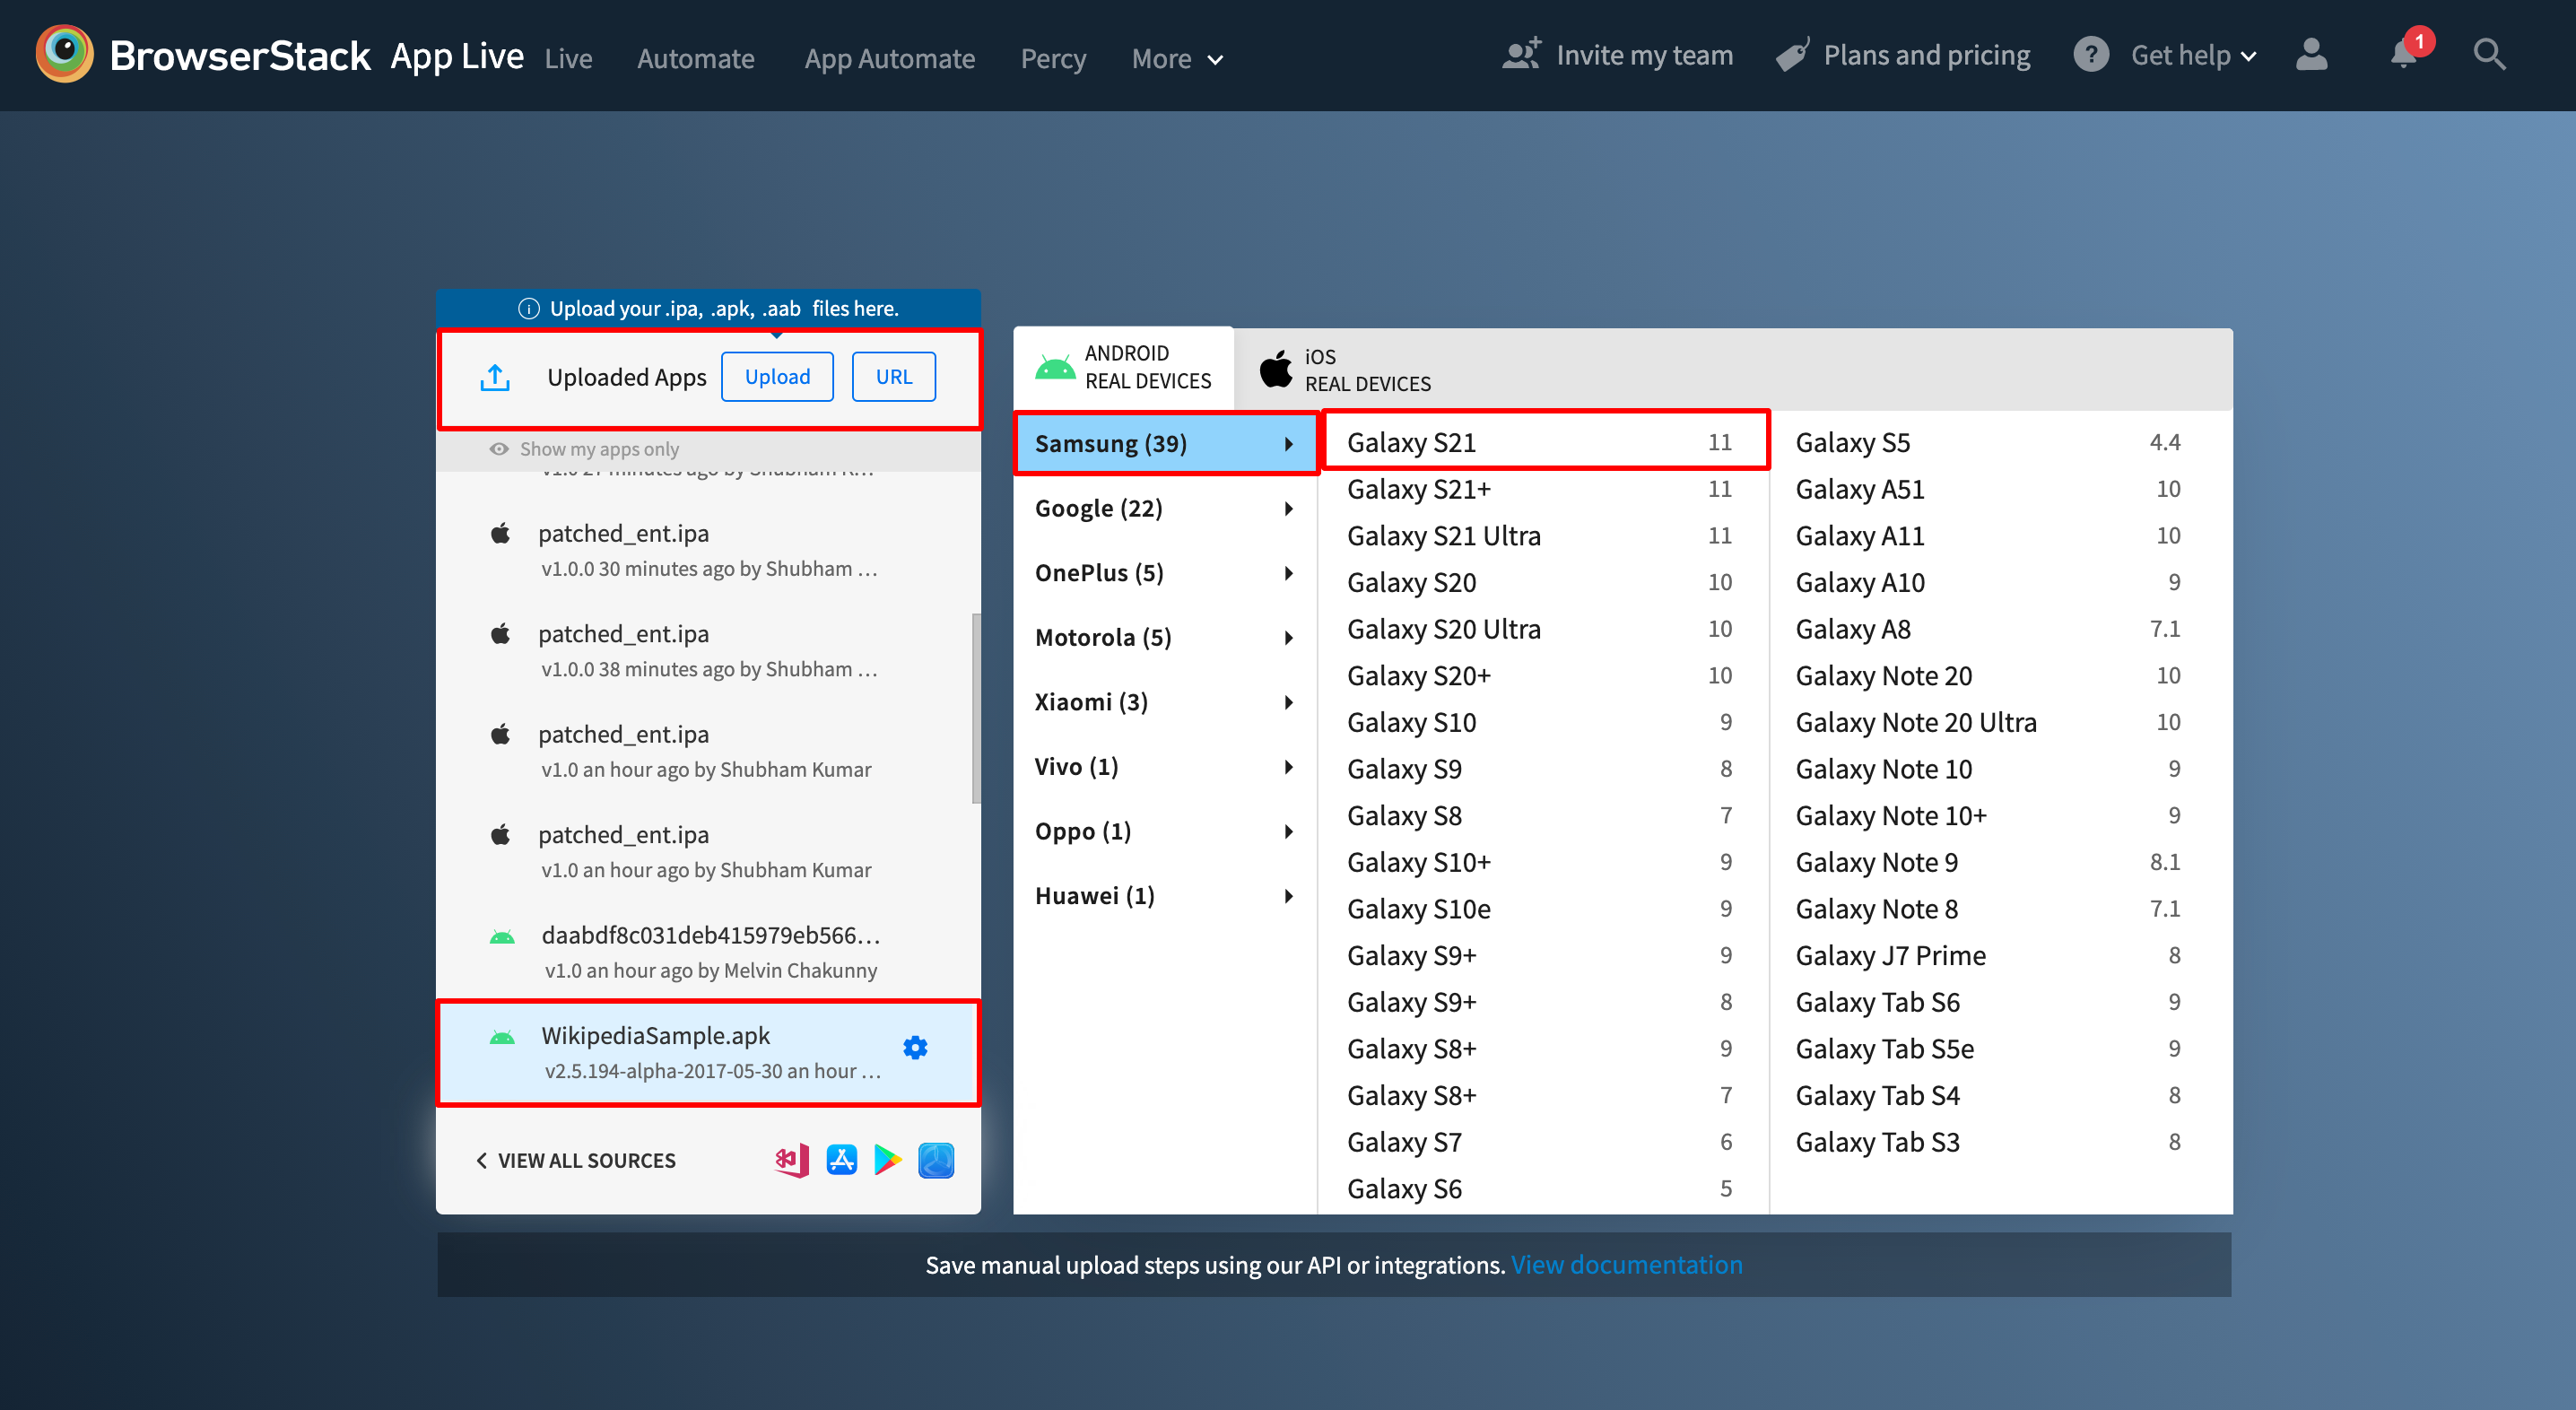
4. Upload the .apk file if the app to be tested is not published on Play Store.
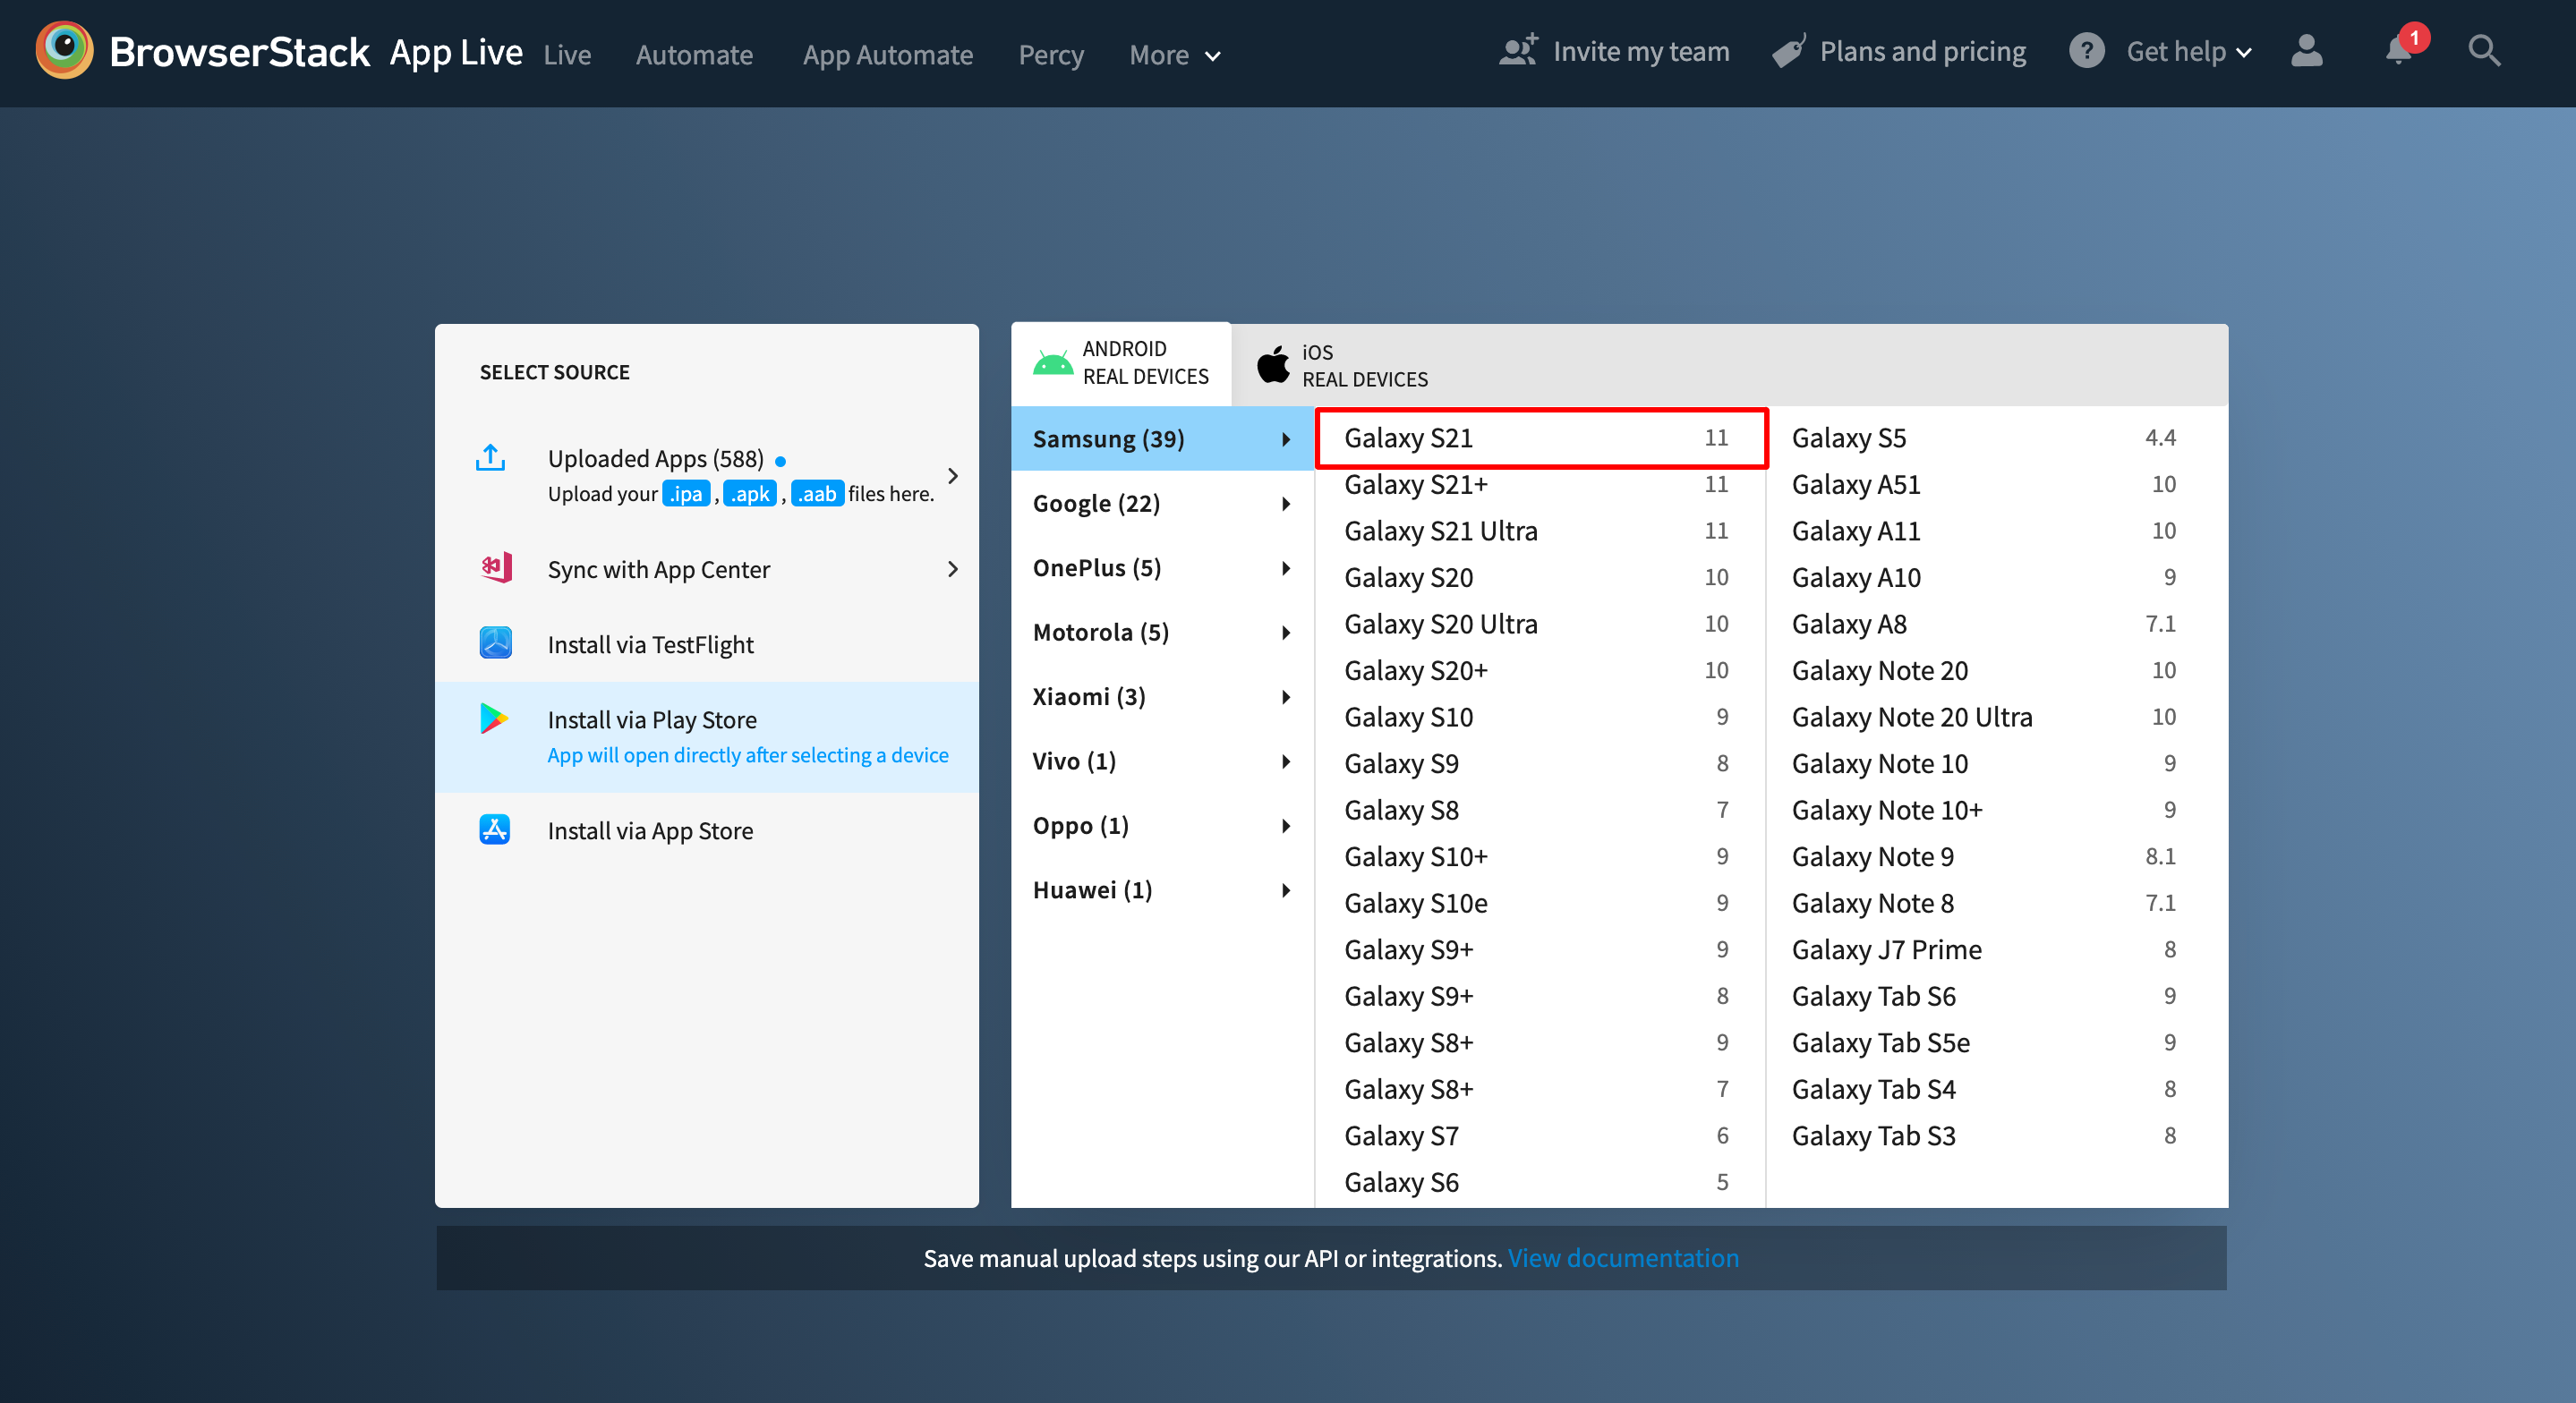
5. If the app is already published, choose the Android device it should be tested on. In this example, we choose the Samsung Galaxy S21.
6. You can also pick a sample app from the ones available in the Live dashboard.
7. On selecting the device, the uploaded/selected app will automatically open in the device in question.
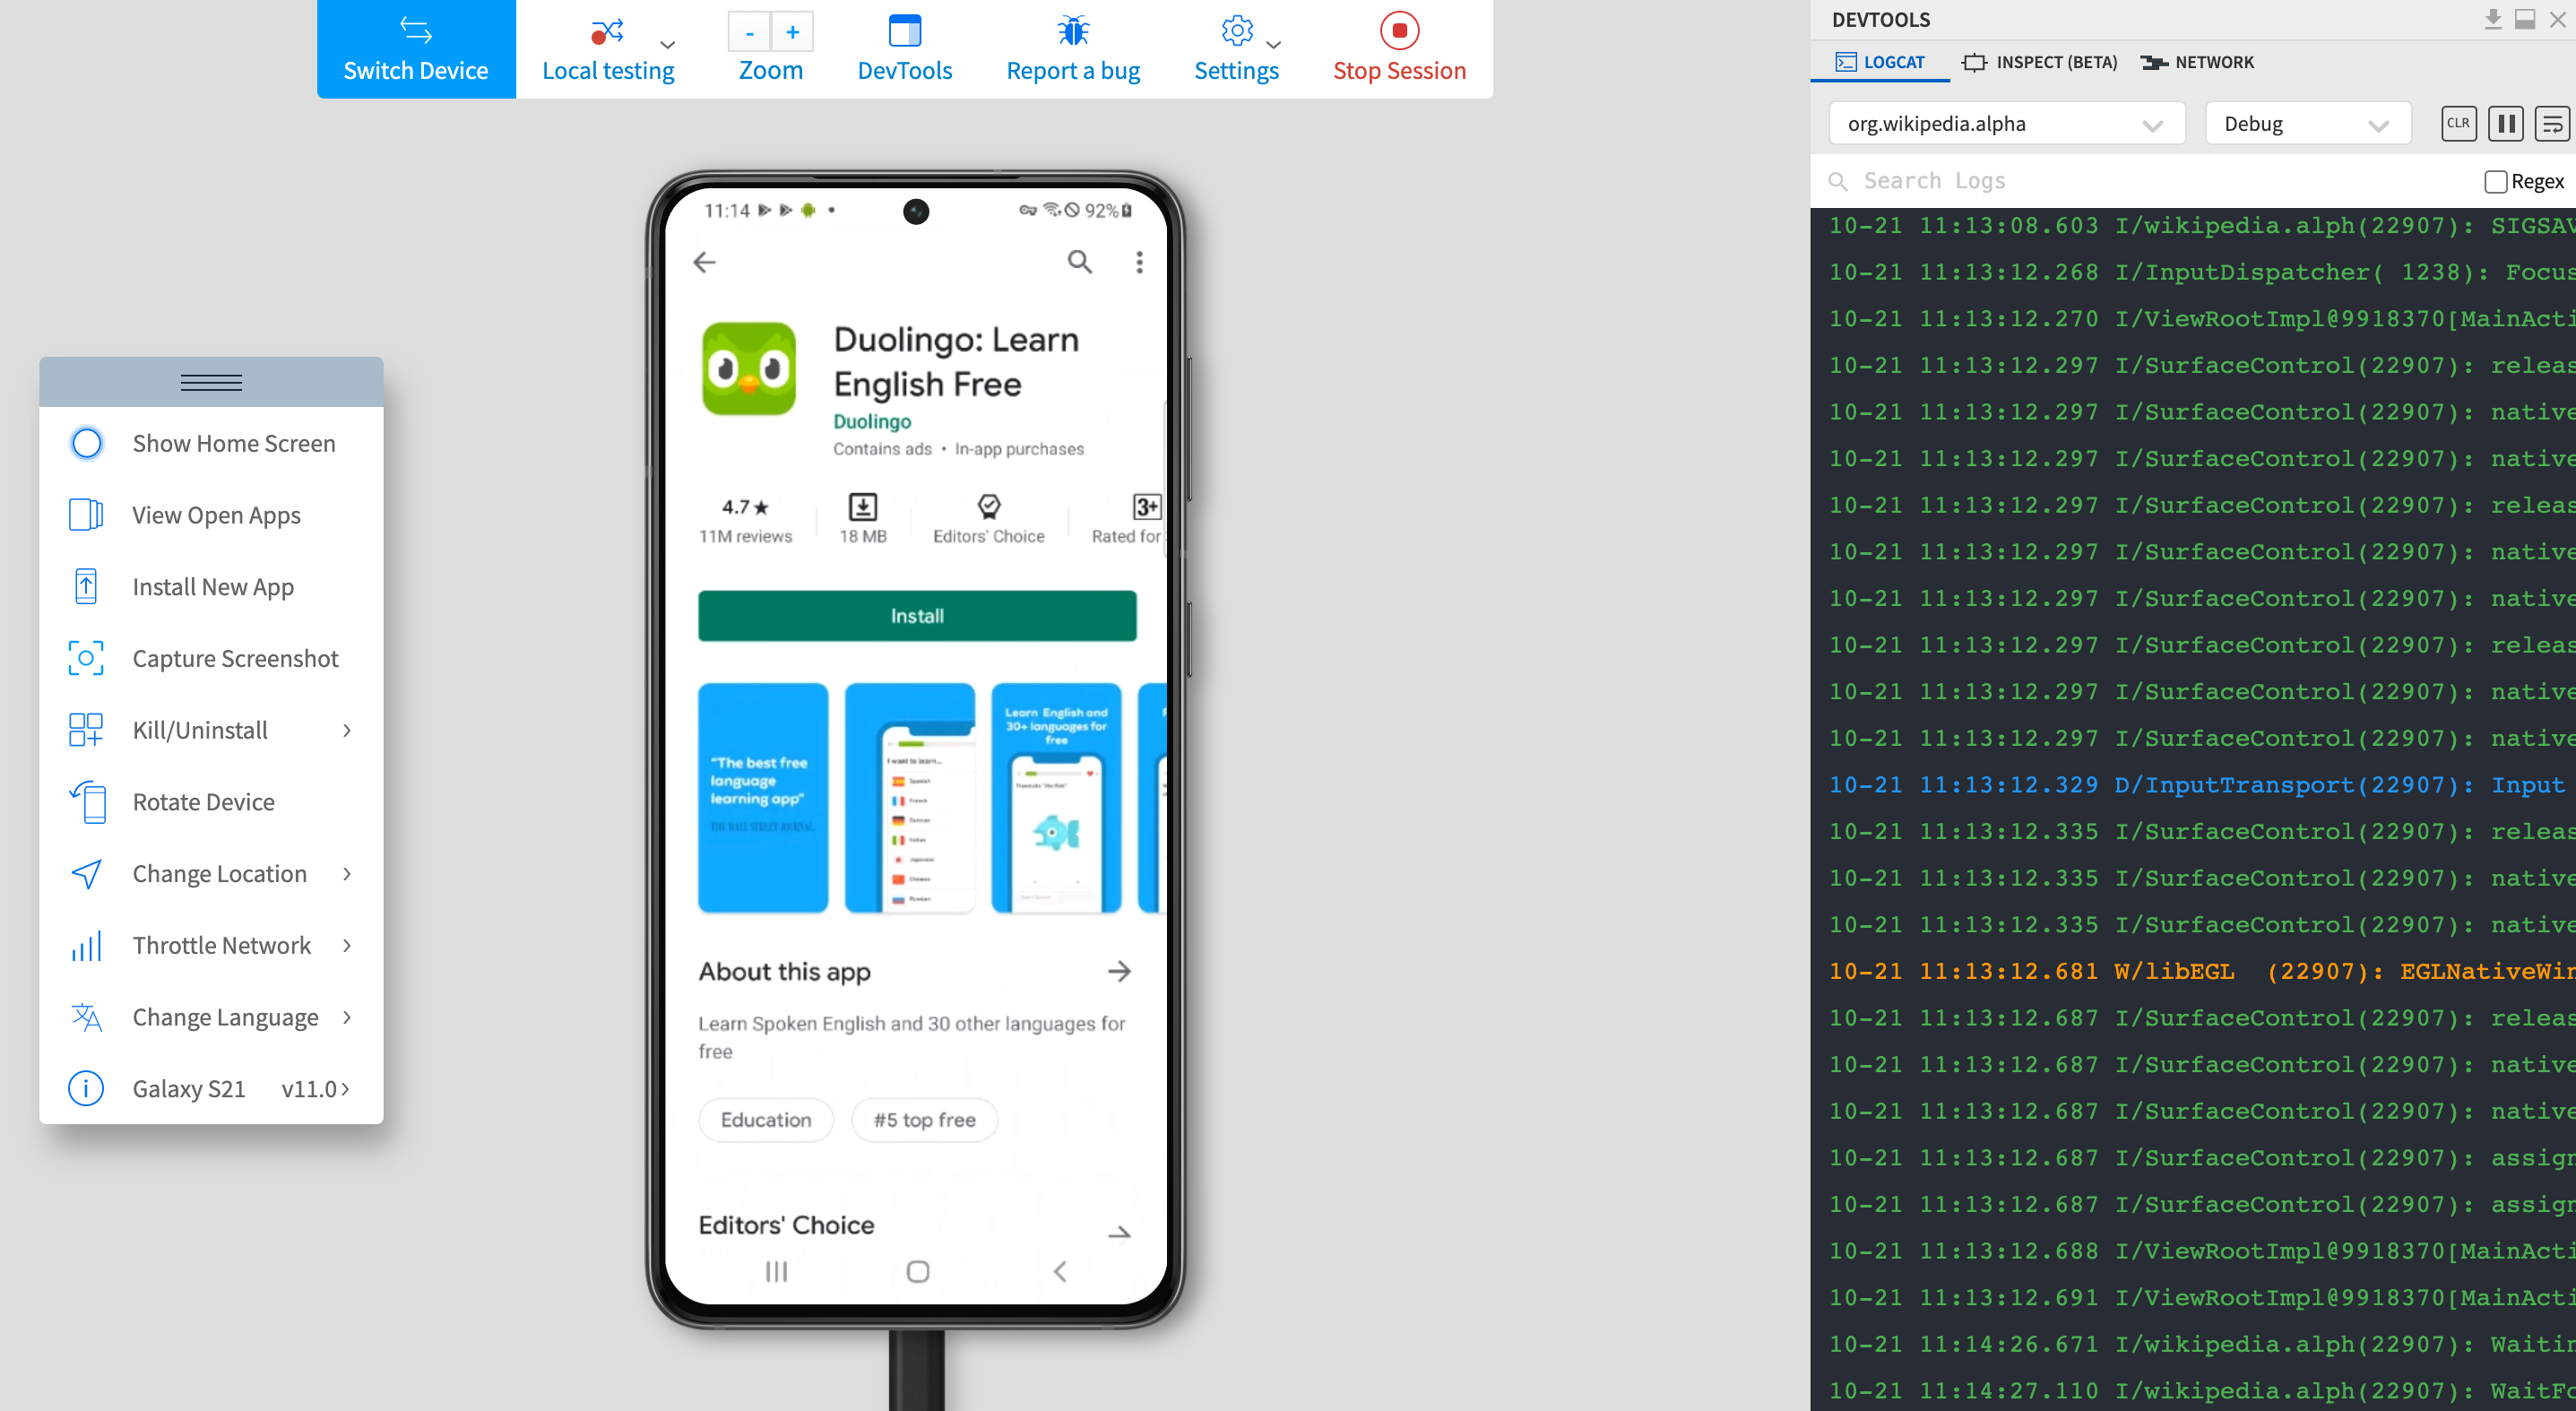
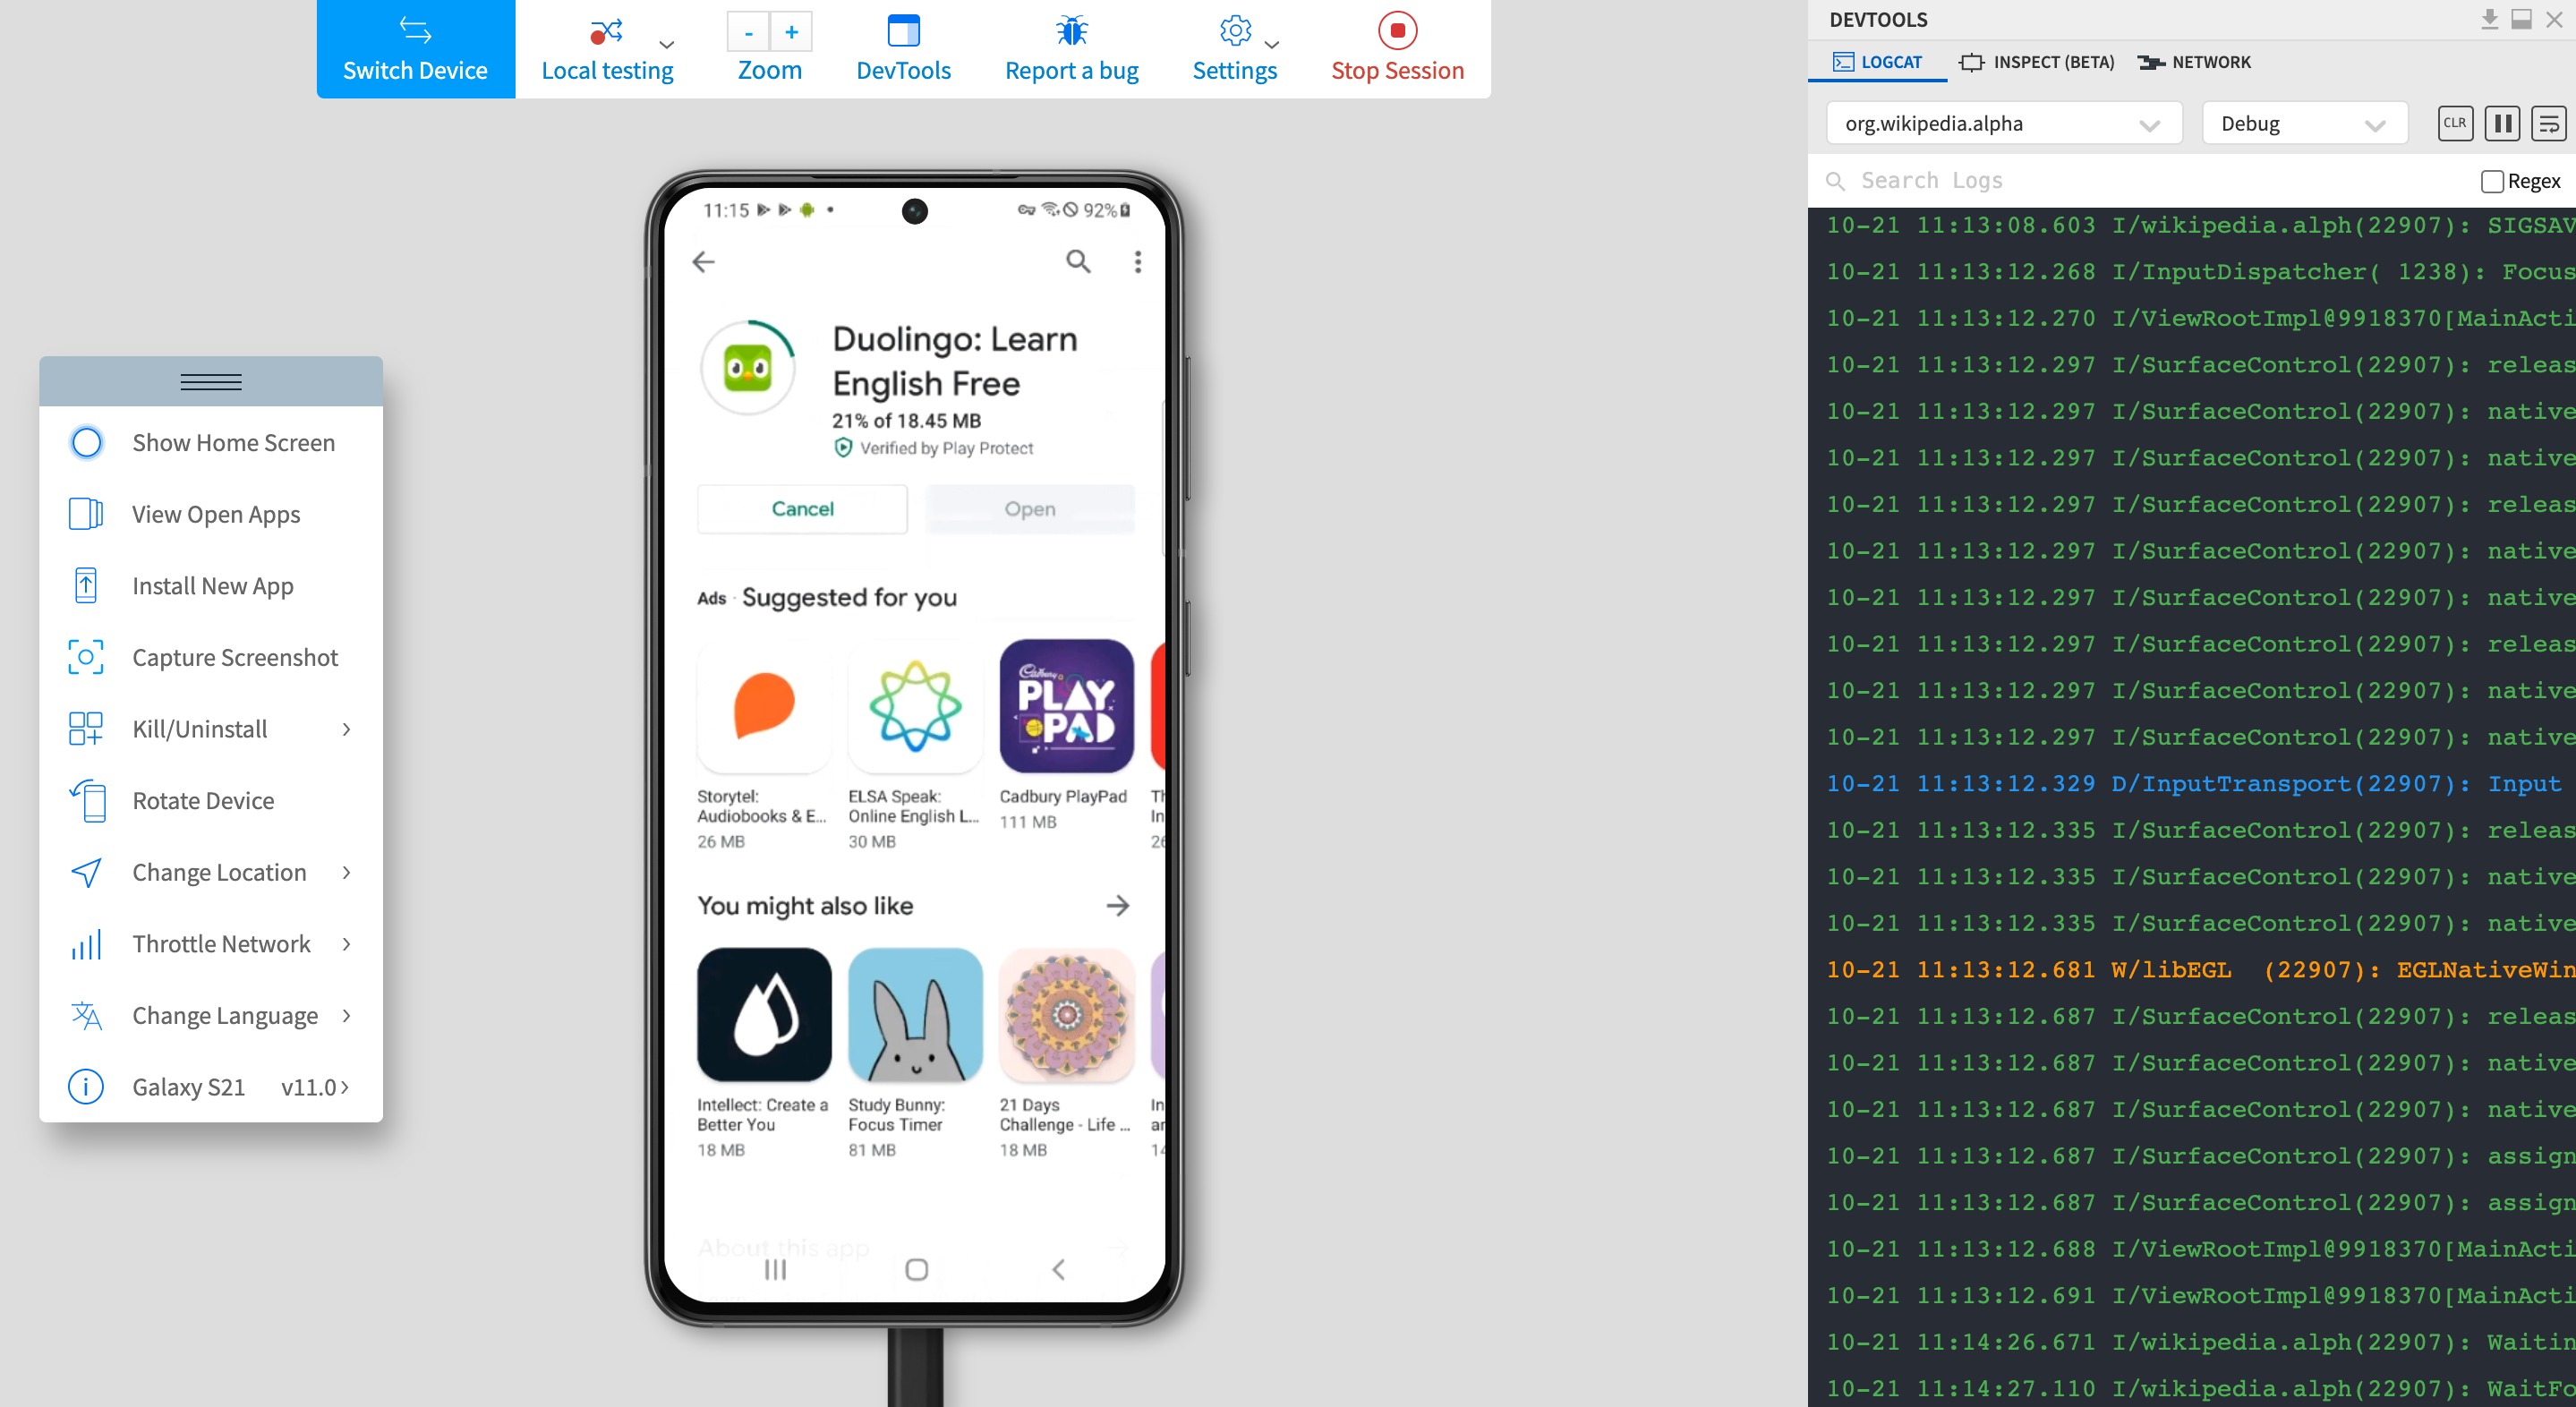
8. Alternatively, you can sign in to Google Play Store, download and install a published app and test its in-app purchase feature. Just pick the Install via Google Play Store option. 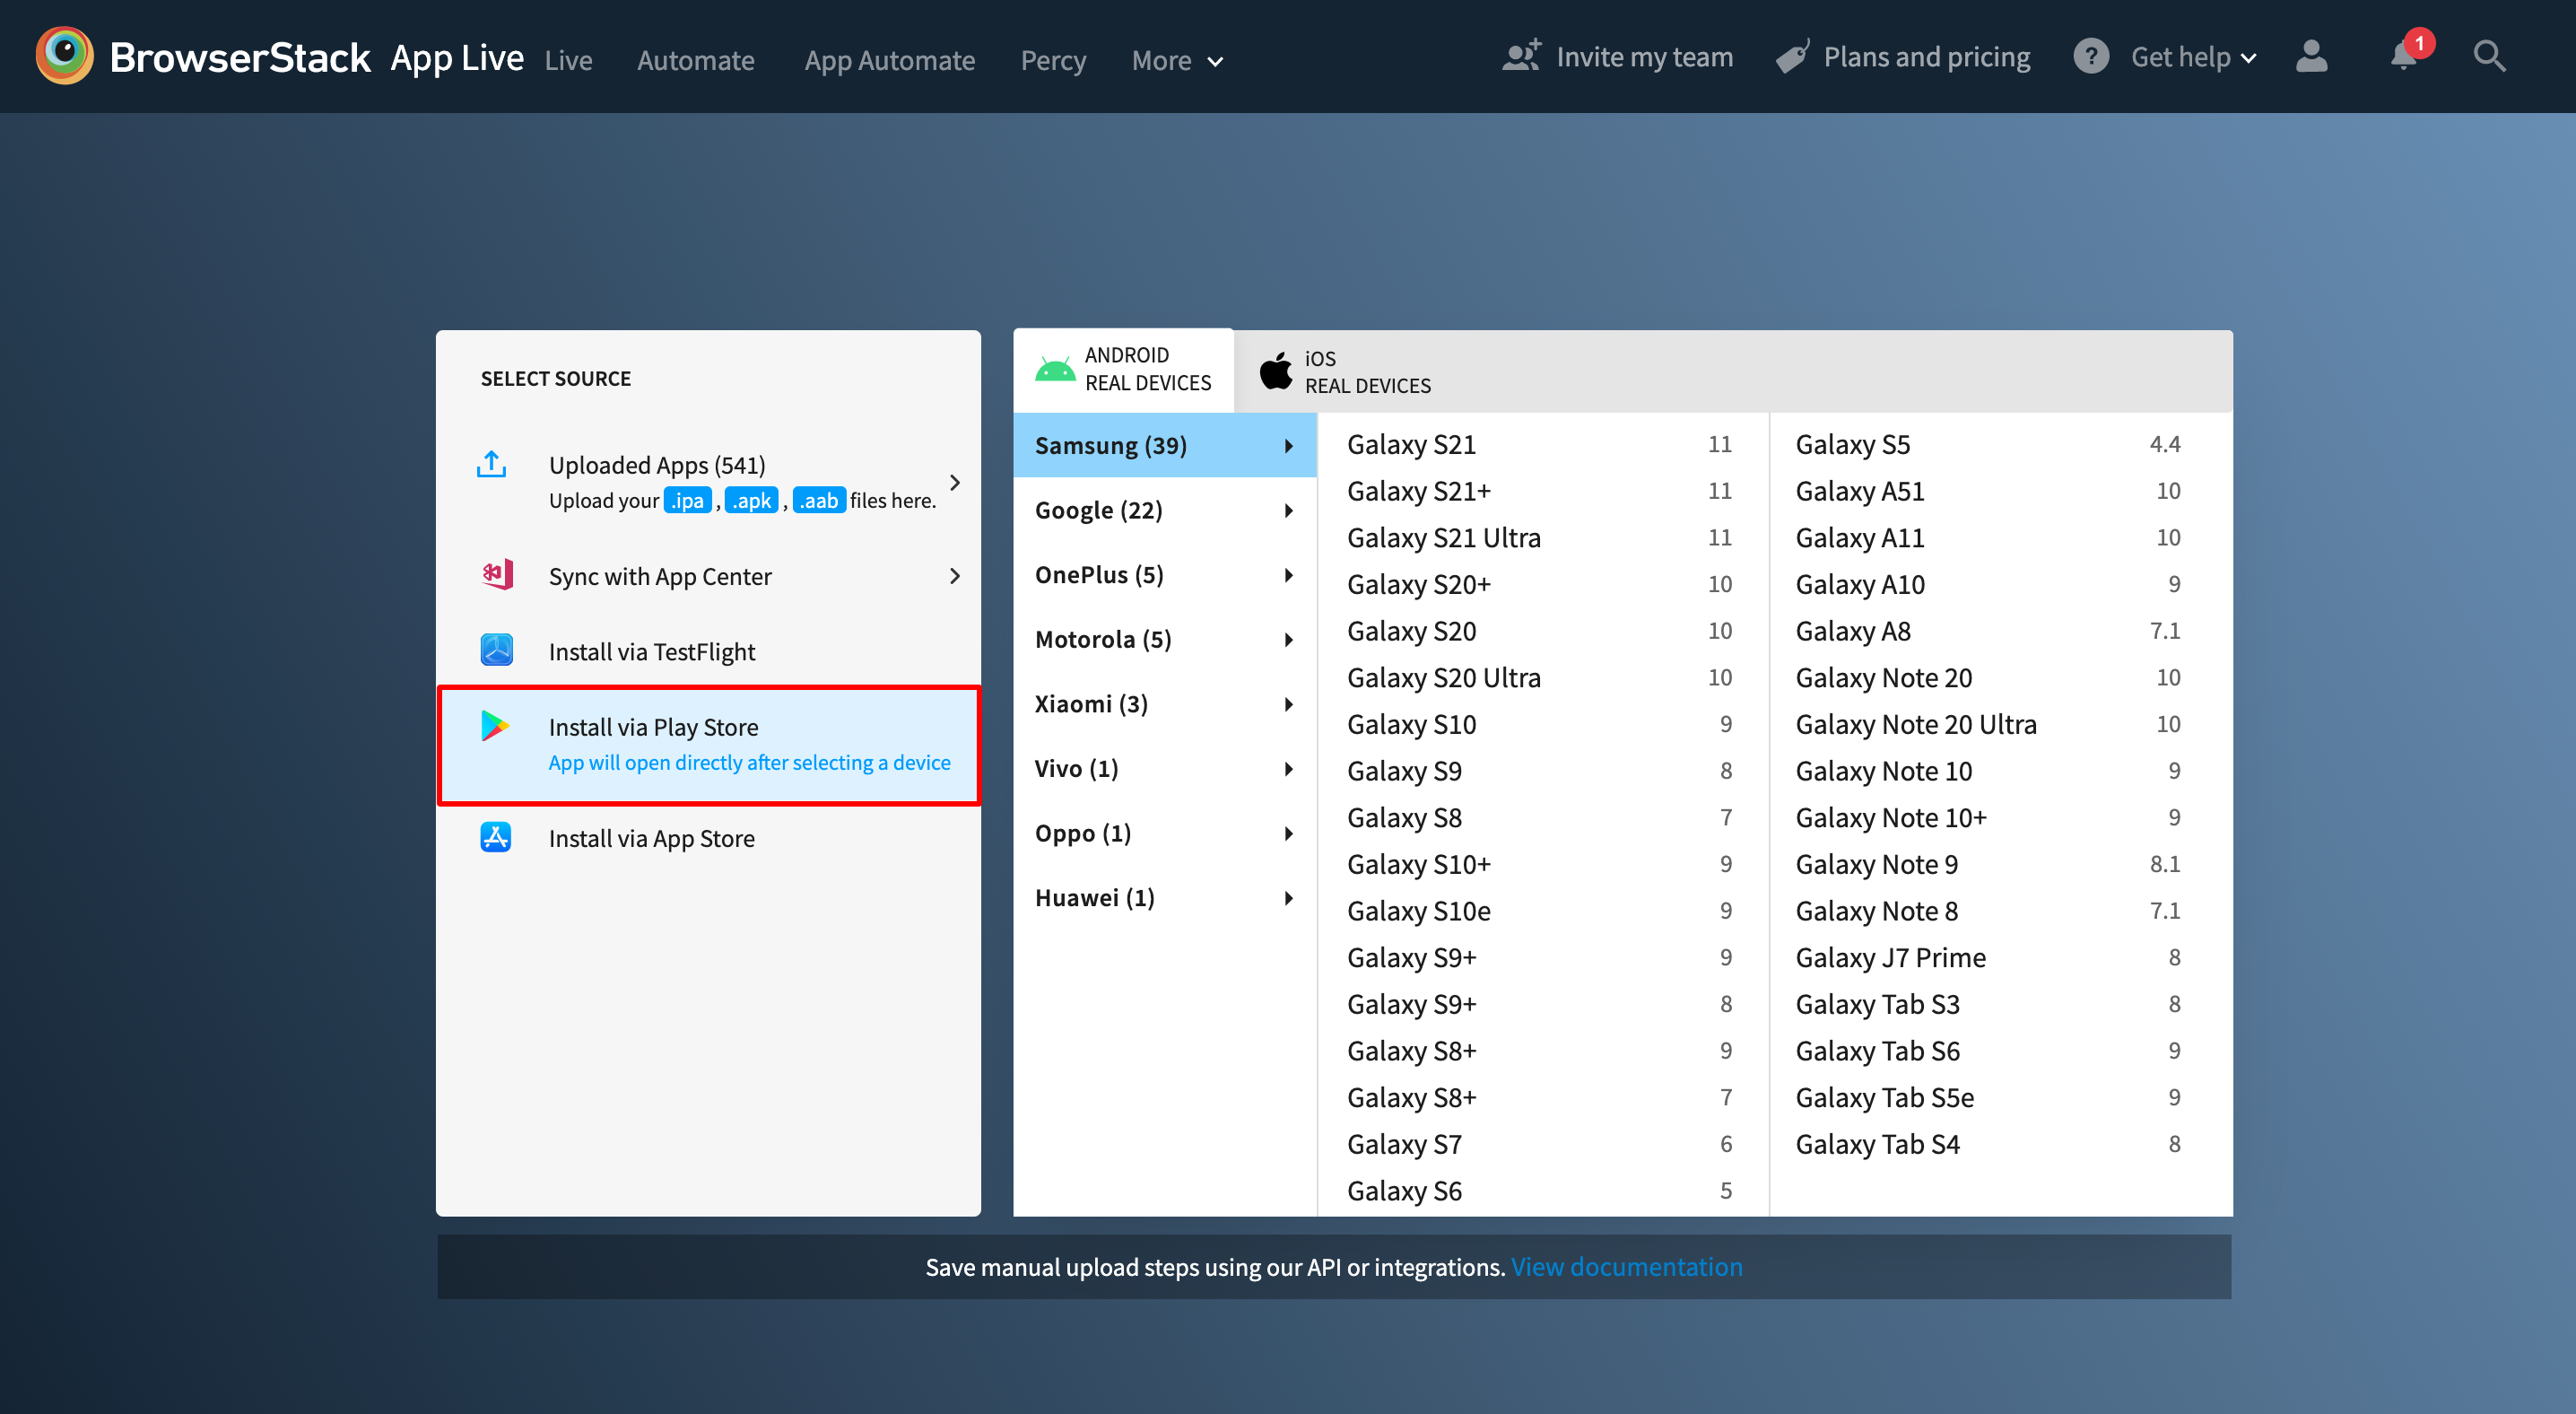
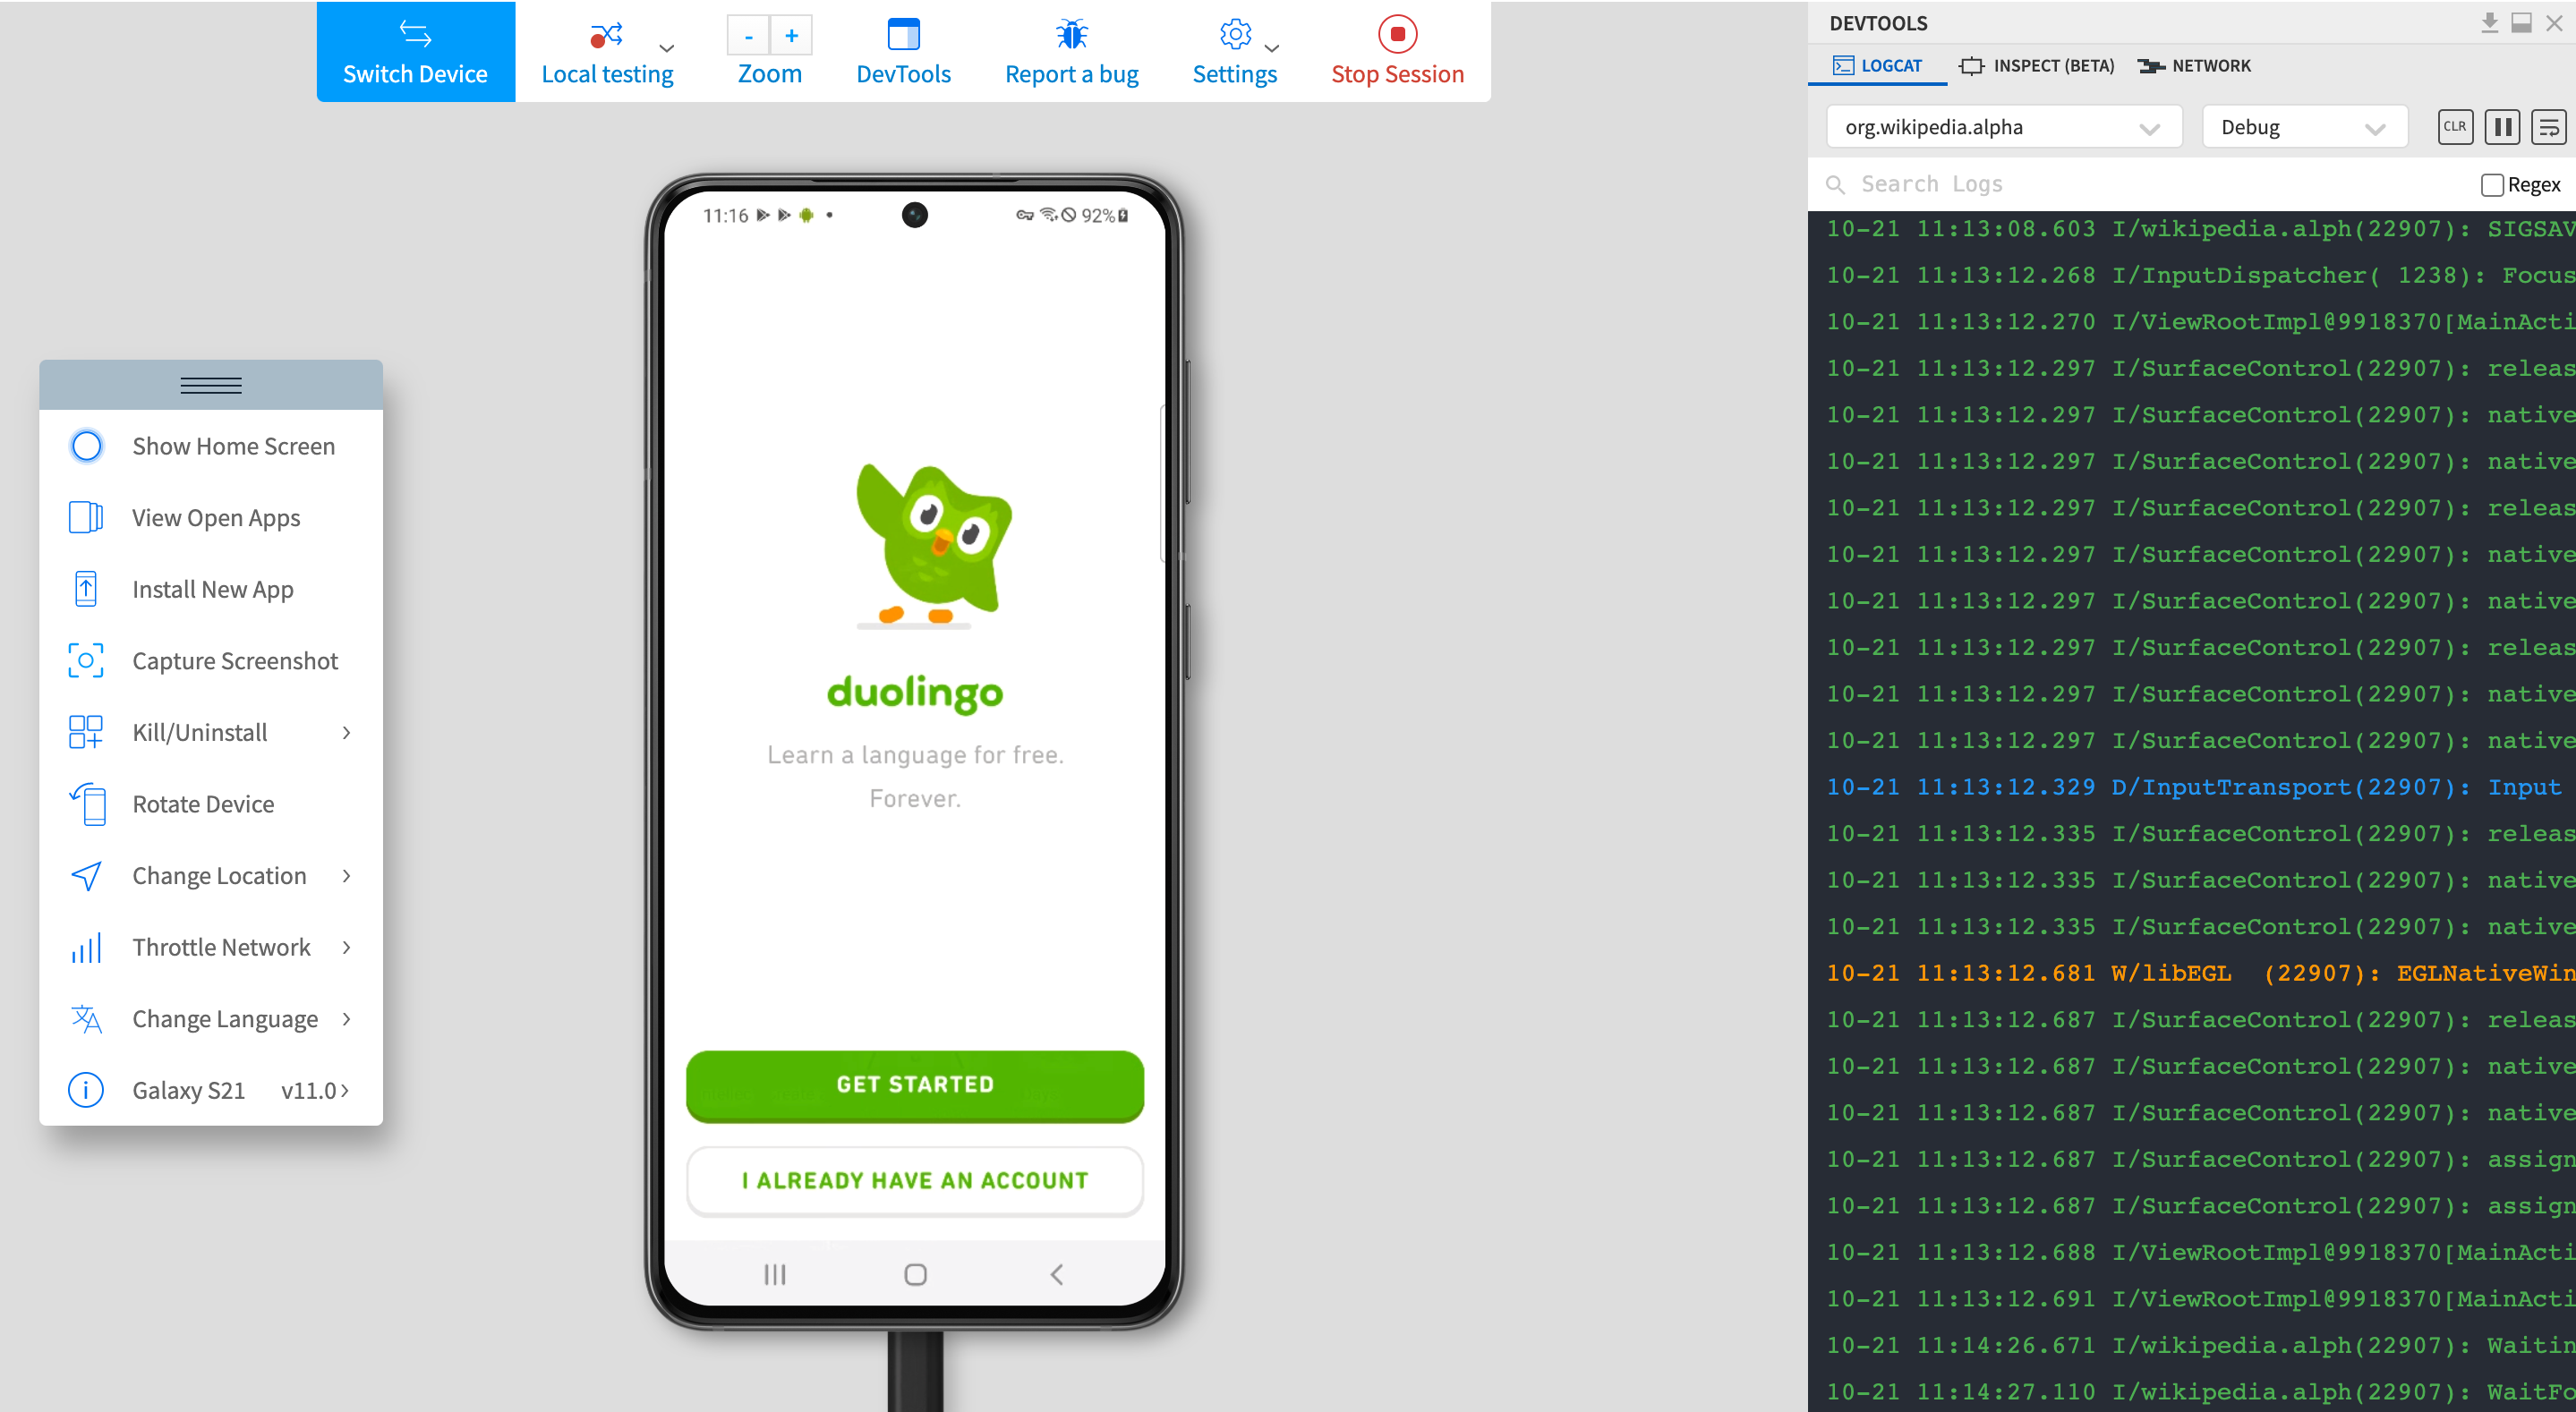
9. In this example, we are testing the Duolingo app.
10. If the user is signing up for an account on the app for the first time, they will have to go through a short lesson before accessing the purchase option.
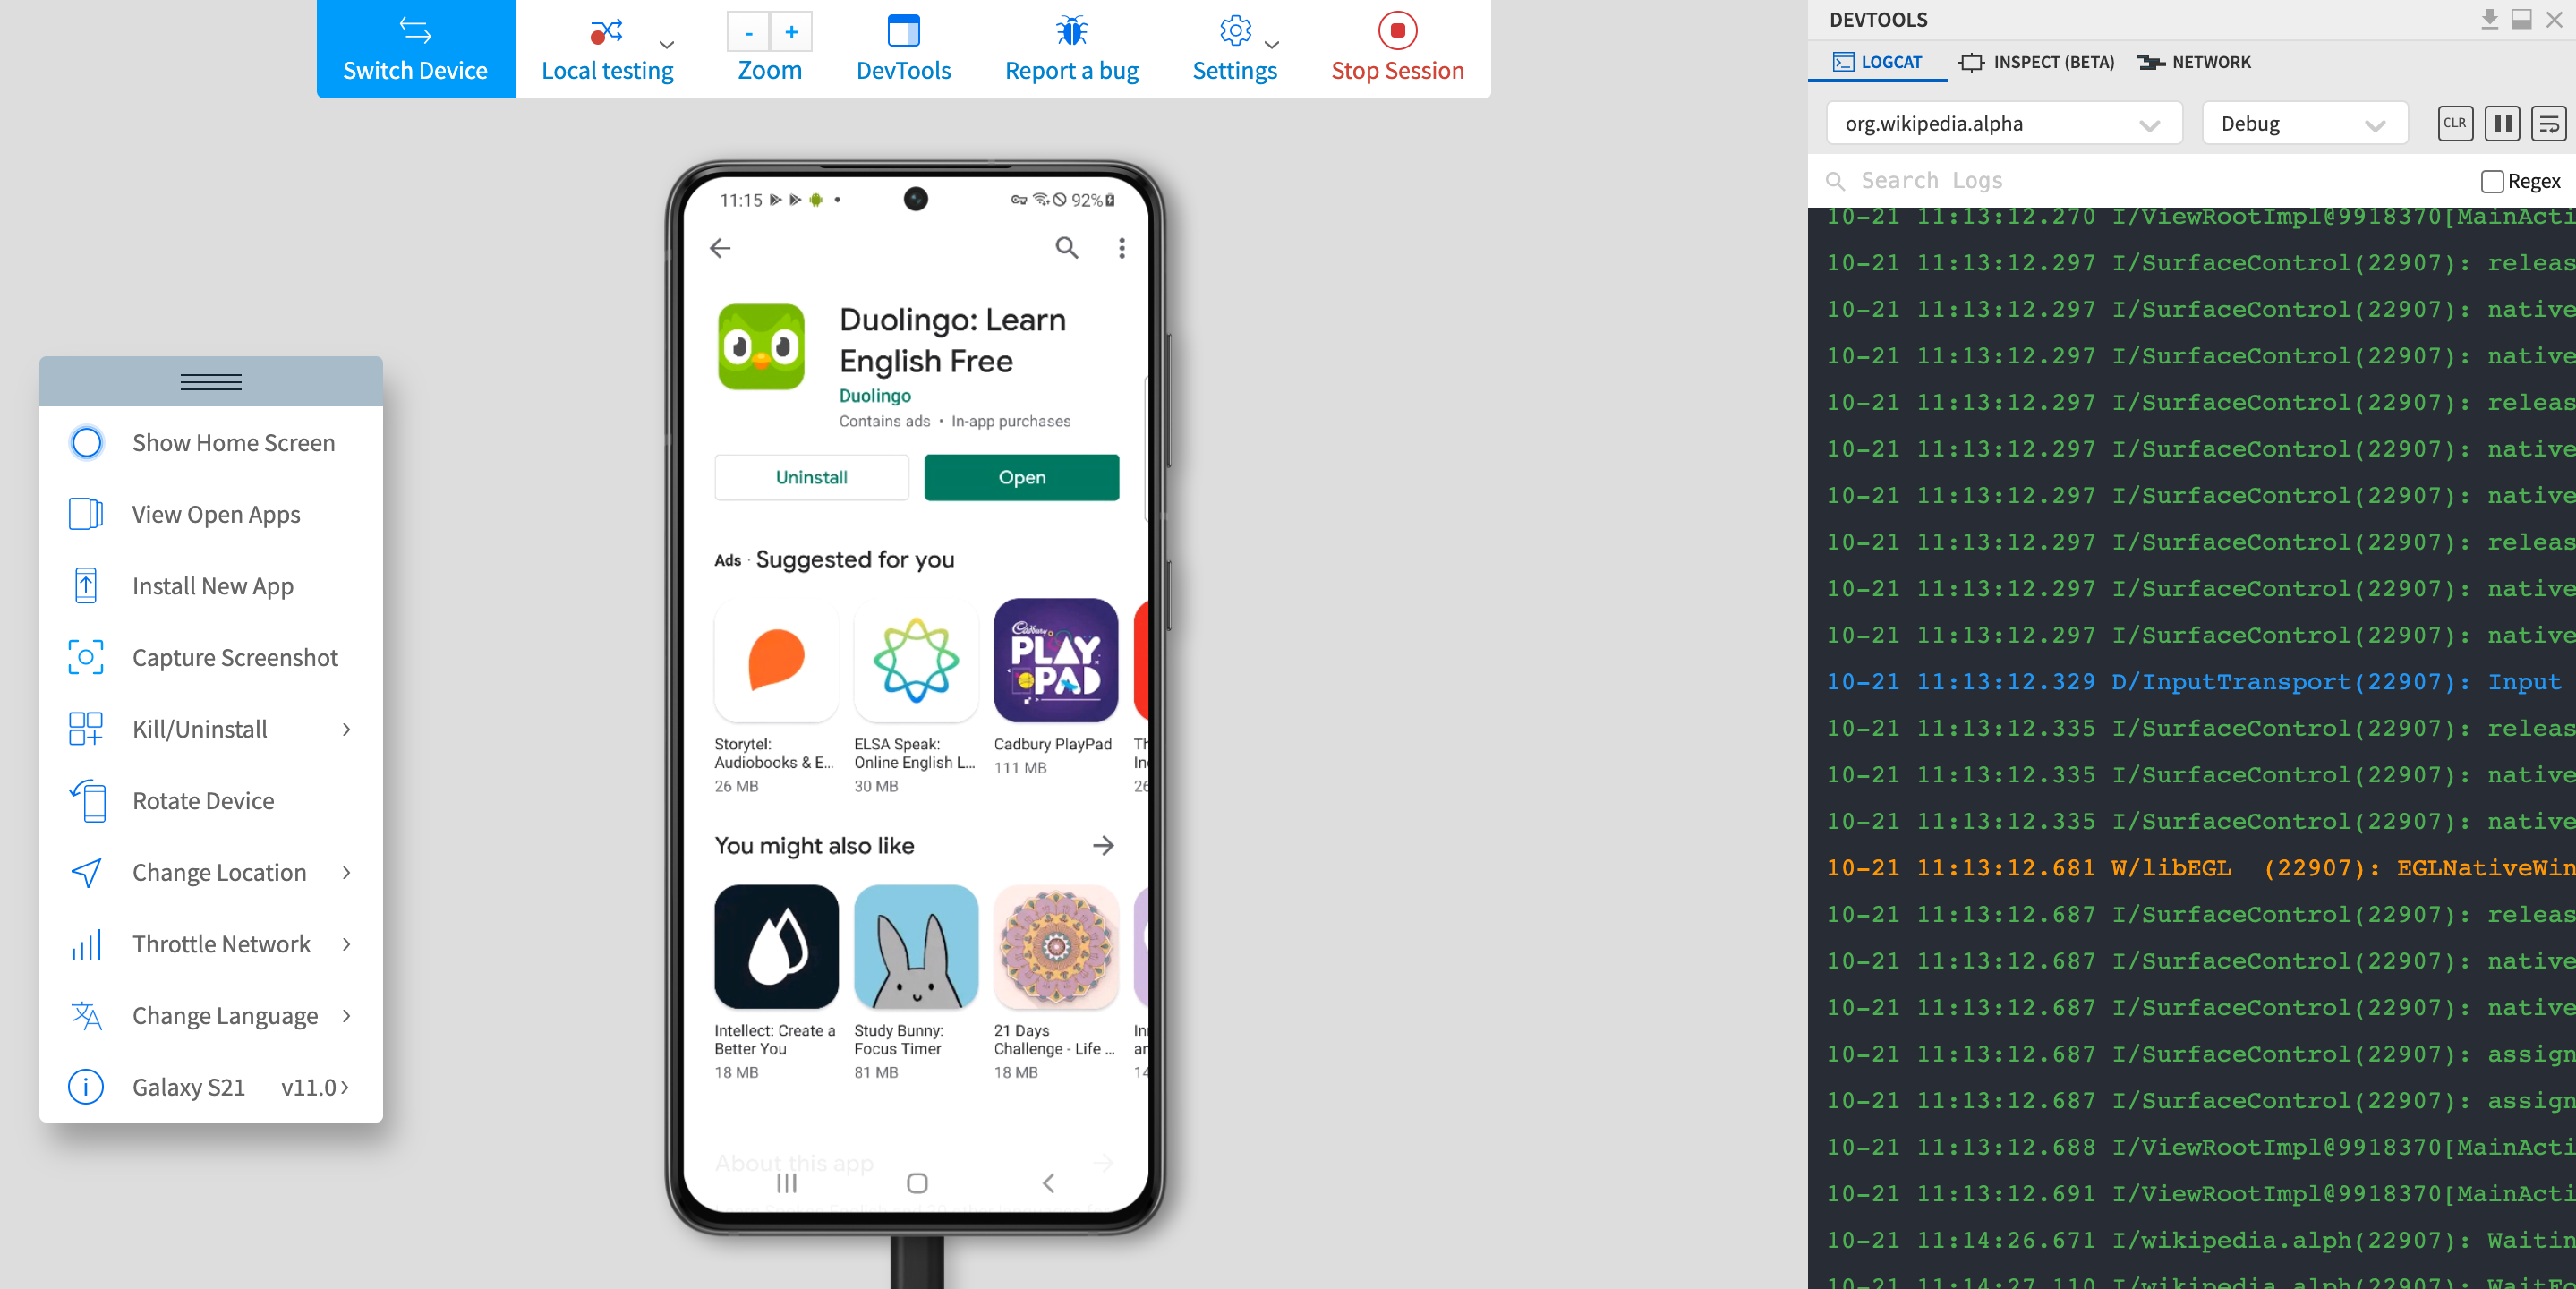
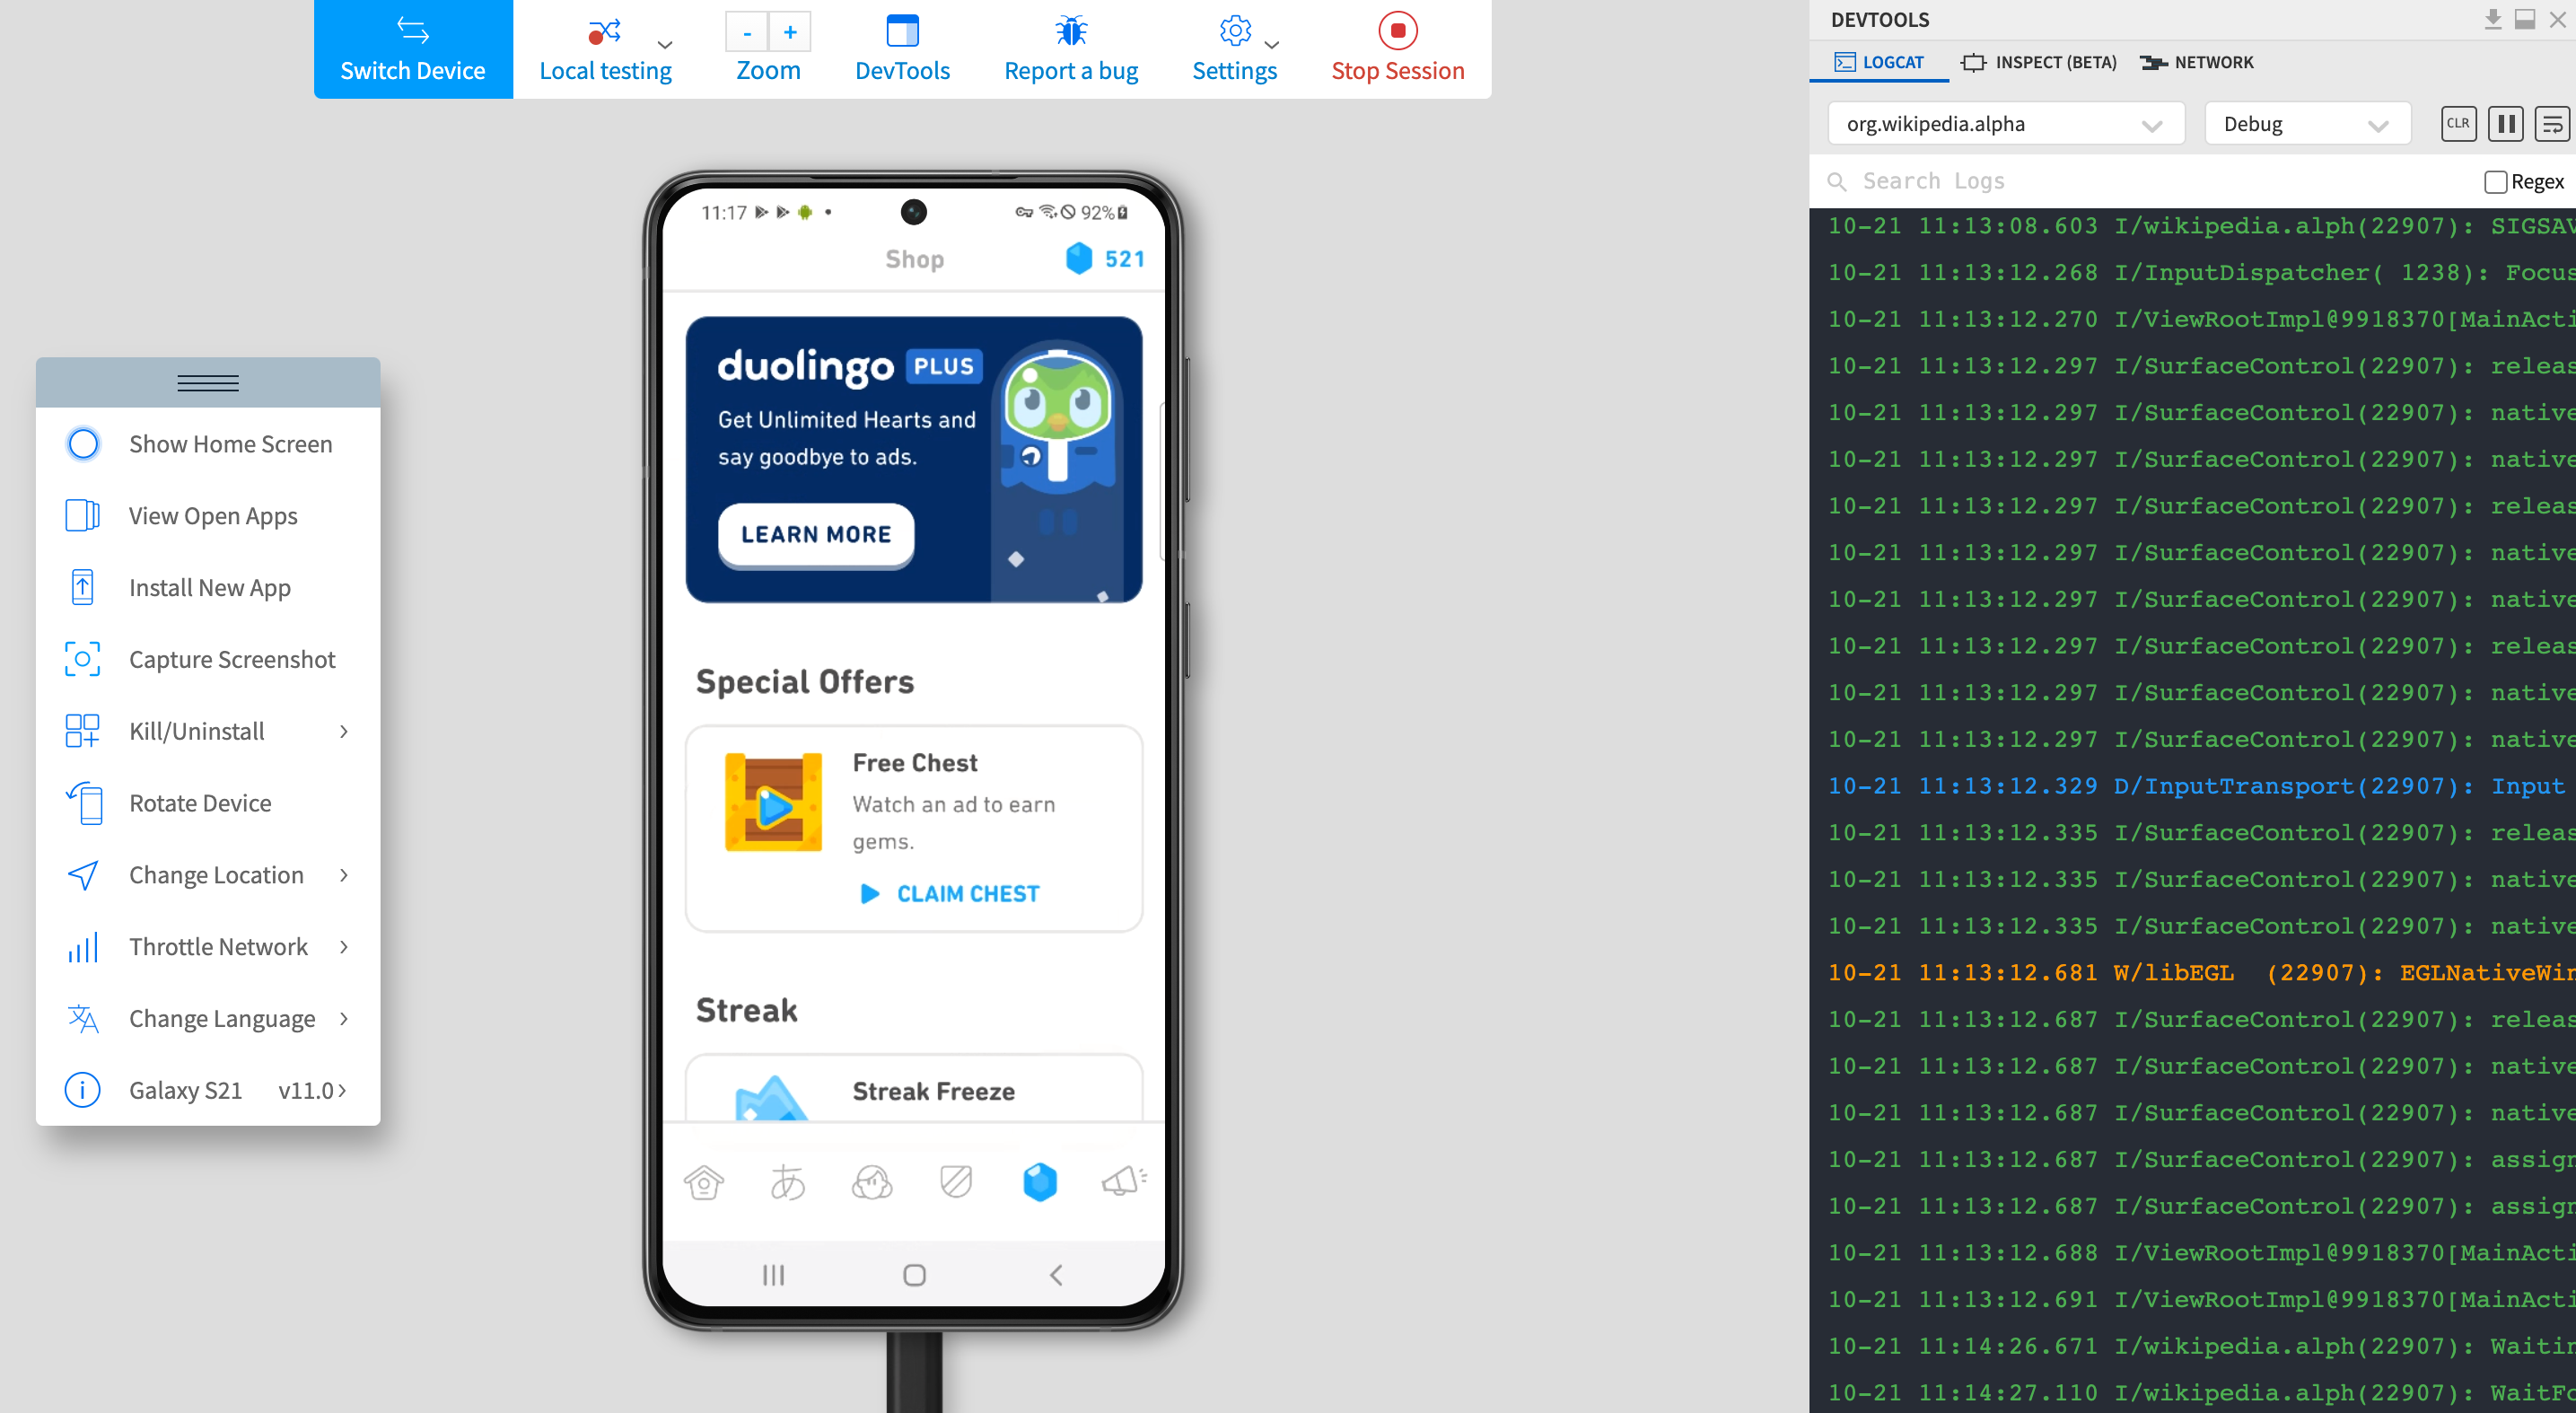
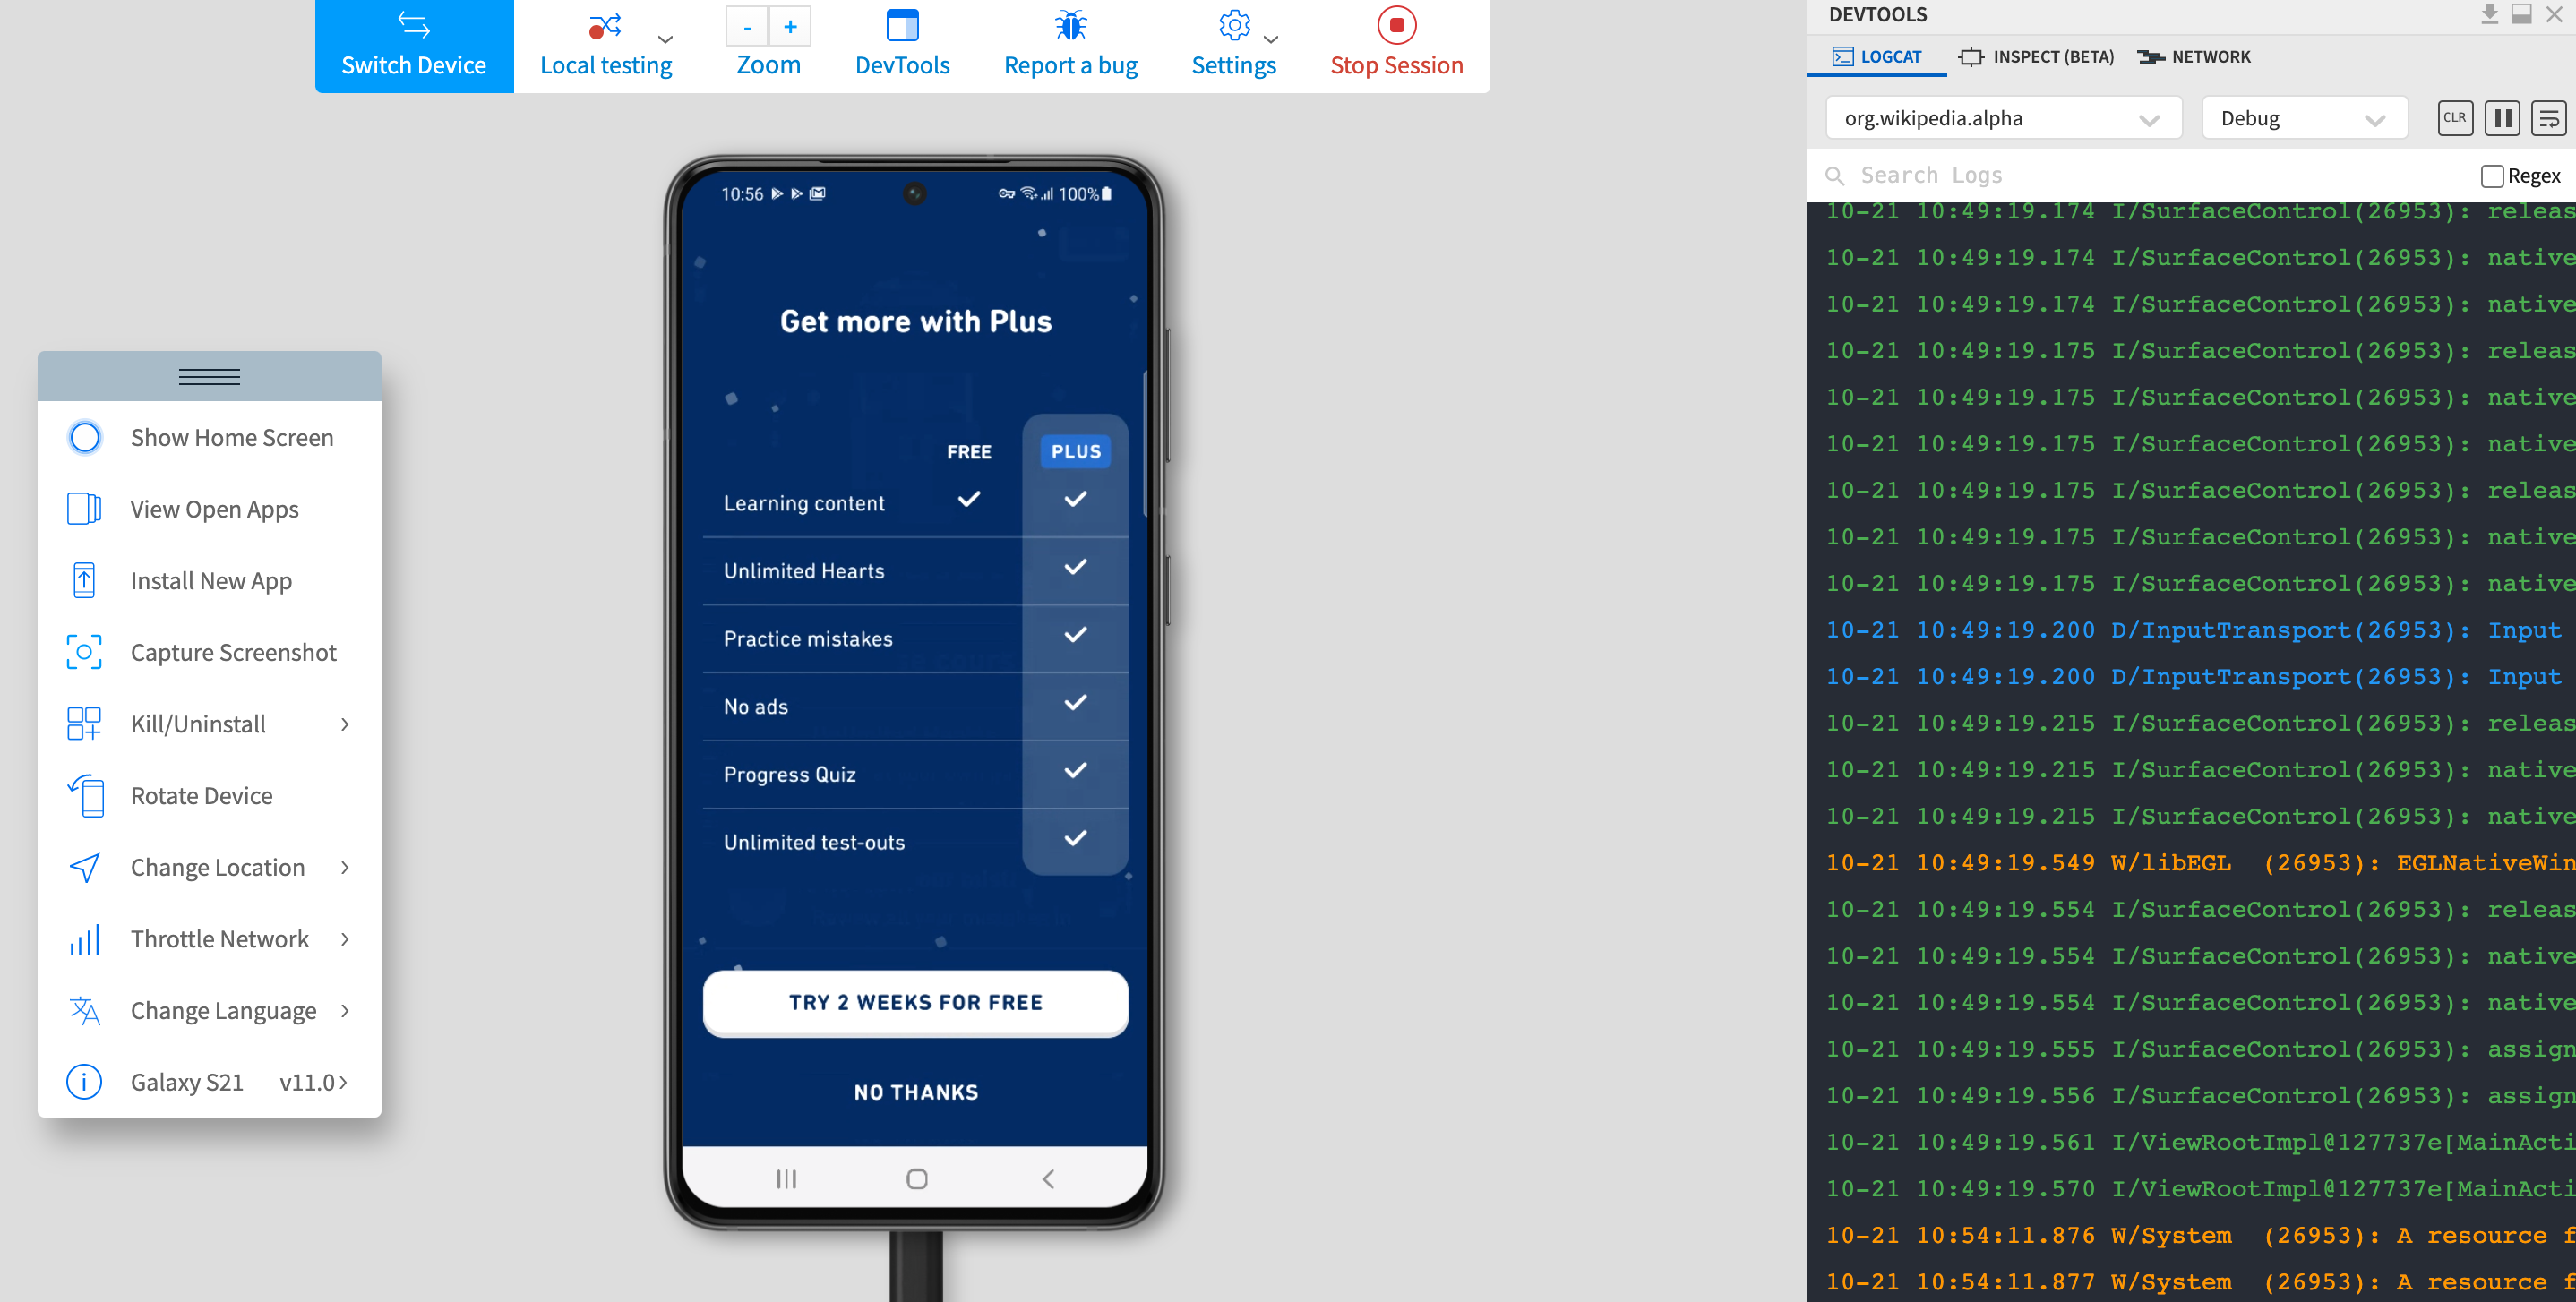
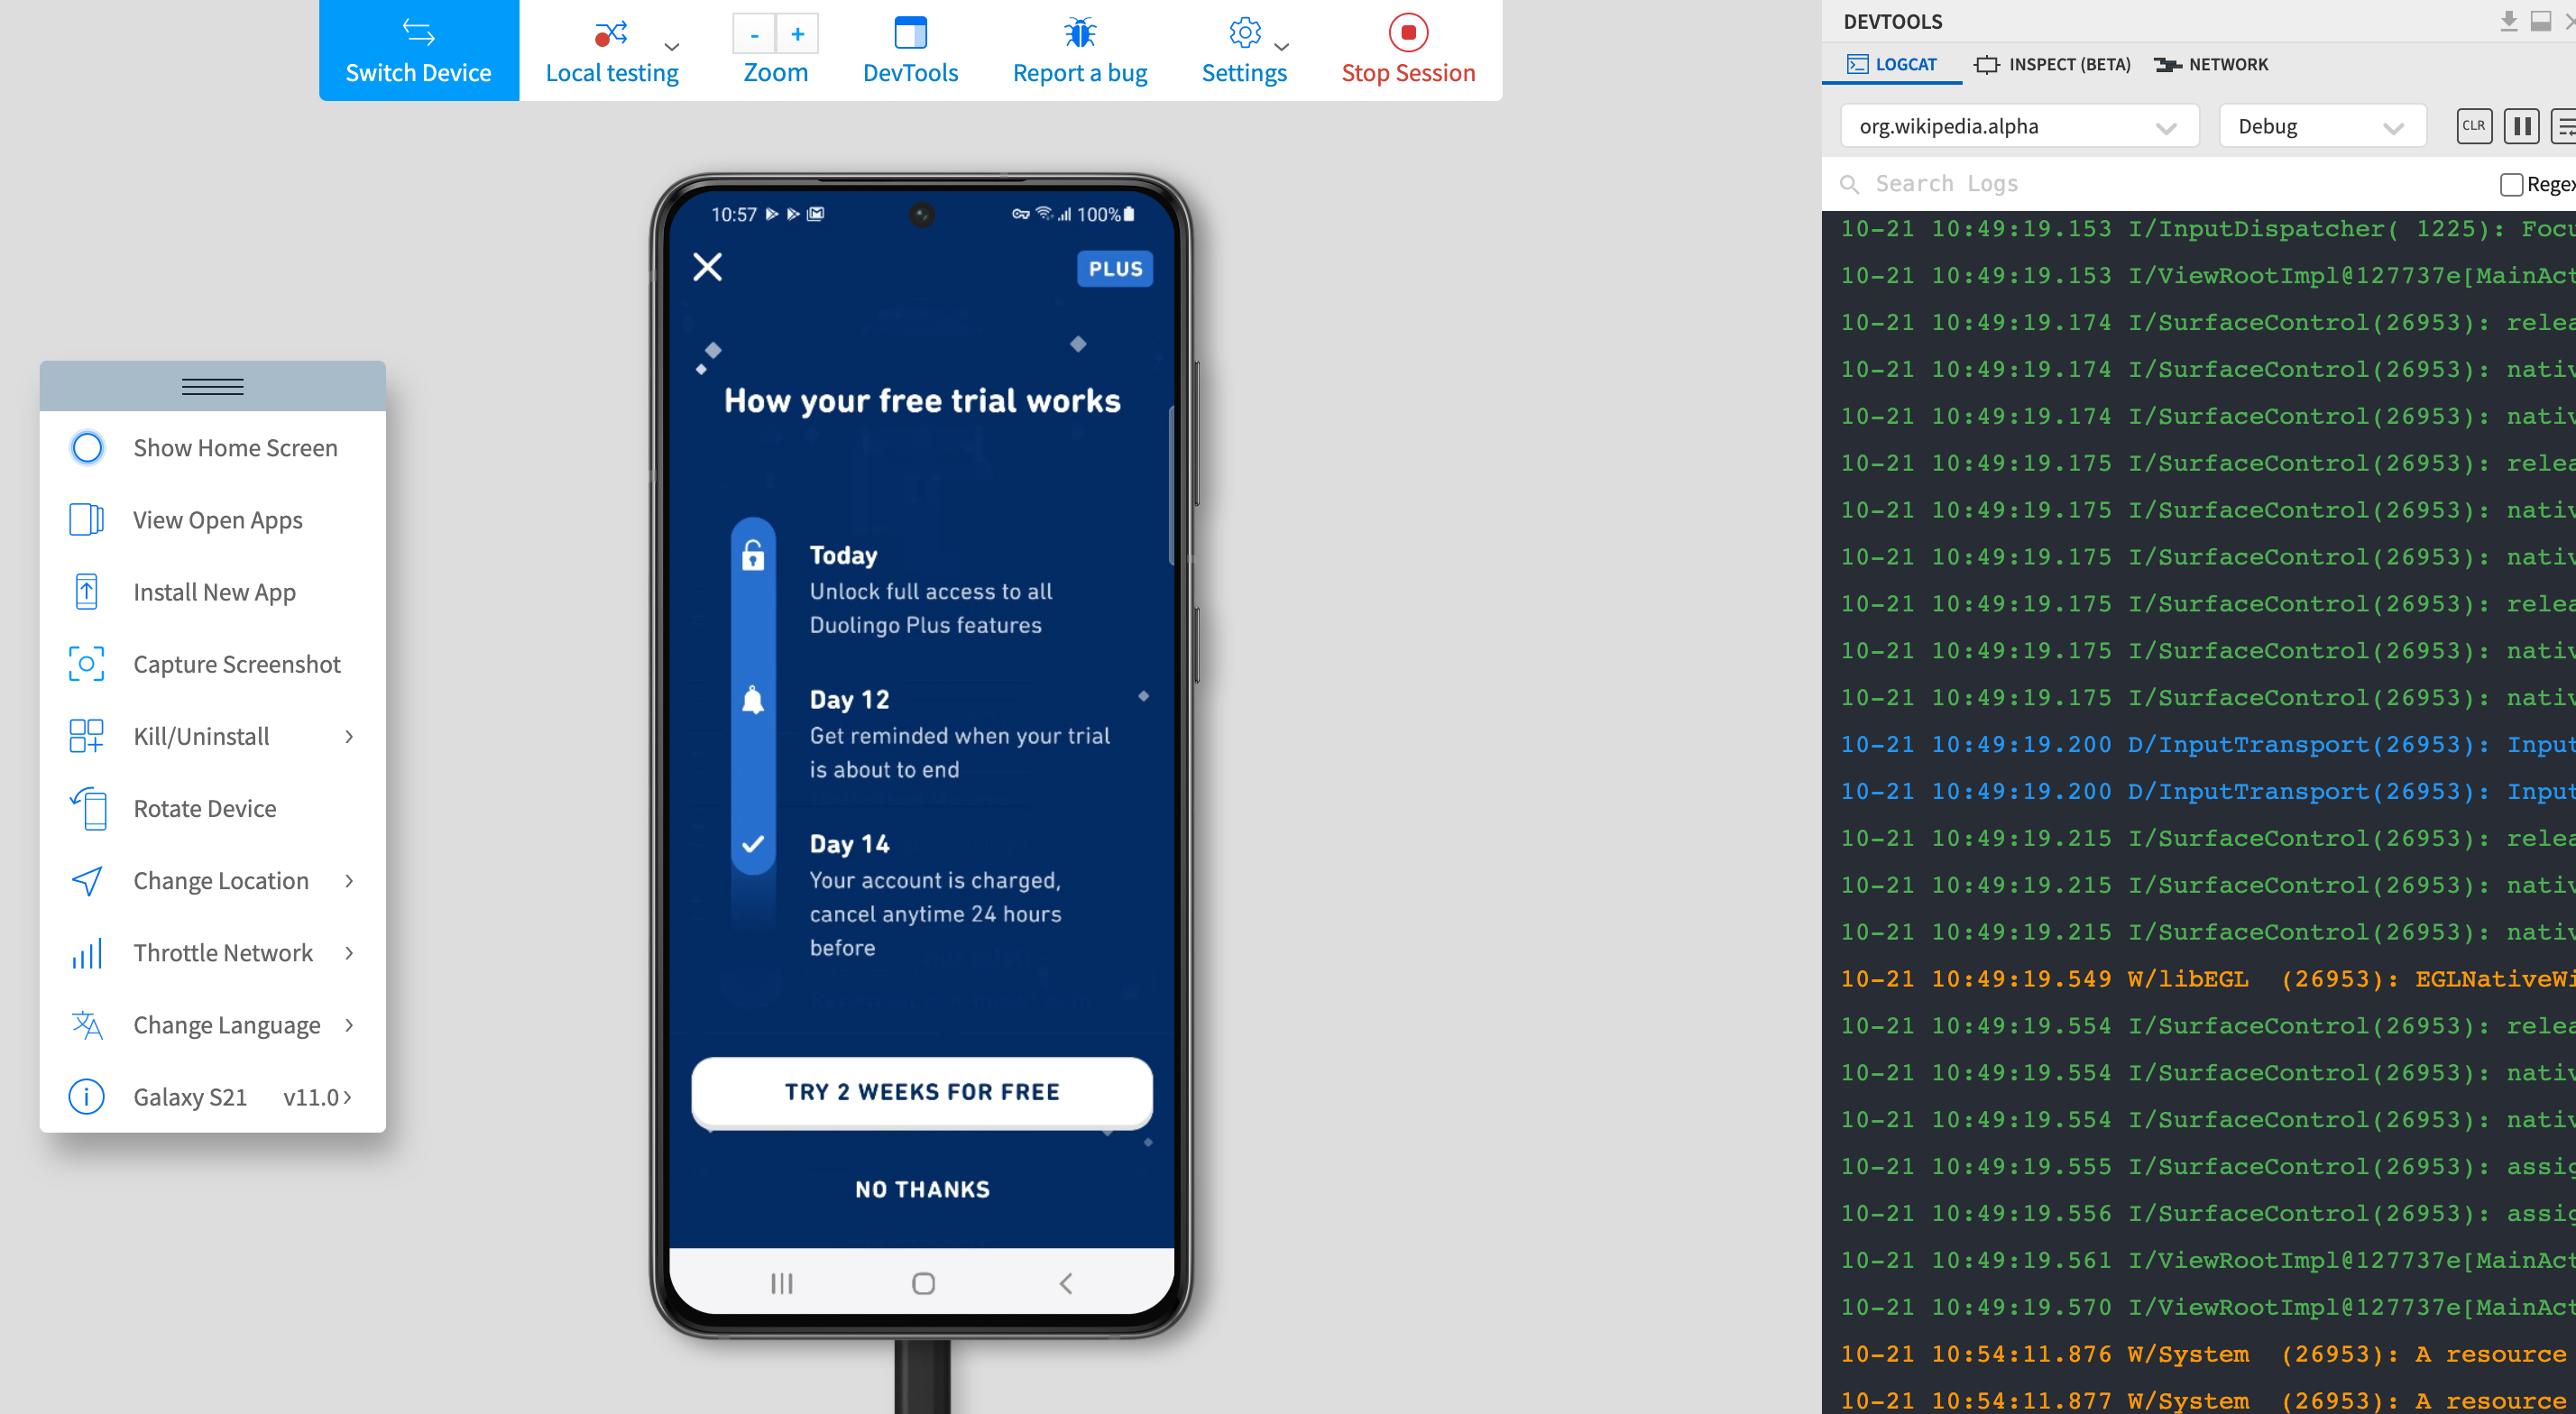
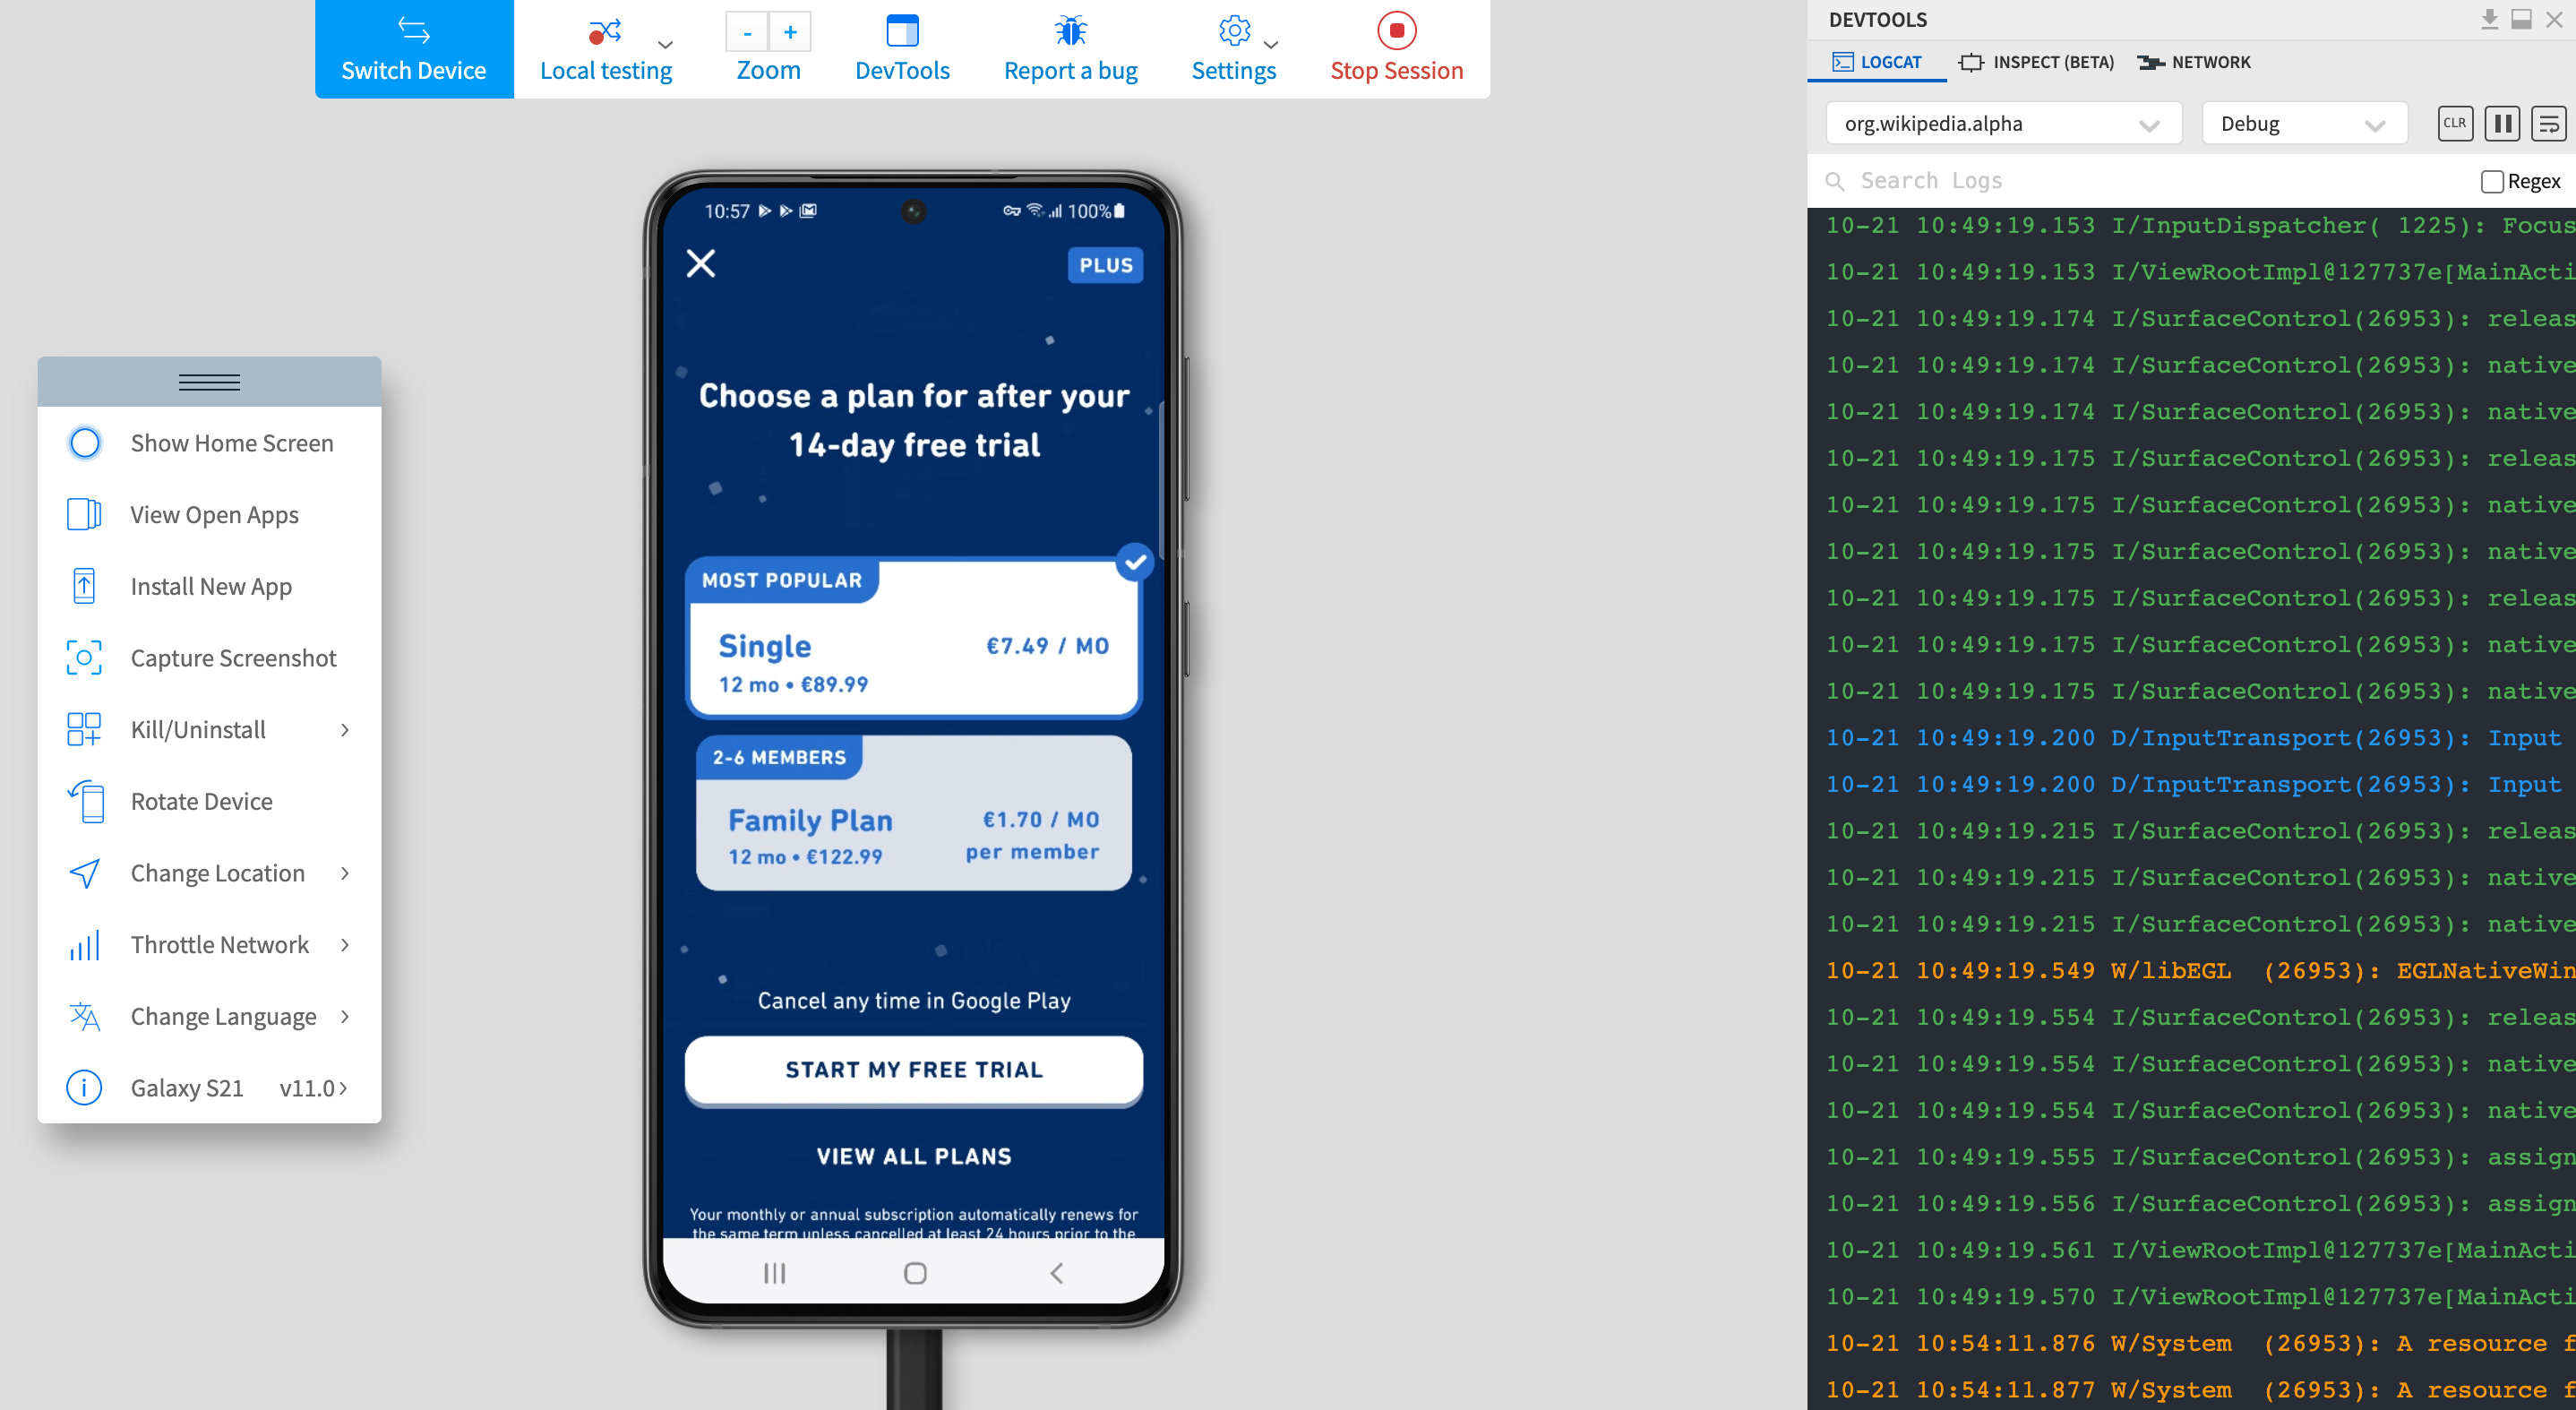
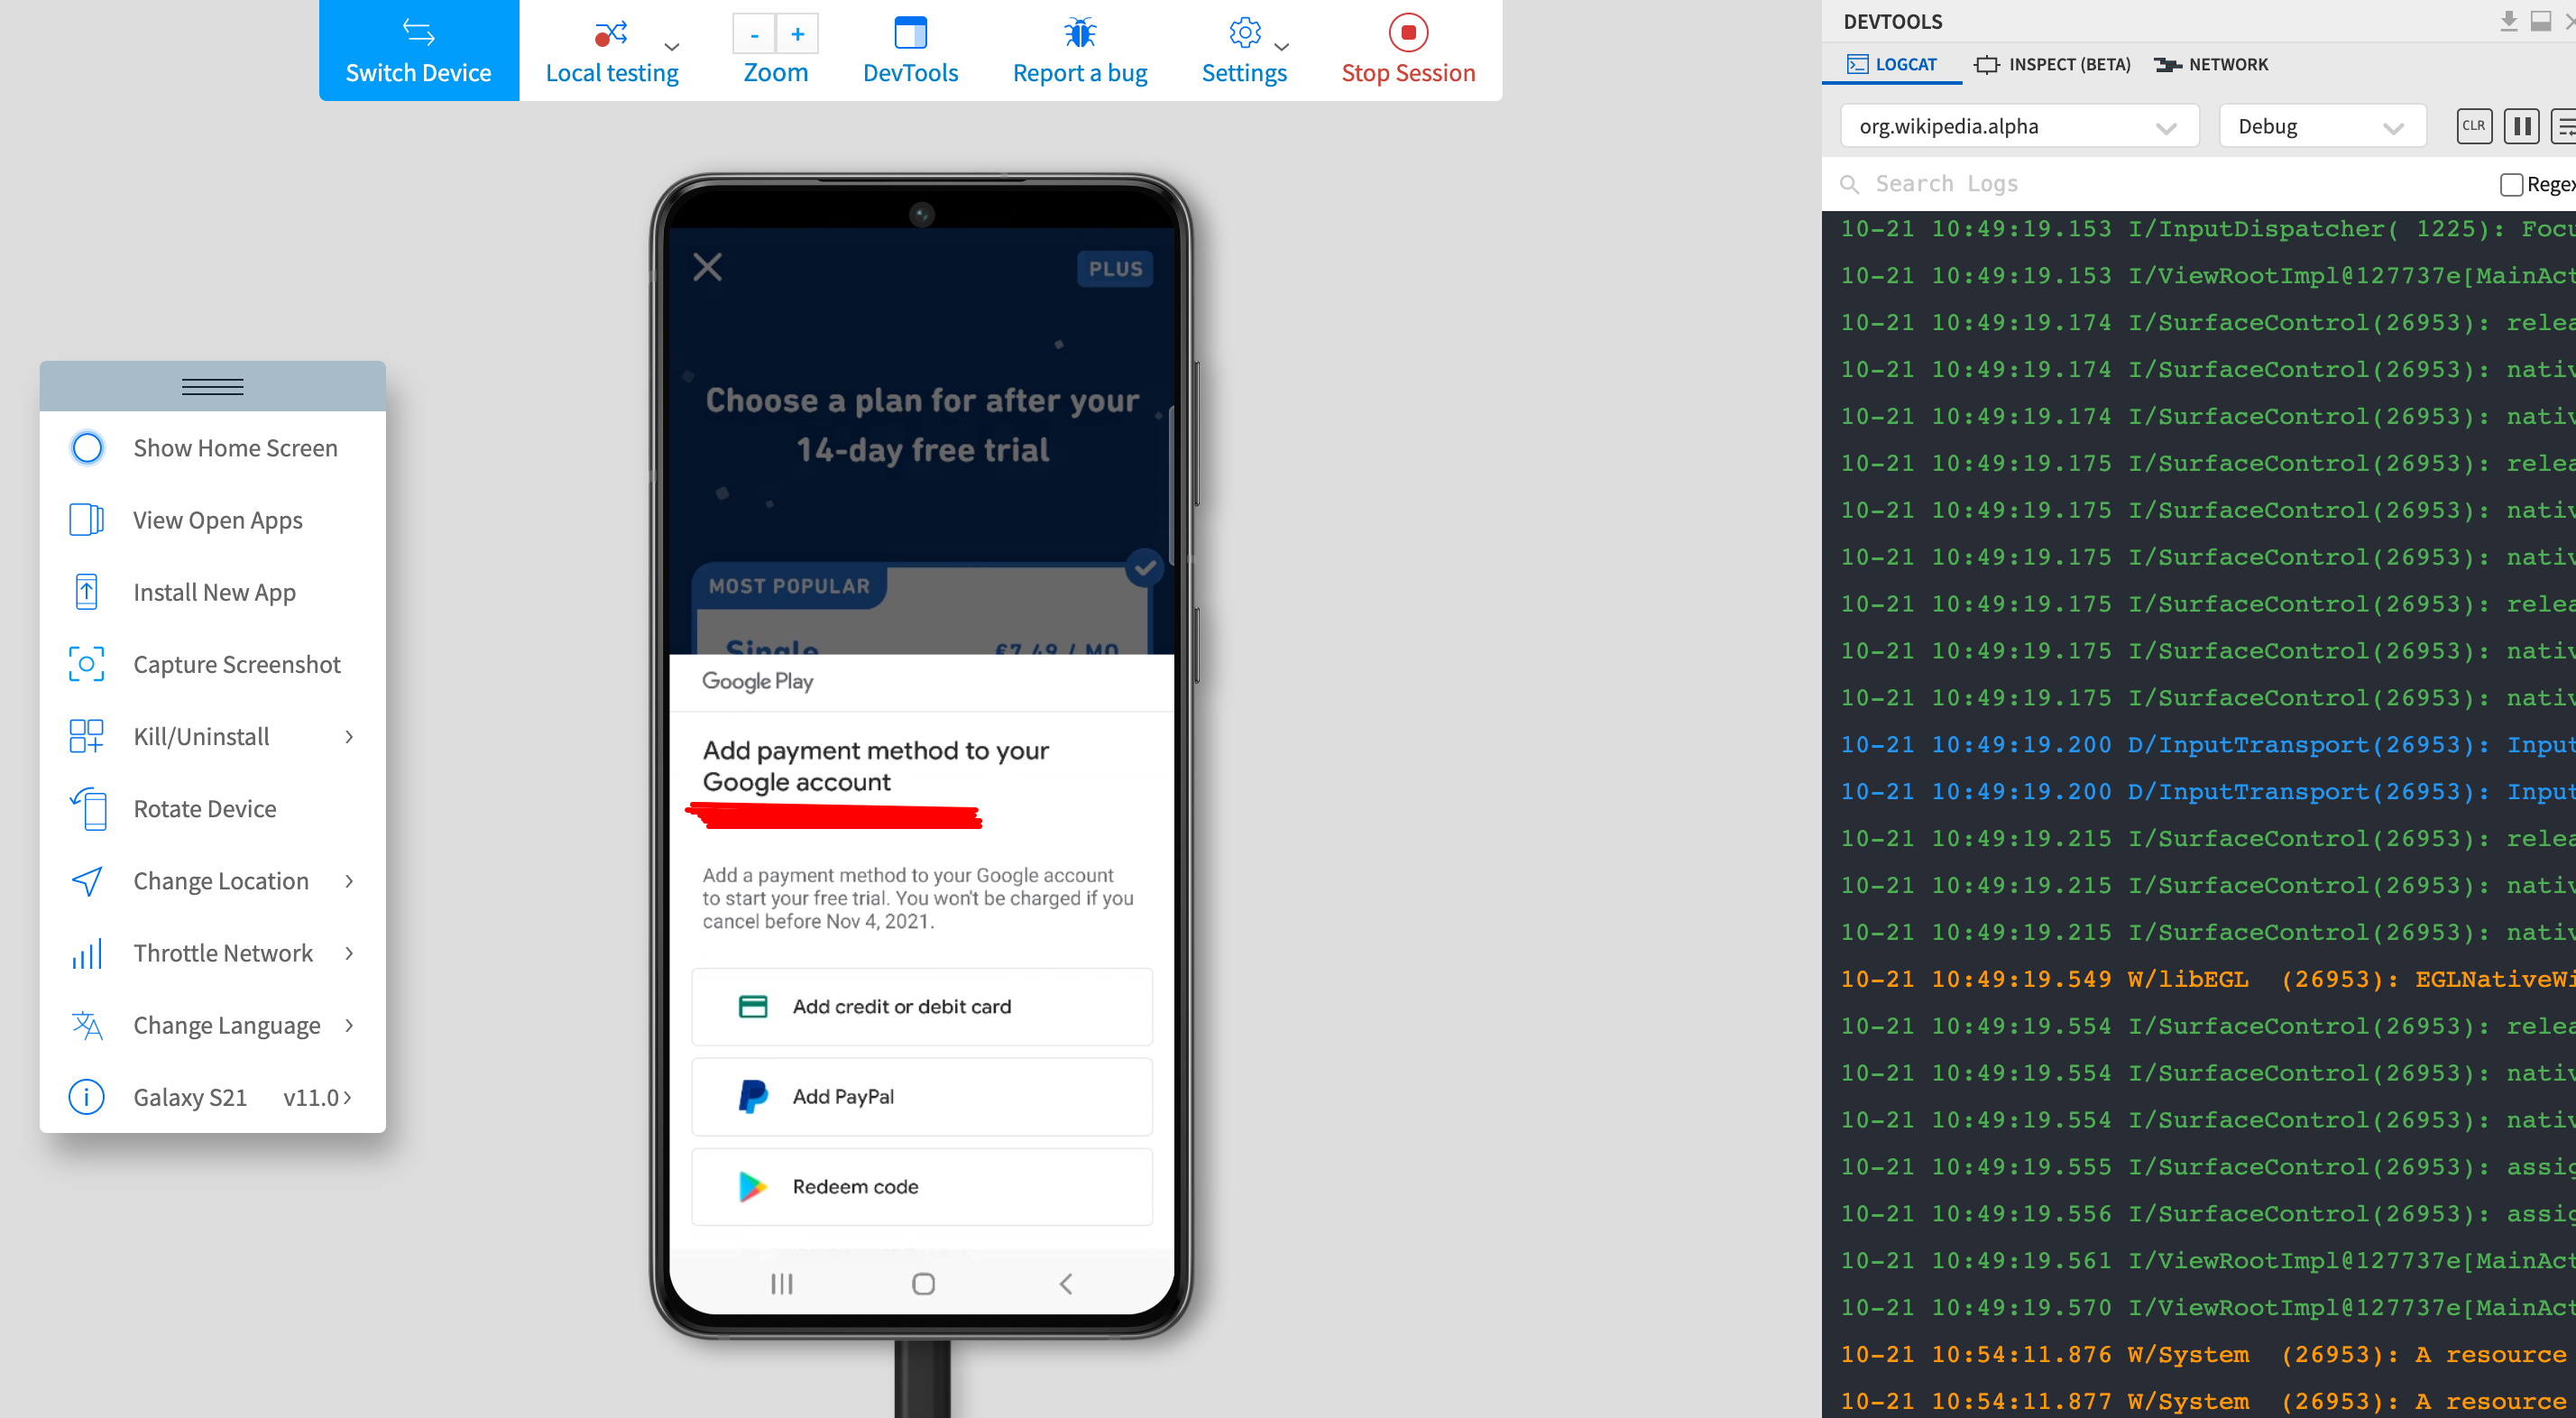
11. Once the purchase option shows up, simply click through it as you would do on your handheld device. This step helps in testing the monetization of the app on real android devices securely.
12. Simply enter your payment information (if it is not set up already) and check if the purchase goes through as it is meant to. Once it does, run the app to check if you have access to the premium features as promised.
Note: All data on BrowserStack devices remains completely secure. The minute you log out, all user data is permanently deleted from all devices used during the test. Read more on our security.
As the above demonstration makes amply clear, users can test in-app purchases on Android devices effortlessly on BrowserStack App Live. By signing up for a free account on BrowserStack, users can conduct in-app purchase testing on Android in a few clicks. No longer do they have to scramble around Googling “android test purchase “, “google play test in app purchase” or “android billing testing” or the like.
Try Testing IAP on real Android Devices
Note: You can also test your Google Play Billing Library integration with the official documentation.
What’s more, they can perform Android billing testing on hundreds of Android devices, both latest and older models. With a couple of clicks, QAs can ensure that the in-app purchase function is working exactly as required. BrowserStack’s real device cloud offers an exhaustive range of Android devices like Google Pixel, Galaxy, Xiaomi, etc. running on Snow Cone (12), 11, 10, Pie (9.0), Oreo (8.0), Nougat (7.1, 7.0), Marshmallow (6.0), Lollipop (5.0, 5.1), Kitkat (4.4, 4.3), etc.
Why Test In-App Purchases (IAP) on Real Android Devices?
Every app developer and tester on the planet is aware of the current state of device fragmentation. More than 4 billion people access the internet via 9000+ distinct devices. It isn’t uncommon for an app to malfunction in different devices, given the specifications of hardware and OS.
To ensure that the app, especially its in-app purchase function, is working flawlessly, it is essential for testers to run it on real Android devices. Given that this feature, in particular, involves real money, developers cannot afford to let it malfunction and misplace or incorrectly process a customer’s money.
Don’t depend on emulators and simulators to test in-app purchases. They simply cannot replicate real user conditions in a way real devices can. Compatibility and performance tests especially cannot give conclusive results on virtual Android devices.
The only way to get completely accurate results for every test is to run them on real Android devices. The app has to be compatible with all native device features as well as the operating system in question. This requires access to either an in-house digital lab populated by thousands of Android devices (which are constantly updated with new devices) or to a cloud-based repository of real devices, like the one provided by BrowserStack.
Best Practices for Testing In-App Purchase on Android Devices
Here are some of the best practices to follow while testing in-app purchases on Android devices:
Best Practices In-App Purchase Testing:
- Choose the Right Testing Tools
- Cover All Purchase Types
- Simulate Real-World Conditions
- Test Purchase Restoration
- Support Multiple Payment Methods
- Test Scenarios and Edge Cases
- Incorporate User Feedback
1. Choose the Right Testing Tools:
- Choose the tools suited to your platform & payment methods.
- For Android, use the Google Play Billing Library with test accounts or reserved product IDs.
2. Cover All Purchase Types
Test different types of purchases—subscriptions, one-time purchases, consumables, and non-consumables. Each type has its own requirements and testing needs.
3. Simulate Real-World Conditions
Test how your app performs under less-than-ideal conditions and ensure the purchase flow remains smooth in these scenarios, such as:
- Weak or intermittent network connections
- Older devices or low-device performance
- Device interruptions during transactions
4. Test Purchase Restoration
Make sure users can restore purchases, especially for subscriptions or non-consumable items, across devices or after reinstalling the app. This is a must-have feature for a good user experience.
5. Support Multiple Payment Methods
Your app should handle all common payment methods (credit cards, gift cards, PayPal, etc.). Users should be able to pay easily using their preferred method.
6. Test Scenarios and Edge Cases
Ensure the app follows local regulations for payments. Test different situations like:
- Successful and failed transactions
- Canceled or refunded transactions
- Receipt verification and purchase restoration
- Handling of network errors or interruptions
- Correct display of prices, taxes, and currencies
7. Incorporate User Feedback
Involve real users in your testing process. Their feedback can reveal interface issues or unexpected errors that you might miss. Early fixes can prevent negative reviews after launch.
Conclusion
Mobile app testing on Android devices is a cakewalk with App Live. Not only can testers check how an app or app function works on real devices, but they can also perform real-time debugging, test apps in dev environments, and leverage multiple features that make the testing process faster, easier, and more accurate in terms of results.


