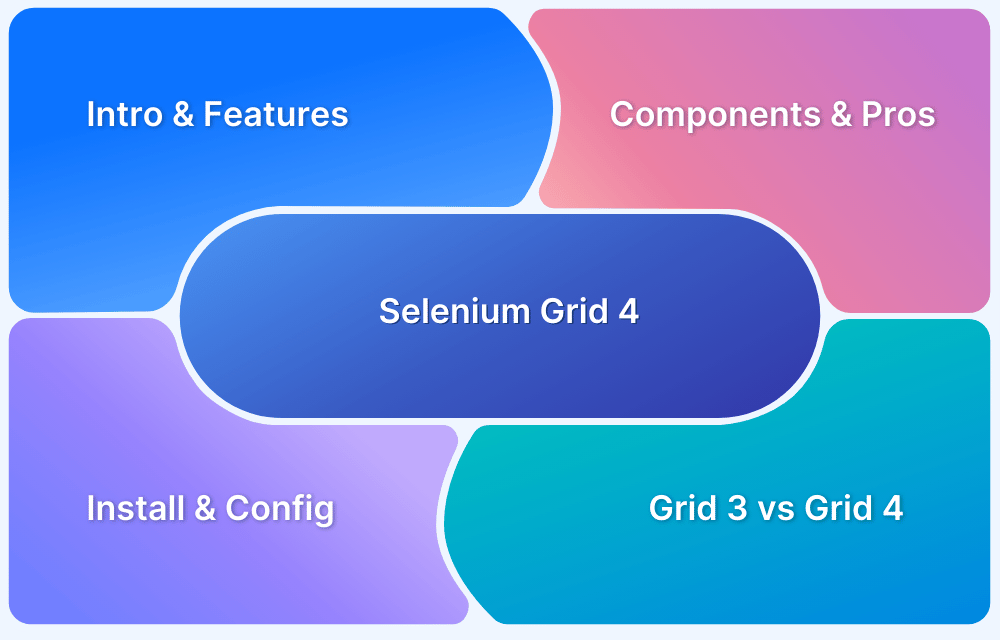
Selenium is an open-source tool for automating web browsers. Its latest release, Selenium Grid 4, brings a modern, scalable architecture for running tests in parallel across multiple environments.
Overview
Selenium Grid 4 is an open-source testing tool that enables automated test execution across multiple browsers, operating systems, and machines in parallel. It is built for scalability, flexibility, and modern test infrastructure needs.
Key Features of Selenium Grid 4:
- Open Source: Free to use with strong community support.
- Multiple Configuration Support: Supports both Hub-Node and fully distributed modes.
- Cross-Browser & Cross-Platform Testing: Run tests on various combinations of browsers and operating systems.
- Improved Architecture: Supports Docker, Kubernetes, and cloud-native deployments.
- Parallel Execution: Enables simultaneous test execution to reduce test time.
- Advanced Observability: Built-in logging and tracing tools for better debugging and monitoring.
- Selenium Grid UI: Web interface to monitor and manage test sessions.
- Enhanced Security: Provides better access control and secure communication mechanisms.
This article runs users through a beginners’ Selenium Grid 4 tutorial.
What is Selenium Grid 4?
Selenium Grid is a smart proxy server that makes it easy to run tests in parallel on multiple machines and manages different browser versions and browser configurations centrally (instead of separately, in individual tests).
Selenium Grid 4 is a fresh implementation and does not share the codebase of the previous version. Grid 4 takes advantage of new technologies in order to facilitate scaling up, while still allowing local execution.
Note: Before going further with this article, have a look at this Selenium 4 article for a better understanding of its latest features adapted.
Selenium Grid 4 Features
Selenium Grid 4 introduces a range of enhancements and architectural changes that make it more powerful, scalable, and easier to manage than previous versions.
Architecture Support
From Selenium 2, the Grid consisted of two processes – Hub and Nodes. Selenium 4 architecture supports four distinct processes – Router, Session Map, Distributor, and Node.
Different Grid Types
Selenium 4 supports three grid types:
- Standalone Mode
- Classical Grid (Hub and Node)
- Fully Distributed (Router, Distributor, Session, and Node)
Docker Support
Grid 4 offers Docker support. The Docker integration does not use Unix domain sockets, so users need to make sure that the daemon is listening on port 2375.
When compared to Selenium Grid 3, this version is easier to use on virtual machines.
Read More: Selenium 4: Understanding Key Features
Improved Observability & Debugging
- Built-in logging, event tracing, and detailed session tracking.
- Integration with external monitoring tools is easier via APIs and telemetry support.
Selenium Grid UI
- New web-based interface for real-time monitoring and management of Grid status, sessions, and nodes.
- Helps quickly identify test distribution and system health.
Better Configuration Management
- Uses TOML-based configuration files that are more readable and easier to maintain.
- Supports CLI and environment-based configuration overrides.
Cloud and Kubernetes Integration
- Designed for modern cloud-native deployments.
- Easily deployable on Kubernetes and compatible with major cloud platforms.
These features collectively make Selenium Grid 4 a comprehensive, flexible, and modern solution for automated cross-browser testing at scale.
To explore the Selenium Grid 4 features in detail, refer to Selenium 4: Understanding Key Features
Selenium Grid 4 is powerful, but managing infrastructure can be complex. BrowserStack offers a cloud-based alternative. It provides instant access to real devices and browsers, supports Selenium tests, and scales effortlessly for parallel execution. For teams seeking faster, hassle-free testing, BrowserStack is an excellent solution.
Components of Selenium Grid 4 Architecture
Selenium Grid 4 introduces a modular and distributed architecture that enhances flexibility, performance, and scalability. Each component in the architecture plays a specific role in managing and executing automated tests.
Router
The Router is the central entry point for all external requests to the Grid. It receives both session creation and command execution requests, directing new session requests to the Distributor and routing ongoing session commands to the correct Node based on session data.
Its main function is to manage and streamline communication across different components.
Distributor
The Distributor manages test session allocation. When the Router receives a new session request, it forwards it to the Distributor, which evaluates the available Nodes and selects the most suitable one based on the desired capabilities and current load.
This decision-making process ensures efficient use of system resources and balanced test execution.
Session Map
The Session Map maintains a registry of all active sessions in the Grid. It links each session ID to the Node handling it. When a test command is issued, the Router consults the Session Map to determine which Node should receive the request.
This component is critical for ensuring that commands are sent to the correct browser instance.
Node
A Node in Selenium Grid 4 is the actual execution environment where browser instances are launched and tests are run. Each Node registers itself with the Distributor, advertising its capabilities such as supported browsers, versions, and platforms.
The Selenium Grid 4 Node Configuration is crucial in defining these capabilities. This configuration is typically managed using a TOML file or command-line parameters, making it flexible and easy to customize for different environments. Once a session is assigned, the Node executes the test and communicates results through the Grid infrastructure.
New Session Queue
The New Session Queue handles incoming session requests in a sequential and controlled manner. It ensures that the Grid does not become overloaded by limiting how many session requests are processed at a time.
This component is particularly useful in high-demand scenarios, allowing the Grid to manage capacity and load more effectively.
Event Bus
The Event Bus enables seamless communication among distributed components using a publish-subscribe model. It allows different parts of the Grid to stay updated on events such as Node status changes, session starts, or terminations.
This internal messaging system ensures that the components operate in sync and react promptly to system events.
Advantages of Grid 4
Selenium Grid 4 offers several enhancements over its predecessors, making test execution more efficient, scalable, and suitable for modern testing needs.
- Provides a wide range of programming language support.
- Offers dedicated framework support.
- Supports multiple browsers and multiple operating systems just like Selenium Webdriver.
- It is free and open-source.
- It supports Parallel Test Execution (Local and Cloud-Based).
- It has a powerful reporting tool for test progress tracking.
- It integrates with CI/CD pipelines.
Also Read: How to upgrade from Selenium 3 to Selenium 4
Installing and Configuring Selenium Grid 4
The first step is understanding how to download Selenium Grid 4. The latest version of Selenium 4 (Alpha) is 4.0.0-alpha-7 and the same can be downloaded from the official Selenium website. This article will demonstrate Selenium Grid 4’s functioning by using Selenium Grid version 4.0.0-alpha, as it is more stable than the other versions.
So download the selenium grid through this link and save it in the same folder where the webdriver is present.
Selenium Grid 4 can be set up in the following modes:
- Standalone
- Hub and Node
- Distributed
- Docker
1. Standalone
The new Selenium Server Jar contains all the functionalities needed to run a grid. By default, the server will be listening on http://localhost:4444 port – the URL to point RemoteWebDriver tests. The server will detect available drivers that it can use from the System PATH.
java -jar selenium-server-4.0.0-alpha-7.jar standalone
2. Hub and Node
Start the hub using the below command:
java -jar selenium-server-4.0.0-alpha-7.jar hub
Node registration can be done using the command below:
java -jar selenium-server-4.0.0-alpha-7.jar node --detect-drivers true
3. Distributed
Users can start Grid 4 in a fully distributed manner, with each conceptual piece in its own process. First, start the session map responsible for mapping session IDs to the node the session is running on.
java -jar selenium-server-4.0.0-alpha-1.jar sessions
Then the Distributor:
java -jar selenium-server-4.0.0-alpha-1.jar distributor --sessions http://localhost:5556
The Distributor is aware of all the Nodes and their capabilities. Its main role is to receive a new session request and find a suitable Node where the session can be created. After the session is created, the Distributor stores in the Session Map, the relation between the session id and Node where the session is being executed.
Now start the system with a router to expose it to the Web:
java -jar selenium-server-4.0.0-alpha-1.jar router --sessions http://localhost:5556 --distributor http://localhost:5553
This router will be listening to new session requests on
http://localhost:4444
Now, this is all set up, use this command:
curl http://localhost:4444/status
and it should get confirmed.
4. Using Docker
The docker integration doesn’t make use of UNIX domain sockets. So first, ensure the docker daemon is listening on port 2375 using the command below on the console:
socat -ls TCP-LISTEN:2375,reuseaddr,fork UNIX-CONNECT:/var/run/docker.sock
Note: If docker daemon is not listening to port 2375, then follow the below steps:
1. Create daemon.json file in /etc/docker
{"hosts": ["tcp://0.0.0.0:2375", "unix:///var/run/docker.sock"]}2. Add
 /etc/systemd/system/docker.service.d/override.conf
[Service] ExecStart= ExecStart=/usr/bin/dockerd
3. Reload the systemd daemon:
systemctl daemon-reload
4. Restart docker:
systemctl restart docker.service
Once that’s done, it’s easy to start the selenium server and have it delegate to docker for creating new instances:
java -jar selenium-server-4.0.0-alpha-1.jar standalone -D selenium/standalone-firefox:latest '{"browserName": "firefox"}' --detect-drivers falseOr just start a node:
java -jar selenium-server-4.0.0-alpha-1.jar node -D selenium/standalone-firefox:latest '{"browserName": "firefox"}'The next steps from here remain the same with setting up the Grid. You can refer to the Selenium Grid Tutorial for the next steps.
What’s the difference – Grid 3 vs Grid 4
Selenium Grid 3 comes up with only Hub node setup. To set up a grid on Selenium 3, the only option is the Hub-node setup. All machines should have a selenium-standalone jar downloaded as a hub to represent as a hub in the cluster and a node to represent as a node with separate commands.
Whereas, Selenium Grid 4 can be set up using the above-mentioned methods as it is diversified and comes up with additional features. The entire grid setup has been written from scratch with all modern tools and frameworks to support fully distributed testing and comes with extensive Docker support.
And that is how users can get started with Selenium Grid 4, in order to leverage its many advantages.
Conclusion
Teams can leverage cloud-based platforms like BrowserStack that offer a Cloud Selenium Grid of 3500+ real browsers and devices. It empowers teams to run concurrent Selenium tests on desired device-browser combinations online. This makes it convenient for QA engineers to perform comprehensive cross-browser and device testing across platforms. One can also integrate their test pipelines with CI/CD tools like Jenkins, Travis, Circle CI, etc.
Selenium automation seeks to reduce manual testing efforts, increase execution speed, and identify the maximum number of bugs at the earliest. However, in order to get the most out of their Selenium scripts, QAs must follow Selenium best practices. This will also help in establishing a reliable test cycle.


