When it comes to mobile test automation, choosing the right framework is crucial for speed, reliability, and cross-platform coverage. Two widely used frameworks are Espresso and Appium. While both are powerful, they serve different testing needs, making it important for QA teams to understand their strengths, limitations, and differences.
Overview
What is Appium and Why It’s Popular
- Open-source automation framework for native, hybrid, and mobile web apps.
- Works on Android and iOS with a client-server architecture.
- Supports multiple languages like Java, Python, Ruby, PHP, C#, etc.
- Key advantages: cross-platform testing, flexibility in language choice.
- Limitations: complex setup, slower execution speed, and manual element identification.
What is Espresso and Why Developers Use It
- Native open-source Android UI testing framework from Google.
- Part of the Android SDK, tightly integrated with Android Studio.
- Features automatic synchronization of UI elements and actions.
- Provides lightweight APIs: viewMatchers, viewActions, viewAssertions.
- Easy setup, faster execution, and tools like Espresso Test Recorder for minimal coding.
- Limitations: only supports Java/Kotlin and restricted to Android apps.
Key Differences Between Appium and Espresso for Mobile Test Automation
- Purpose: Appium supports both Android & iOS, Espresso is limited to Android UI.
- Language Support: Appium supports multiple languages, Espresso supports only Java/Kotlin.
- Setup: Appium setup is complex, Espresso is simpler via Android Studio.
- Execution Speed: Appium is slower due to server architecture; Espresso is faster and more stable.
- Coverage: Appium covers mobile + desktop apps; Espresso focuses on native Android UI.
How to Decide Between Appium and Espresso
- Choose Appium if cross-platform testing, multiple language support, and hybrid apps are priorities.
- Choose Espresso if you need fast, stable, Android-native UI testing with seamless Android Studio integration.
This article explains in detail the differences between Espresso and Appium, covering their features, advantages, limitations, and a direct comparison to help teams choose the right mobile automation framework.
What does scroll to an element mean?
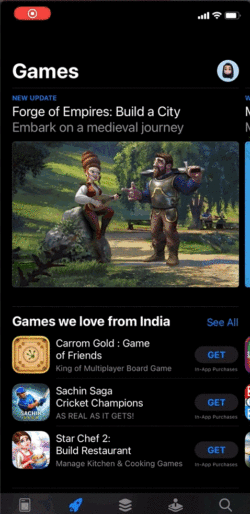
Mobile users, often find swipe down with their fingers to read/access the sections that are not visible in the current displayed area of the screen. The swiping gesture to reach an element across the length of the page as seen below is called Scrolling to an element.
Scroll down in App Store
Scrolling down using XCUITest
You can scroll or swipe down in an app without any constraints as well as conditions. It can be a generic scroll/swipe as well as a scroll with a condition.
Let us go through an example where we just scroll down generally in an app:
Code to Scroll down Once using XCUITest
func test_ScrollDownInApp() {

     appStore.swipeUp()

  }
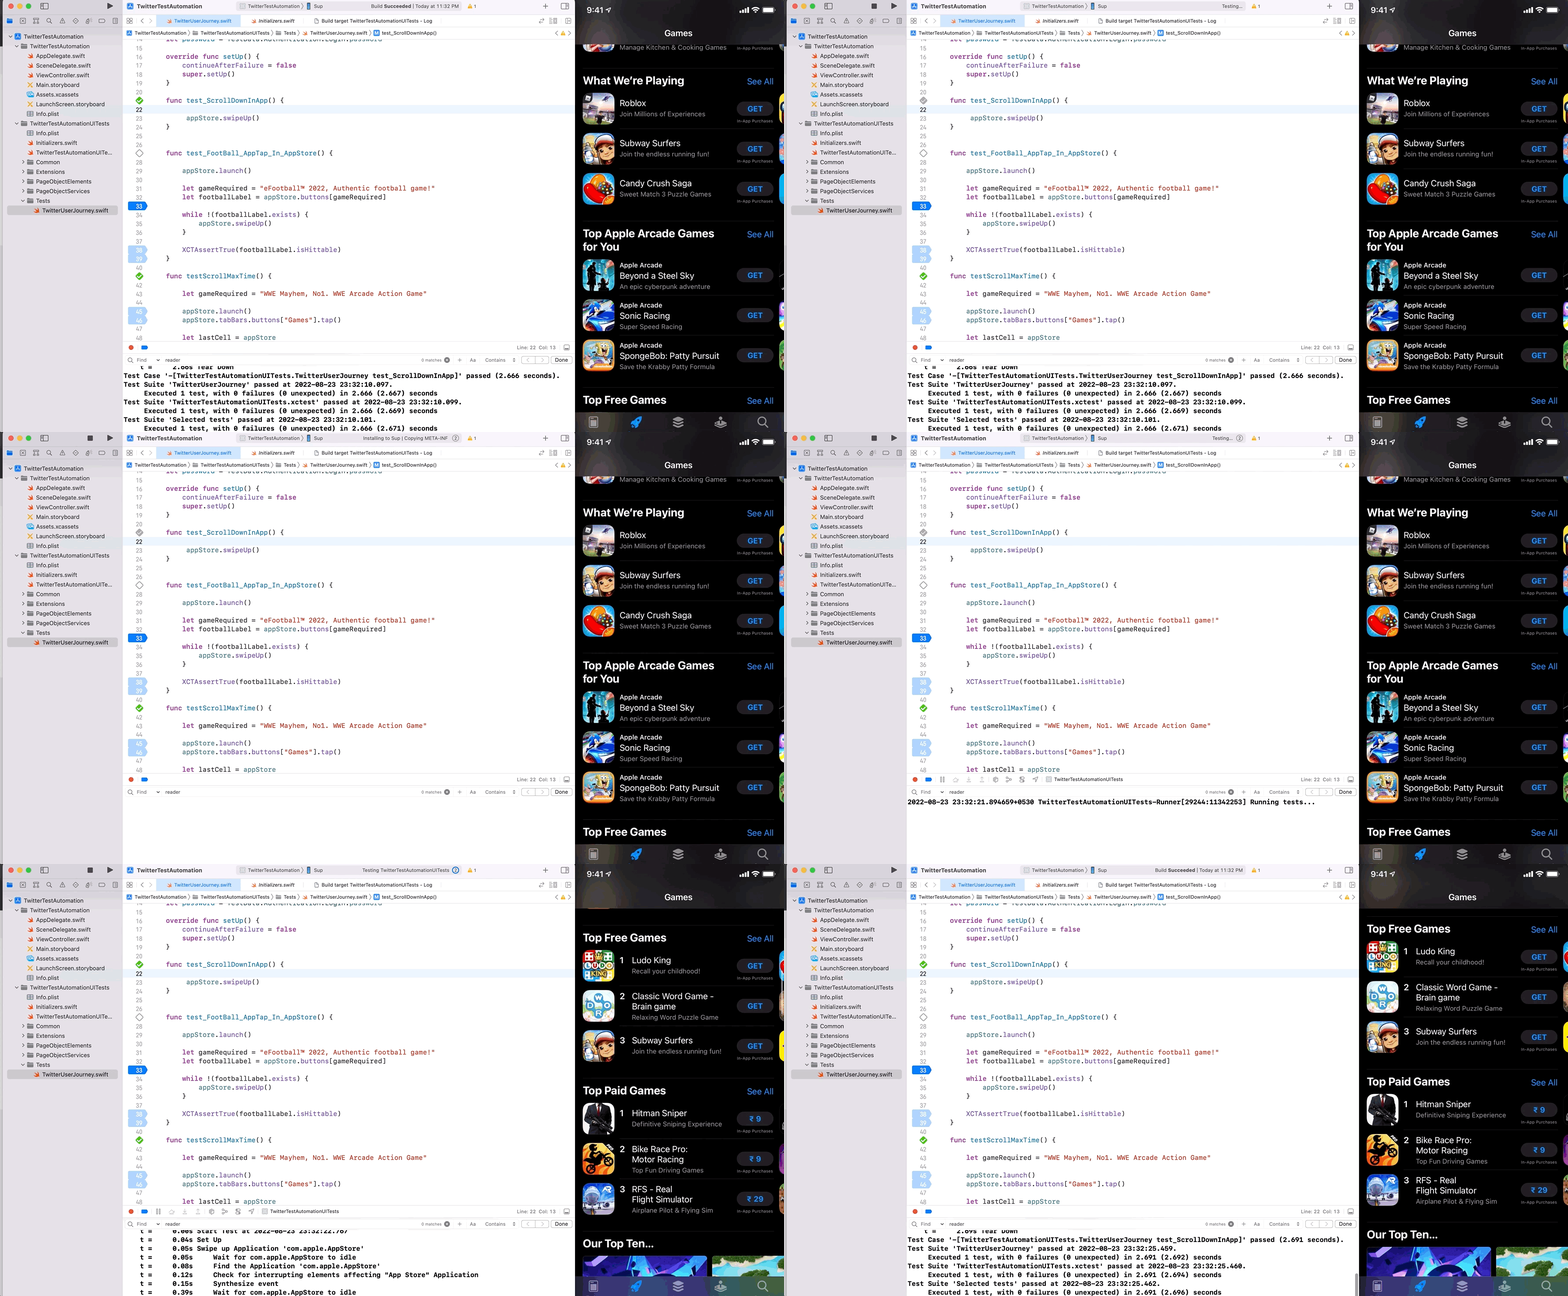
Running XCUITest Test on Real iOS Device
Here’s how running an XCUITest on a Real iOS device would look like.
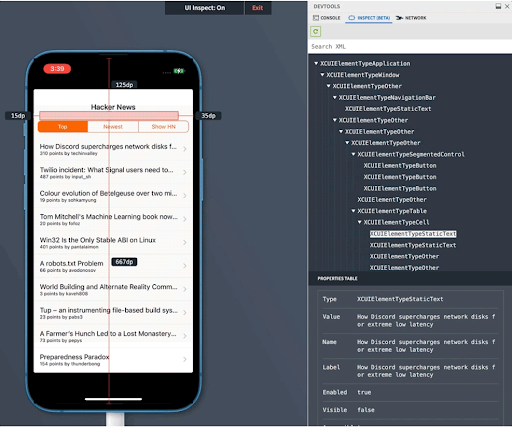
Locate Elements using BrowserStack App Live – Inspect Beta
Before scrolling or swiping down an app, it is a good practice to locate elements in the app and pinpoint the destination of the scroll.
Debugging apps for locating elements before scrolling is important. One easiest way to inspect iOS app elements easily is to locate elements using BrowserStack App Live – Inspect Beta. BrowserStack App Live is a real device cloud where you can access various Android and iOS devices and run tests on them.
Try BrowserStack App Live for Free
How to Scroll down to Element using XCUITest
In the below piece of code, we would notice that we are scrolling till an element is found without any set limit with any certain number of scrolls.
Approach 1 – Generic Scroll/Swipe down
func test_FootBall_AppTap_In_AppStore() {


        appStore.launch()


        let gameRequired = "eFootball™ 2022, Authentic football game!"

        let footballLabel = appStore.buttons[gameRequired]


        while !(footballLabel.exists) {

            appStore.swipeUp()

        }


        XCTAssertTrue(footballLabel.isHittable)

  }
Running XCUITest with Generic Scroll on Real iOS Device
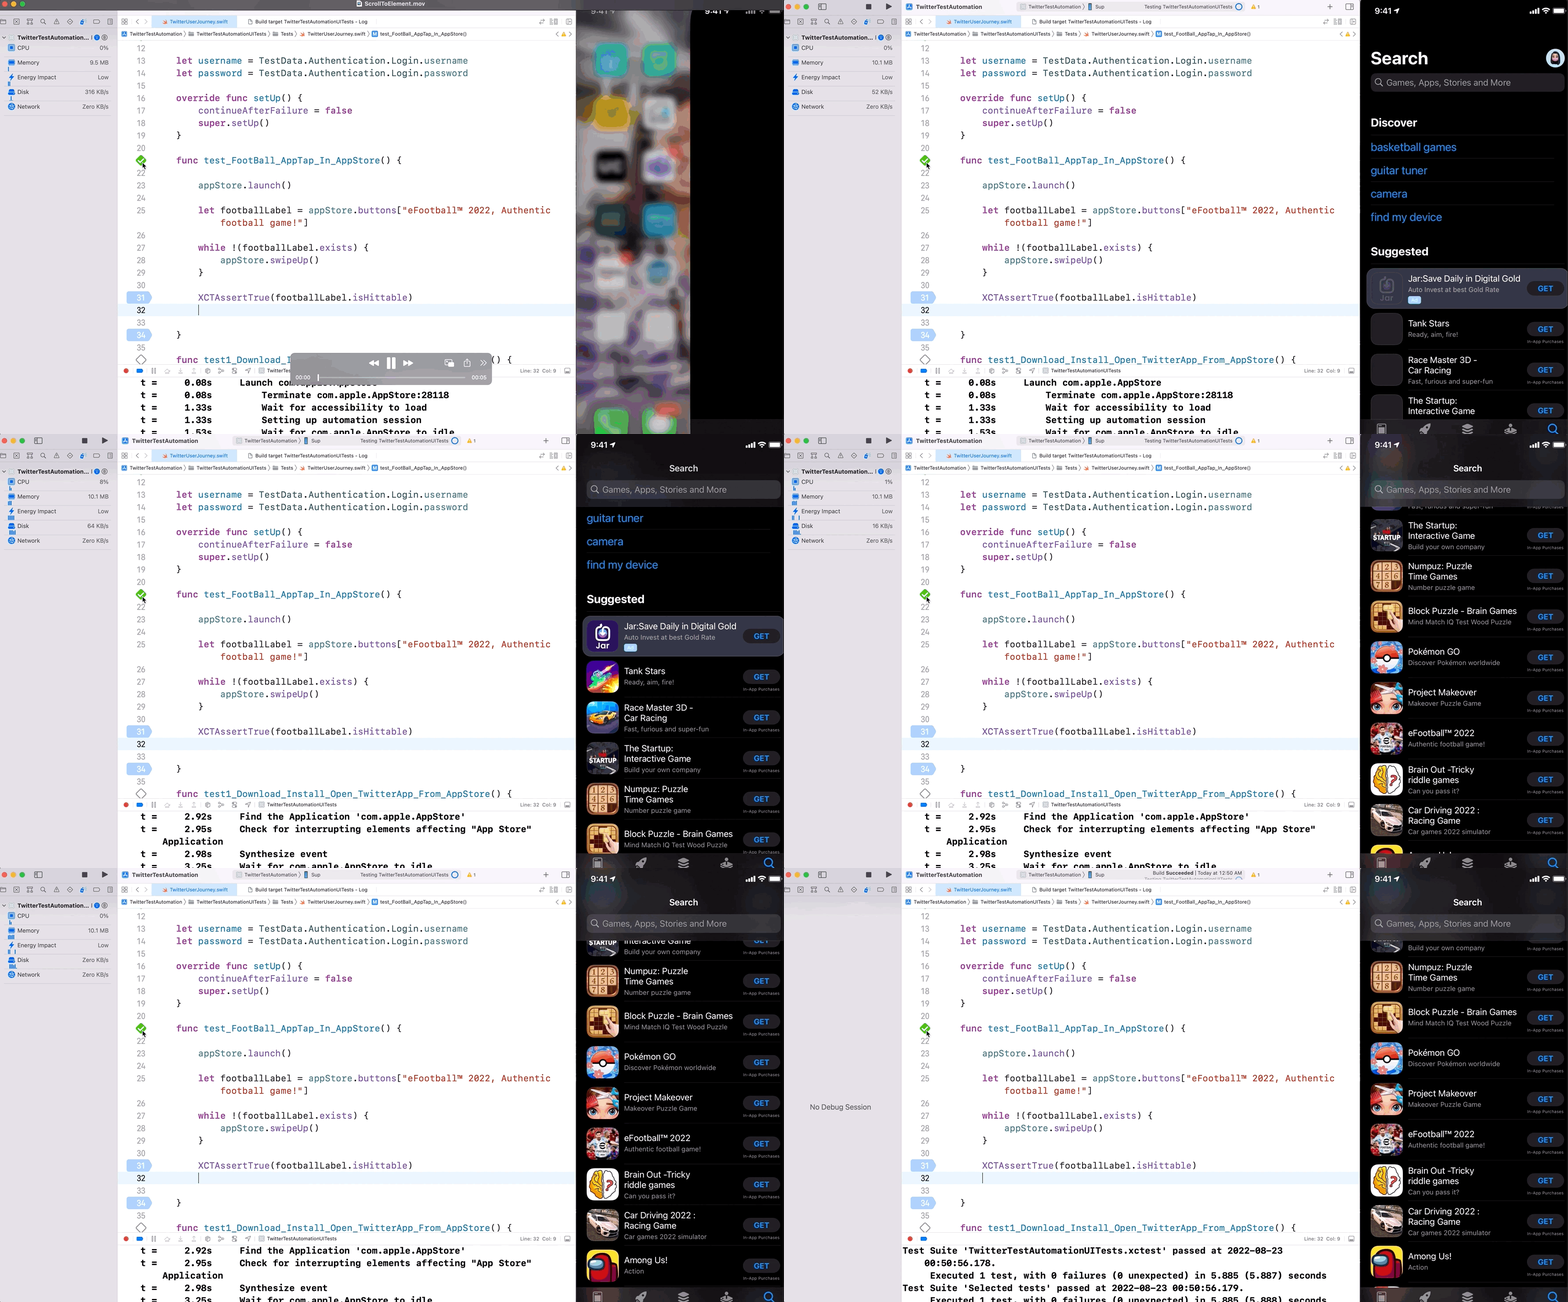
Drawback of Generic Scroll
If the element is not found, there is a possibility of the swipe to enter a loop until the test fails, leading to unwanted wastage of time and execution. Hence, we need a better approach, where the number of scrolls needs to be defined to handle such unforeseen situations.
Approach 2 – Pre-defined Scroll/Swipe down
Here, the number of scrolls is between 0 & 10 depending upon where it finds the element sooner. So if the element is found in the 5th scroll, it will scroll only 5 times. If an element is not found within 10 scrolls, then the test fails.
 func testScrollMaxTime() {


        let gameRequired = "WWE Mayhem, No1. WWE Arcade Action Game"


        appStore.launch()

        appStore.tabBars.buttons["Games"].tap()


        let lastCell = appStore

            .scrollViews

            .cells[gameRequired]

            .firstMatch


        let maxScrolls = 10

        var count = 0

        while lastCell.isHittable == false && count < maxScrolls {

            appStore.swipeUp()

            count += 1

        }


        let buttonLabel = appStore

            .buttons[gameRequired]

            .firstMatch

            .label


        XCTAssertEqual(gameRequired, buttonLabel)

    }
Running XCUITest with Approach 2 on Real iOS Device
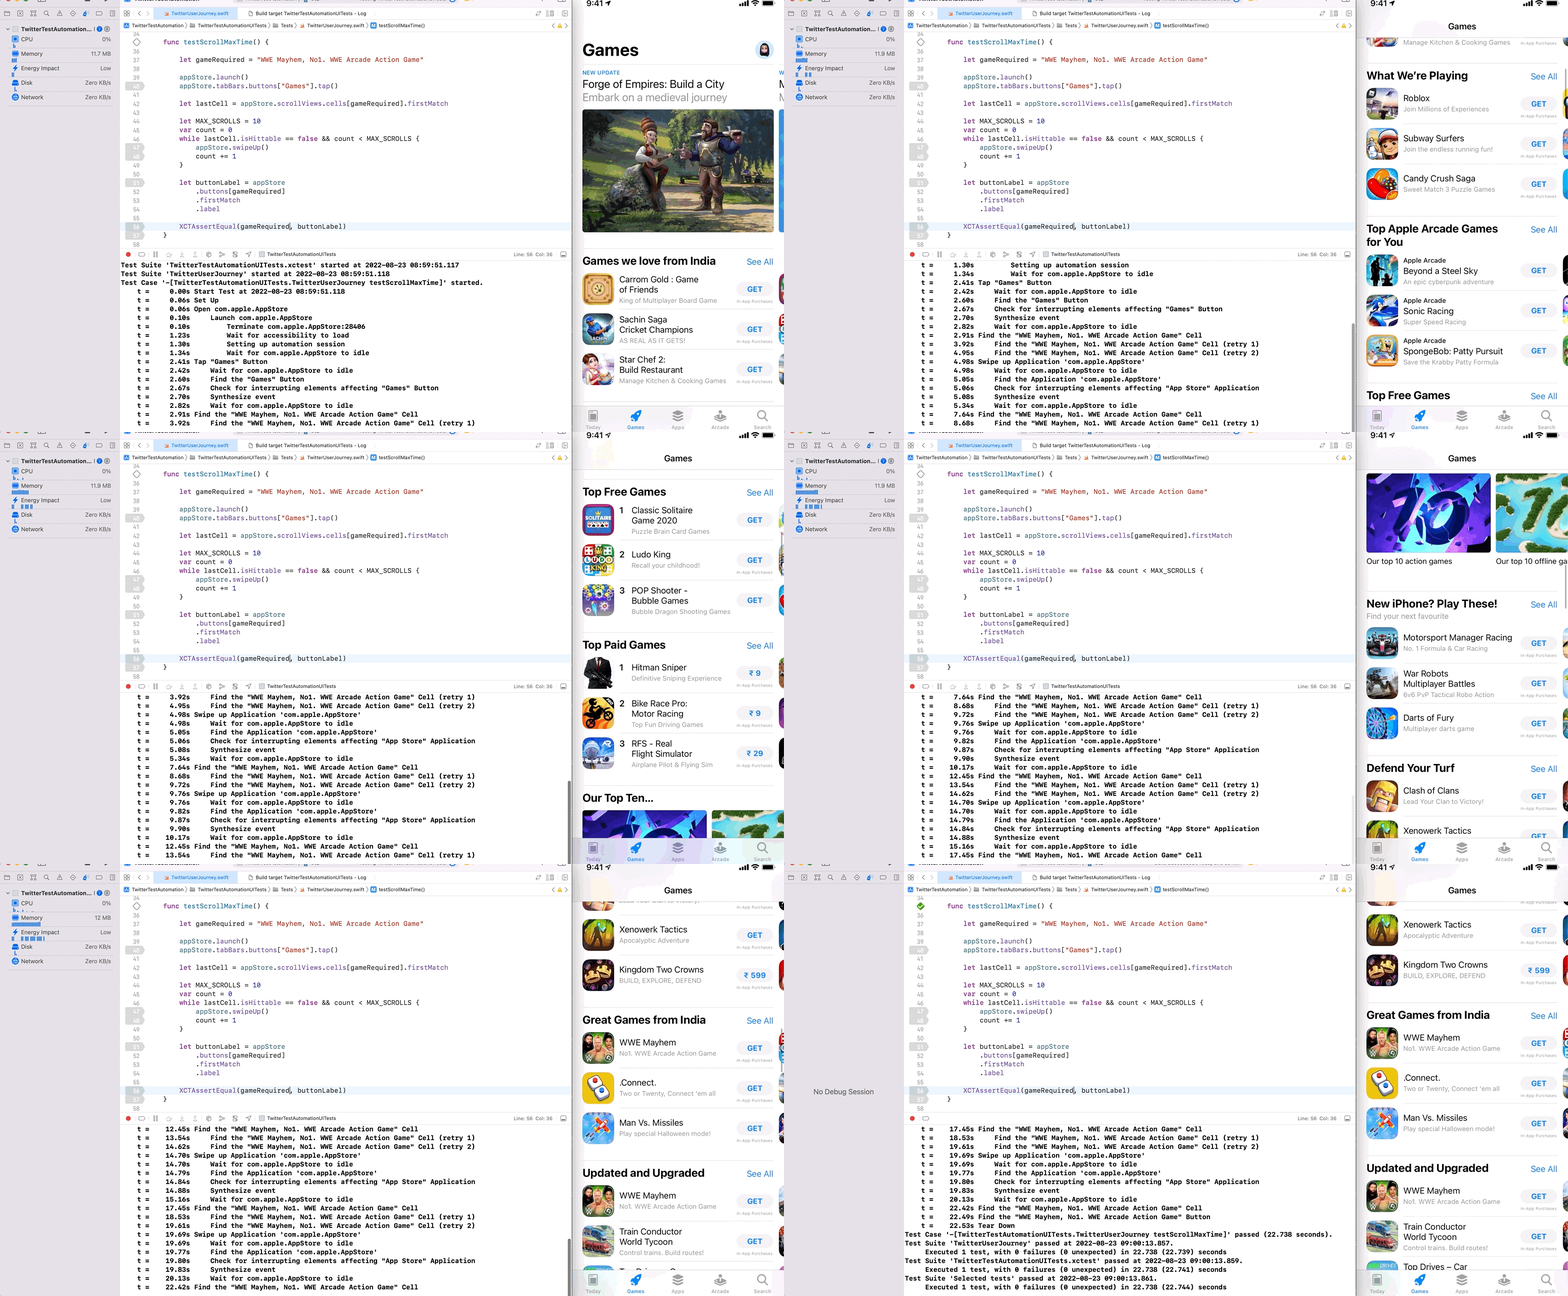
It is always recommended to write test scripts with handled scenarios for errors and exceptions. Bear in mind to write tests that not only pass but also fail effectively, in case of an error/issue.
Conclusion
For accurate test results, it is always recommended to run tests on real devices, so that the real user conditions can be taken into account. Moreover, since different devices have different screen sizes, hence in the case of pre-defined scroll the number of scrolls might be altered based on the device mode. Hence, try testing on real devices to get accurate results and deliver a consistent user experience.
BrowserStack App Live, allows QAs to test their mobile apps on real devices instead of emulators or simulators under real-world scenarios. While BrowserStack App Automate, allows QAs to run Automated tests on XCUITests for better performance. Test results can be viewed on App Automate Dashboard once the test execution is completed. By clicking on individual tests will give you a detailed report for each test including steps, text logs, Appium logs, execution video logs, and other details for better debugging of failed tests.


