How to Run Cypress Tests in Azure DevOps
By Gurudatt S A, Community Contributor - June 13, 2023
Cypress is the most powerful and popular test automation tool using which you can write robust tests for our web applications running in the browser. Cypress can be used in CI/CD for a faster and efficient software delivery. For doing this, once you have a significant number of tests written using Cypress, it is then crucial to integrate that with a CI/CD pipeline using CI/CD tools like Azure, Jenkins, GitHub, GitLab etc.
In this article you will learn how to integrate the Cypress Tests to be run in the Azure DevOps as part of CI/CD Pipeline.
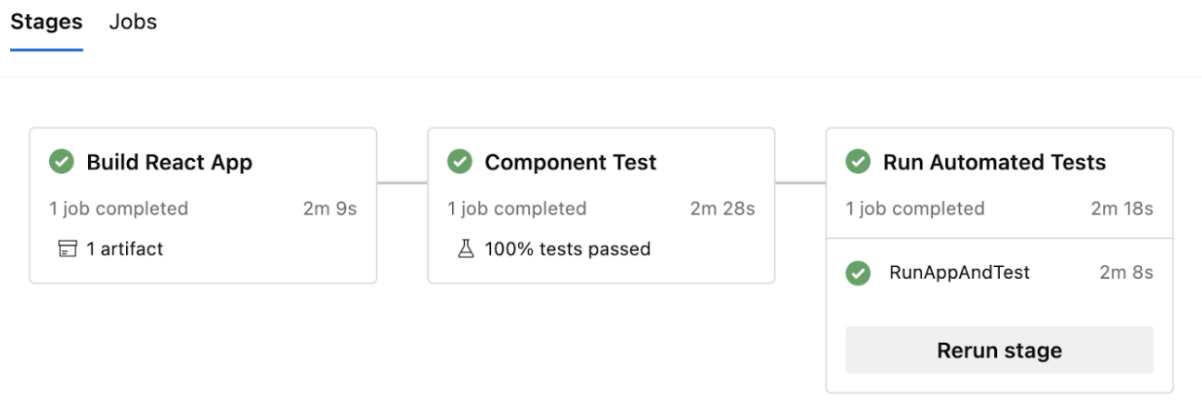
A typical CICD Pipeline will look like the one below.
There are three stages in the above pipeline
- Build the Application Code
- Run the Component Tests (Optional)
- Run the End to End tests
- Why Run Cypress Tests in Azure Devops
- How to set up an Azure DevOps pipeline to run Cypress Tests ?
- Prerequisites to set up Azure DevOps Pipeline
- Setting up the Azure DevOps Pipeline to run Cypress Tests
Why Run Cypress Tests in Azure Devops
Here are some of the core reasons why you should run Cypress Tests in Azure DevOps:
- Azure DevOps provides Continuous Integration and Continuous Deployment pipelines and releases. And with help of Cypress we can build robust pipelines where the application can be tested thoroughly before deploying the application to Environments
- Azure Devops provides better scalability in terms of using Cypress tests across various projects and running them in parallel across agents
- Azure Devops provides centralized reporting for viewing Cypress tests reports which helps Developers and Testers to access reports in centralized place
- With Azure Devops and Cypress we can achieve collaborative testing with integration Component tests and End to End tests in the pipeline
How to set up an Azure DevOps pipeline to run Cypress Tests ?
Before you begin the process of setting up Azure DevOps pipeline to run Cypress Tests, here are some of the prerequisites that you need:
Prerequisites to set up Azure DevOps Pipeline
Setting up the Azure DevOps Pipeline to run Cypress Tests
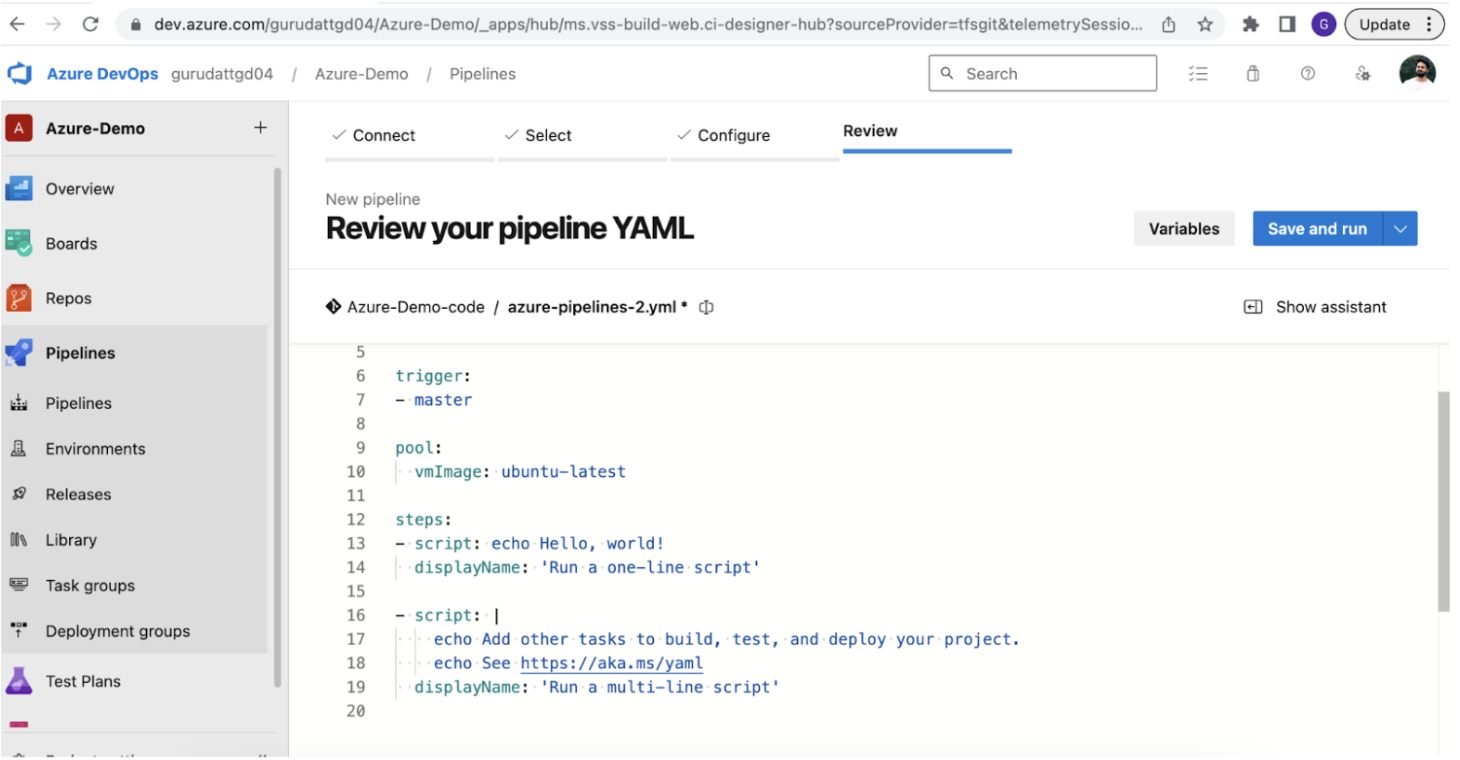
In this Section, you will learn how to set up a basic pipeline. To create pipeline you need to navigate to Pipelines > Click on New Pipeline button.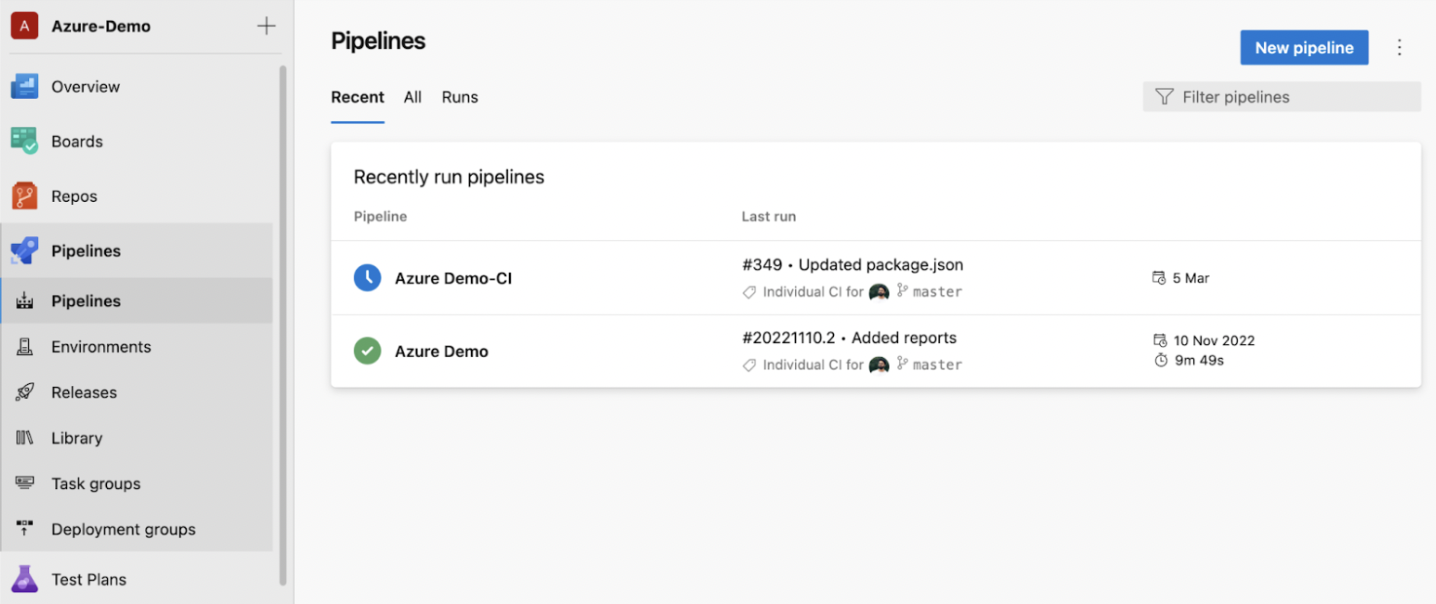
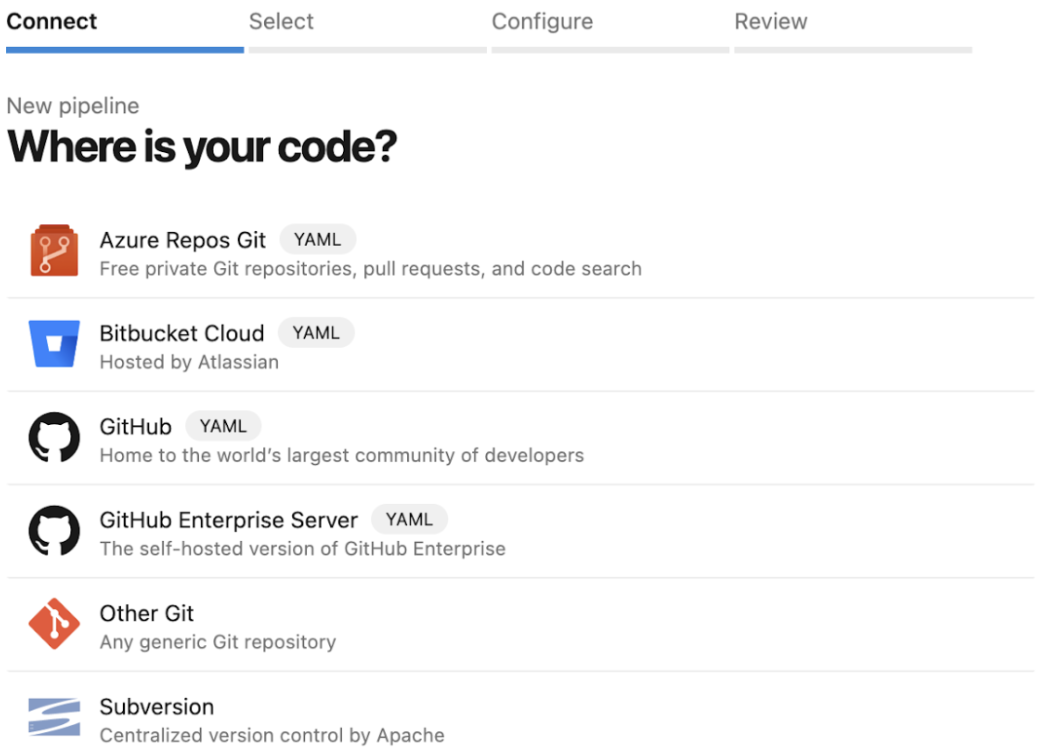
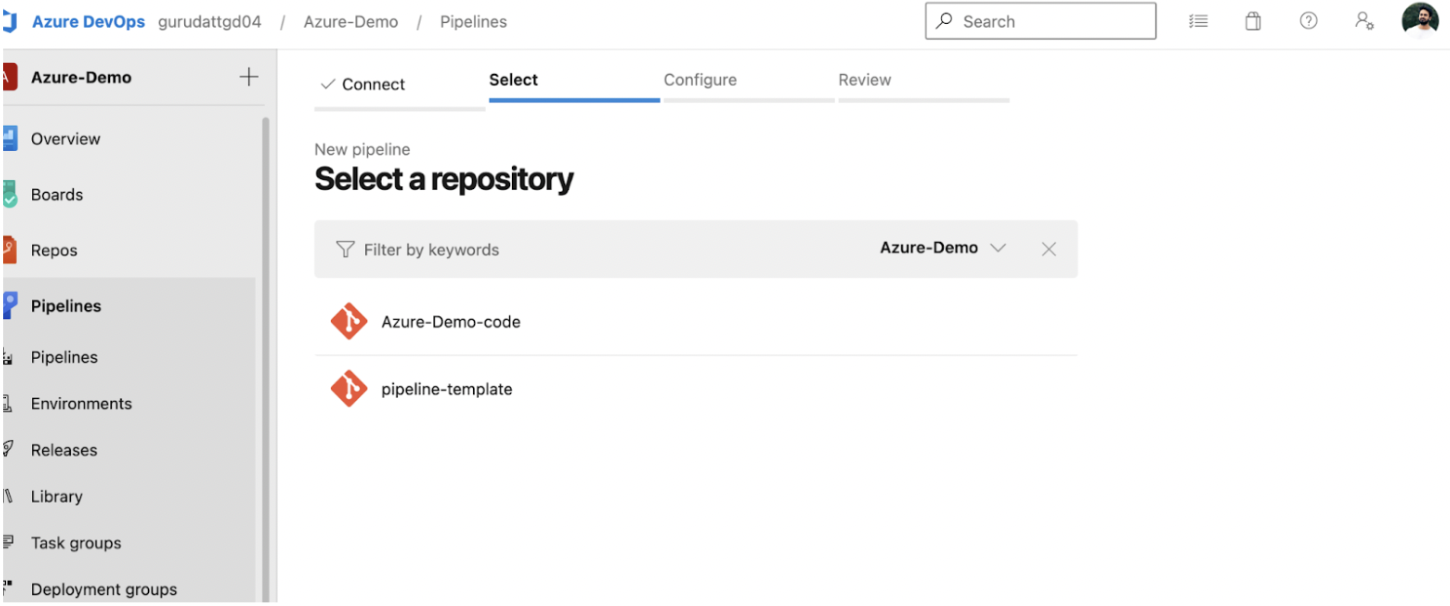
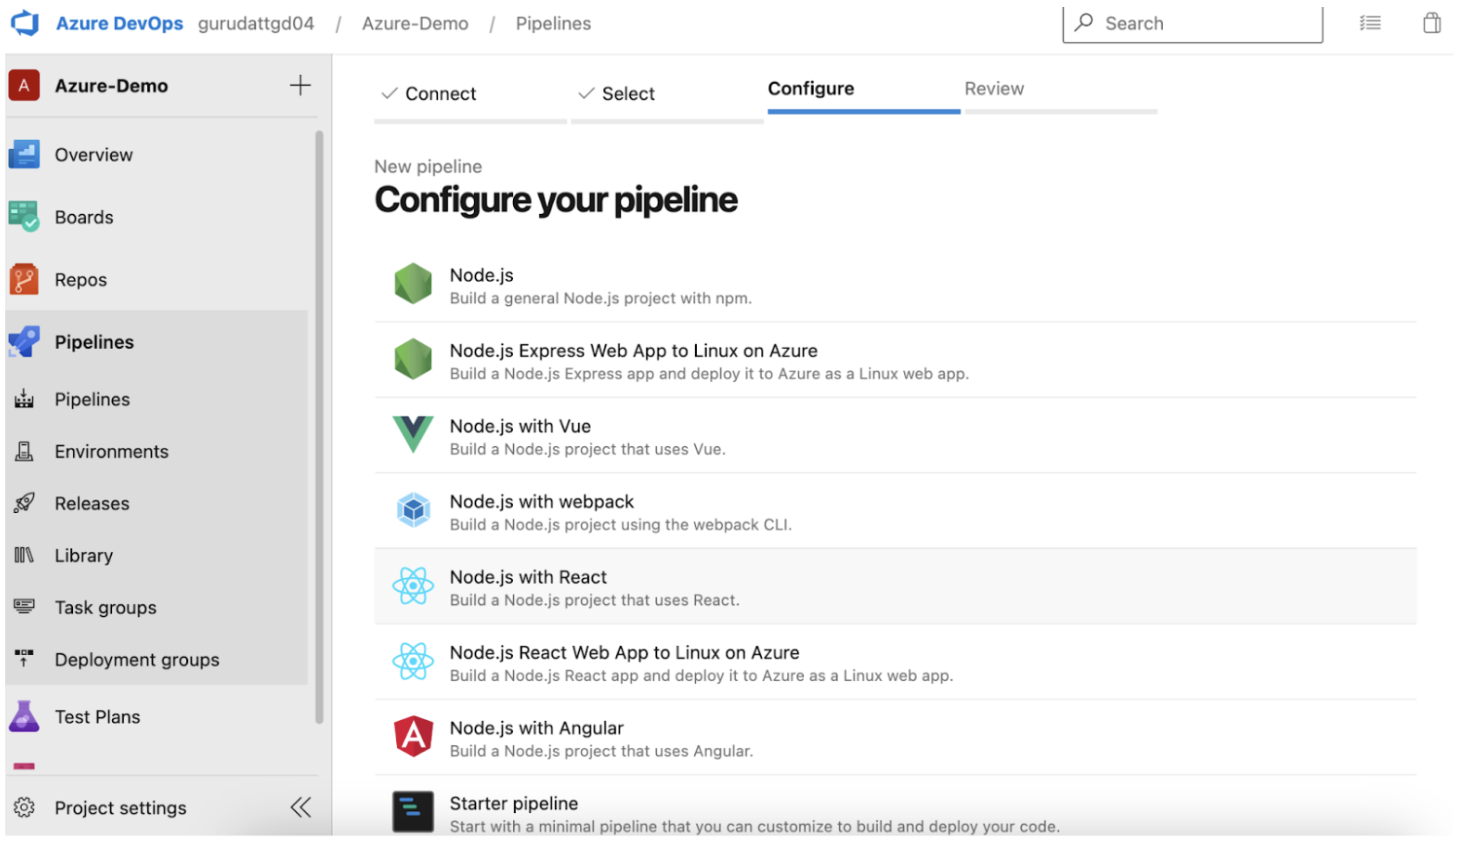
We do not edit this file now, as we will come to this later. For now, let’s click on Save and run.
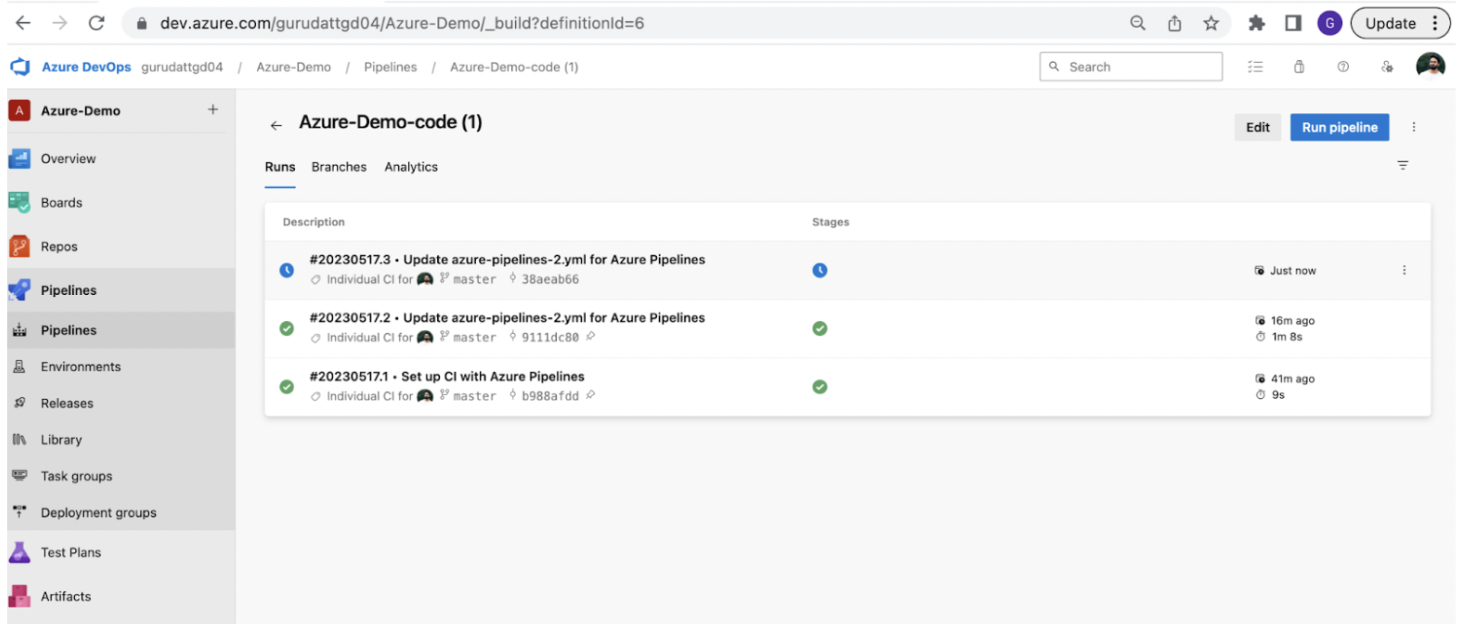
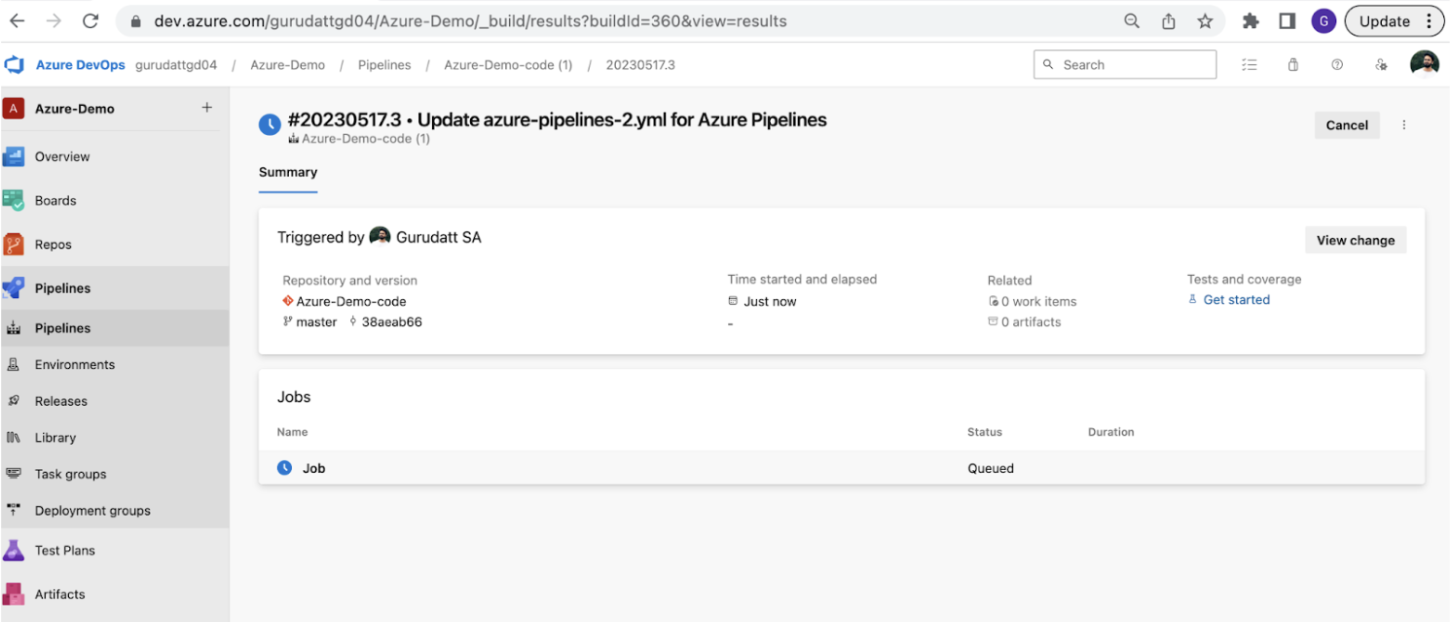
This will create a new pipeline for us and executes like shown below.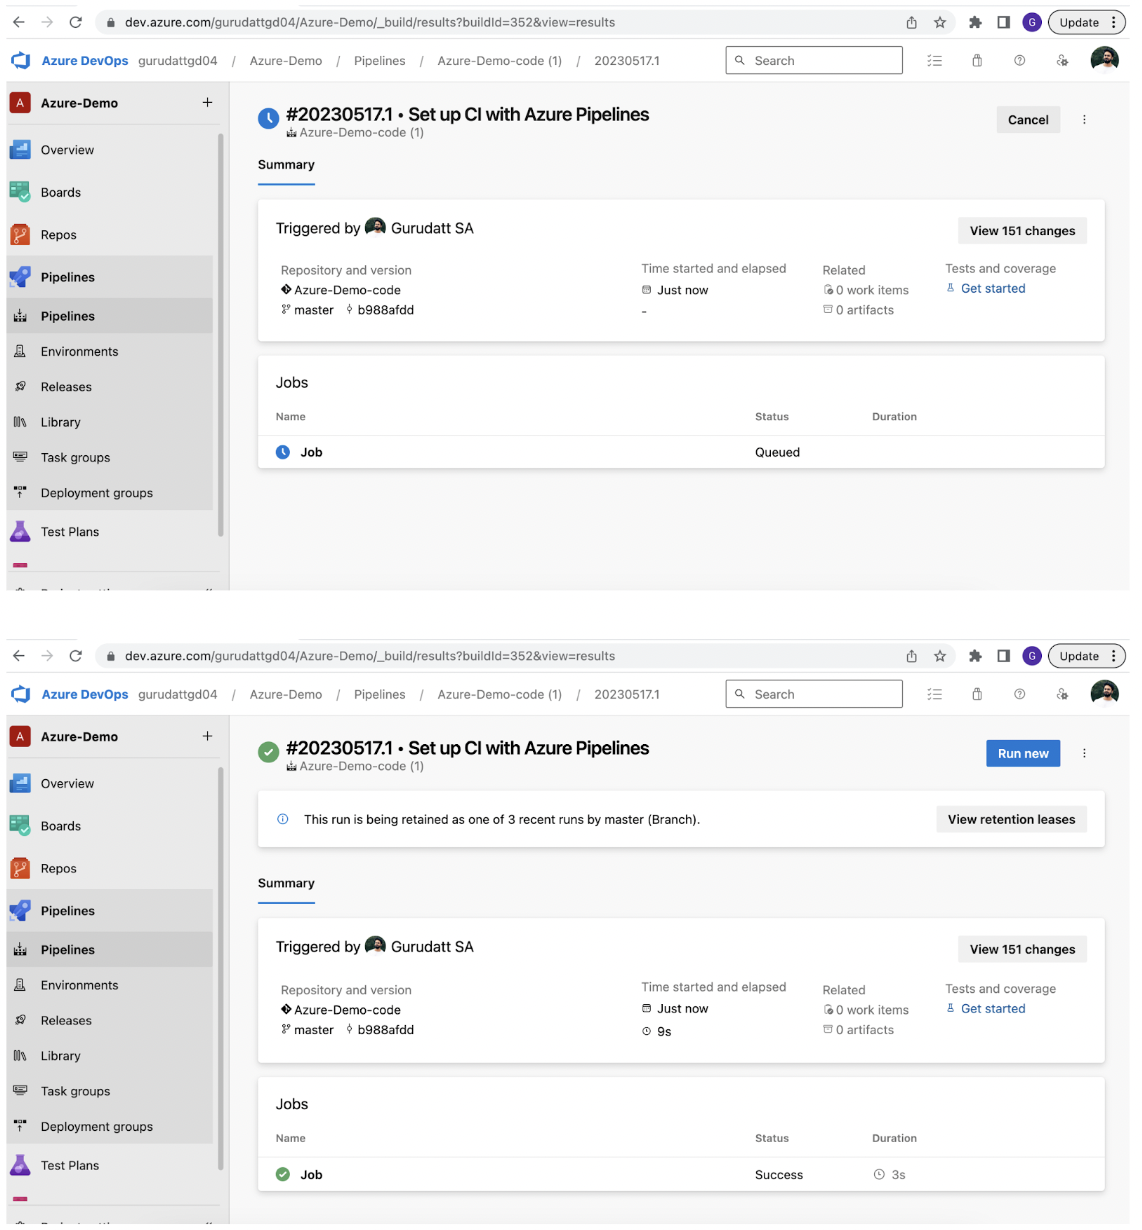
Configuring Azure pipeline to run Cypress Tests
Understanding the Project Structure in Azure DevOps Pipeline
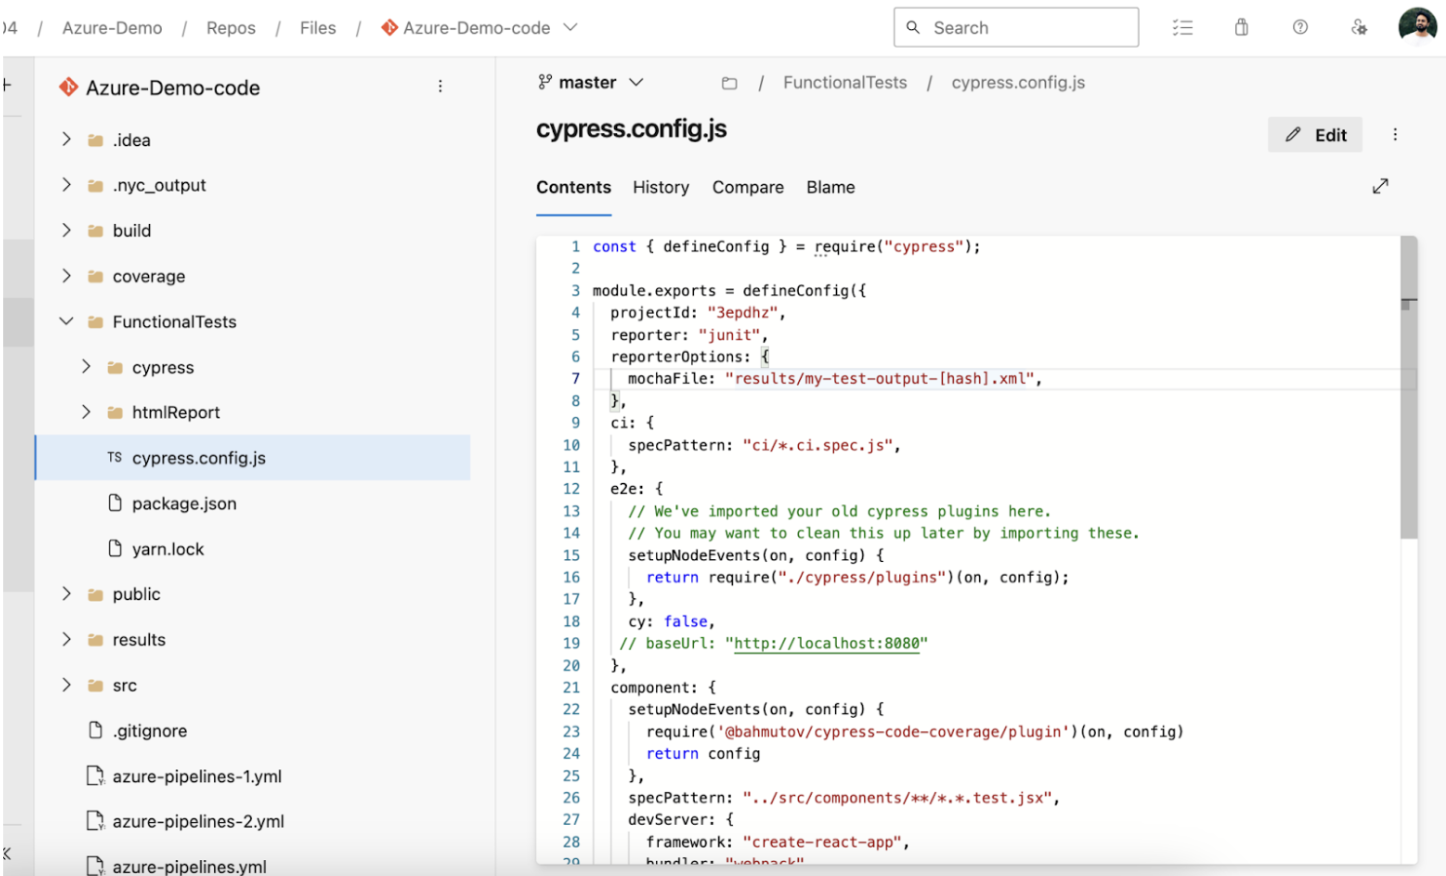
Before you configure the pipeline to run tests, check for the project folder structure, as shown below.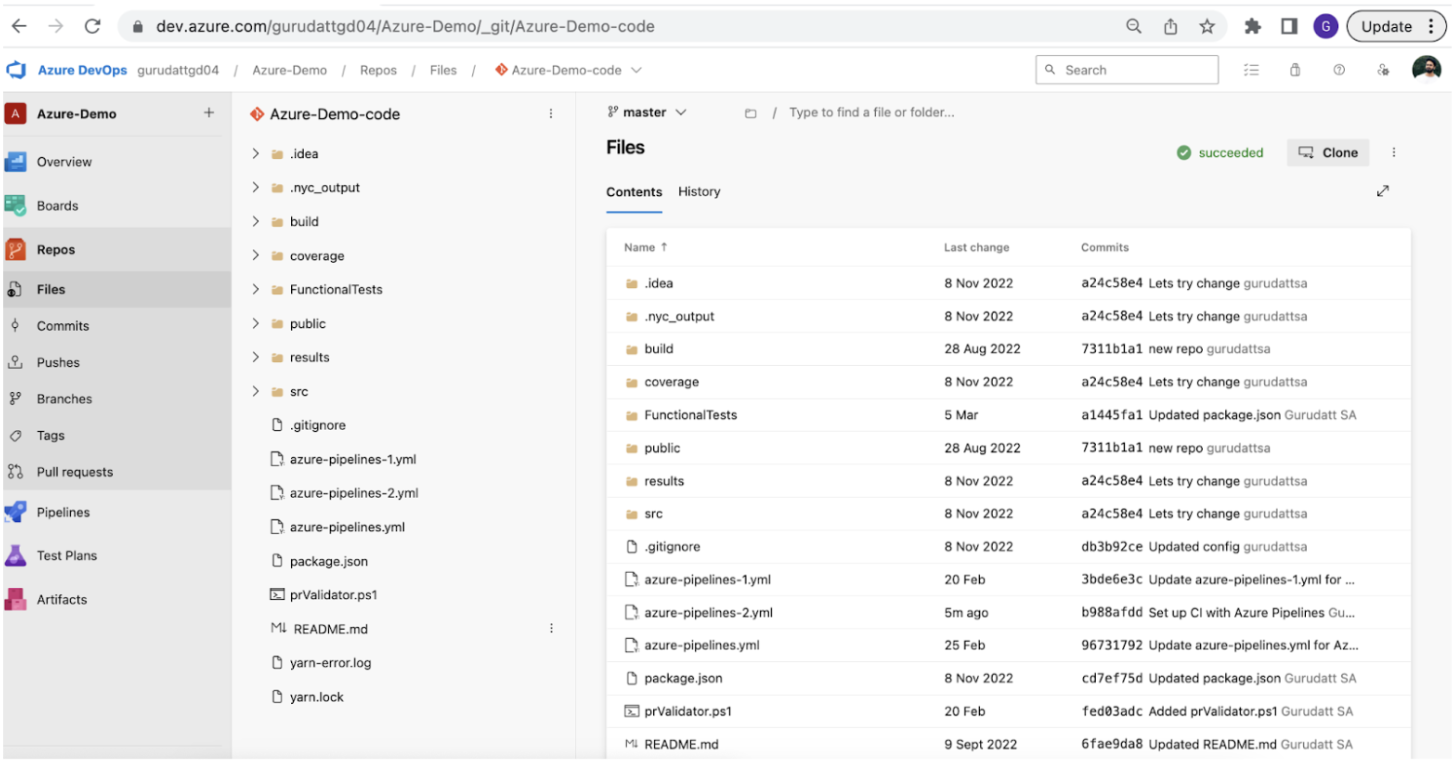
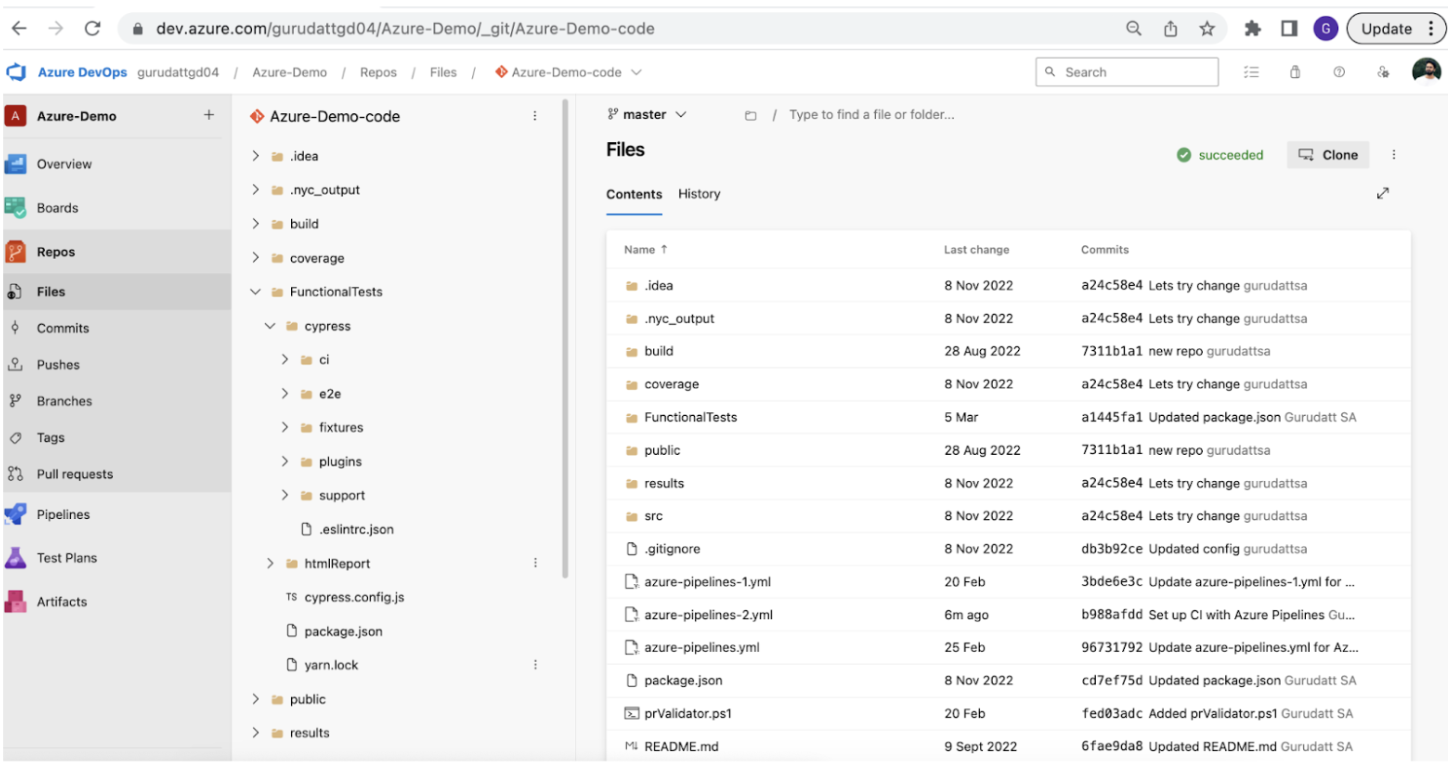
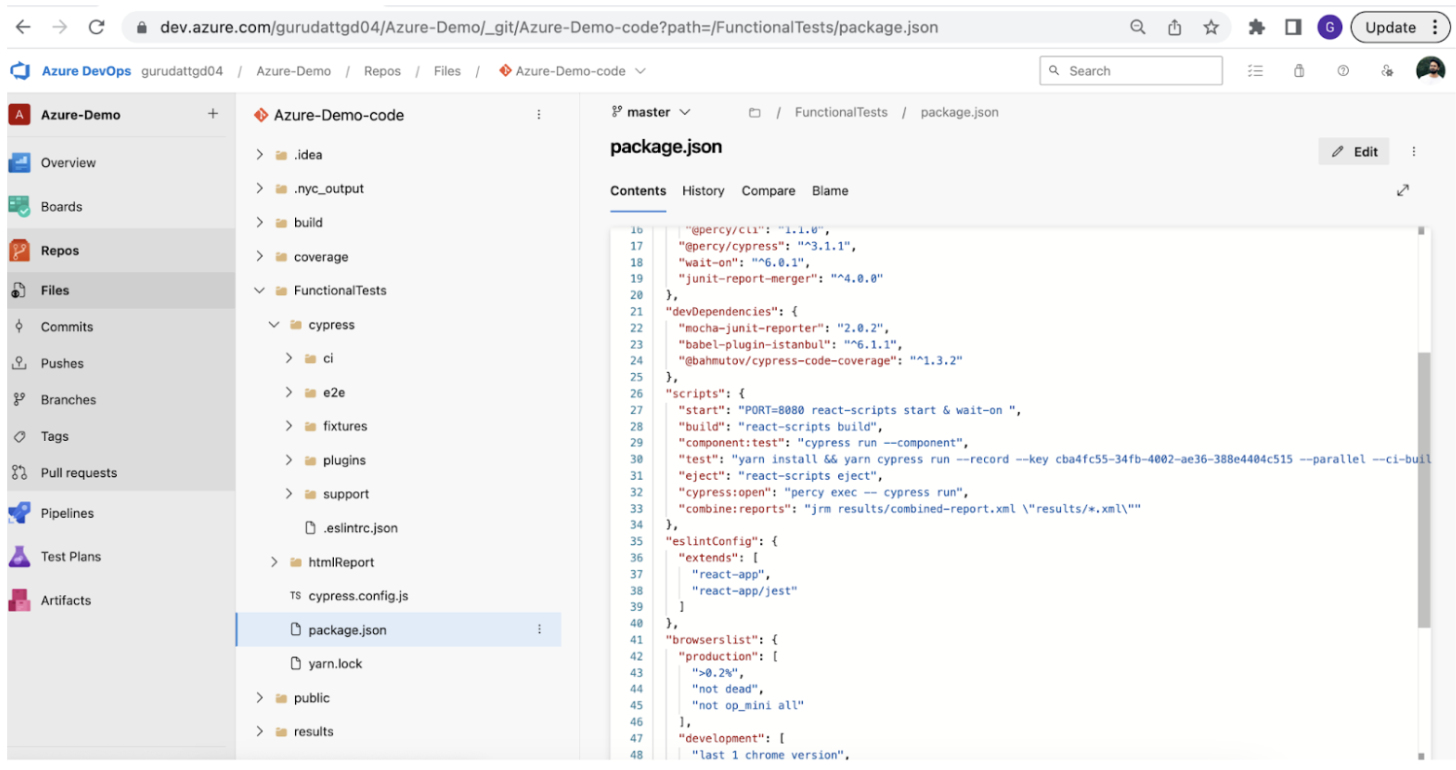
yarn run test
Updating our pipeline to run tests
In order to edit the pipeline, Navigate to Pipelines > Select the newly created pipeline and click on Edit button
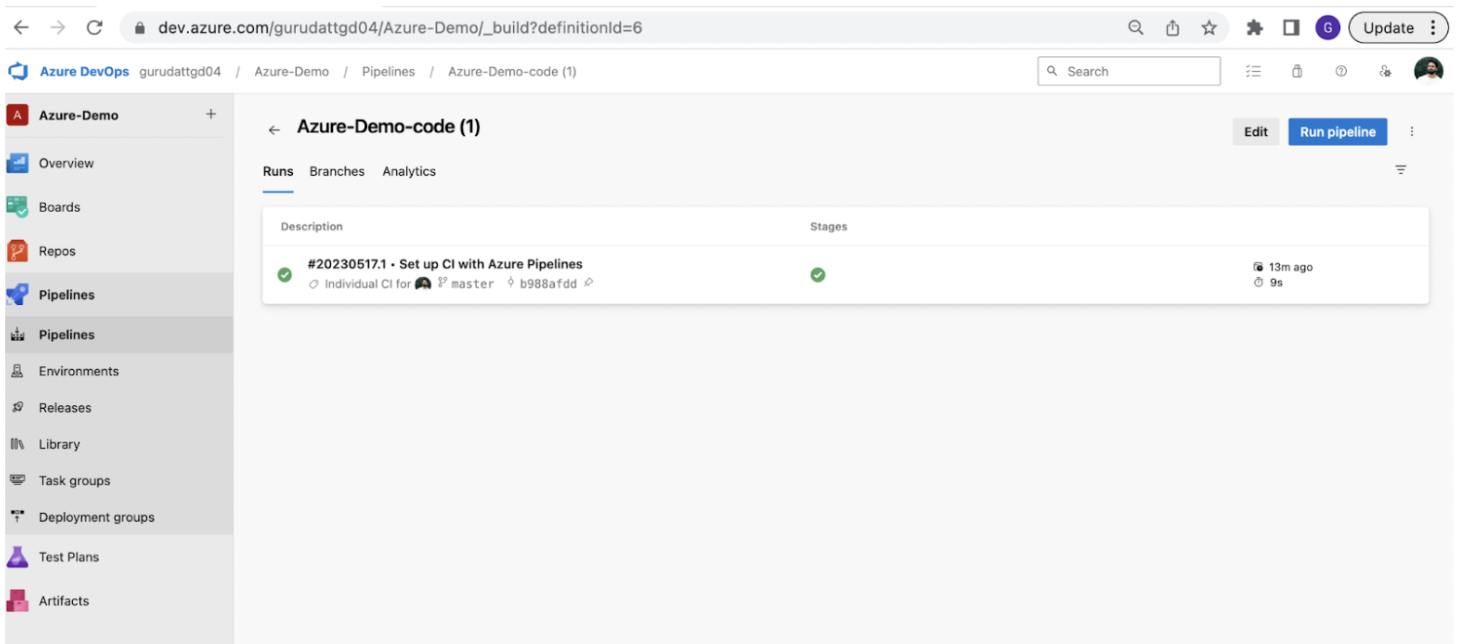
- Install dependencies
- Execute test script, which will run our tests
Install Dependency to run Cypress Tests in Azure Pipeline
Before running the tests, make sure to install the required dependencies for Cypress. You can install the dependency using either npm or yarn
Using npm we can execute below command in the command line
npm install
Using yarn we can execute below command in the command line
Yarn install
This will create a node_modules folder under the root of our project and all the dependencies are downloaded inside that folder.
The sample pipeline yml script which looks like below, which we can find by navigating to Pipelines > Access the pipeline created and Click on Edit.
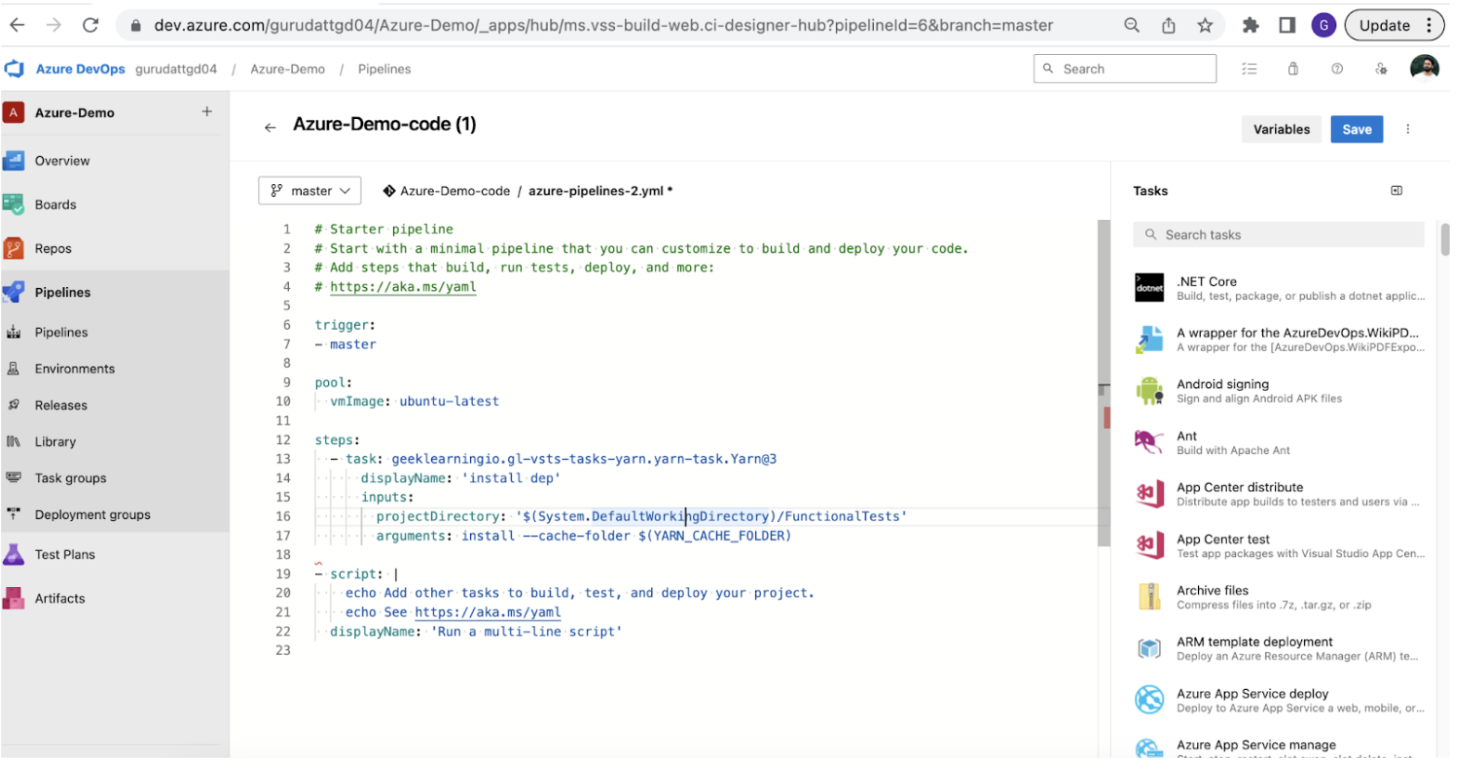
trigger:
- master

pool:
vmImage: ubuntu-latest

steps:
- task: geeklearningio.gl-vsts-tasks-yarn.yarn-task.Yarn@3
displayName: 'Yarn Install'
inputs:
projectDirectory: '$(System.DefaultWorkingDirectory)/FunctionalTests'
arguments: install
Let’s break down this code
trigger:
- master
The trigger defines the pipeline trigger criteria, in our case we have mentioned trigger criteria as master. This means whenever any code is merged to master branch this pipeline will be triggered.
pool:
 vmImage: ubuntu-latest
Pool specifies which VM image to use to execute the code, we have used ubuntu image
steps:
- task: geeklearningio.gl-vsts-tasks-yarn.yarn-task.Yarn@3
displayName: 'Yarn Install'
inputs:
projectDirectory: '$(System.DefaultWorkingDirectory)/FunctionalTests'
arguments: install
Steps contain a series of tasks, this is the section where we install our dependencies and then add another task to run our test.
To test if the pipeline is working as we want, we have now added a task to install the dependencies.
Click on Save and our pipeline will be triggered
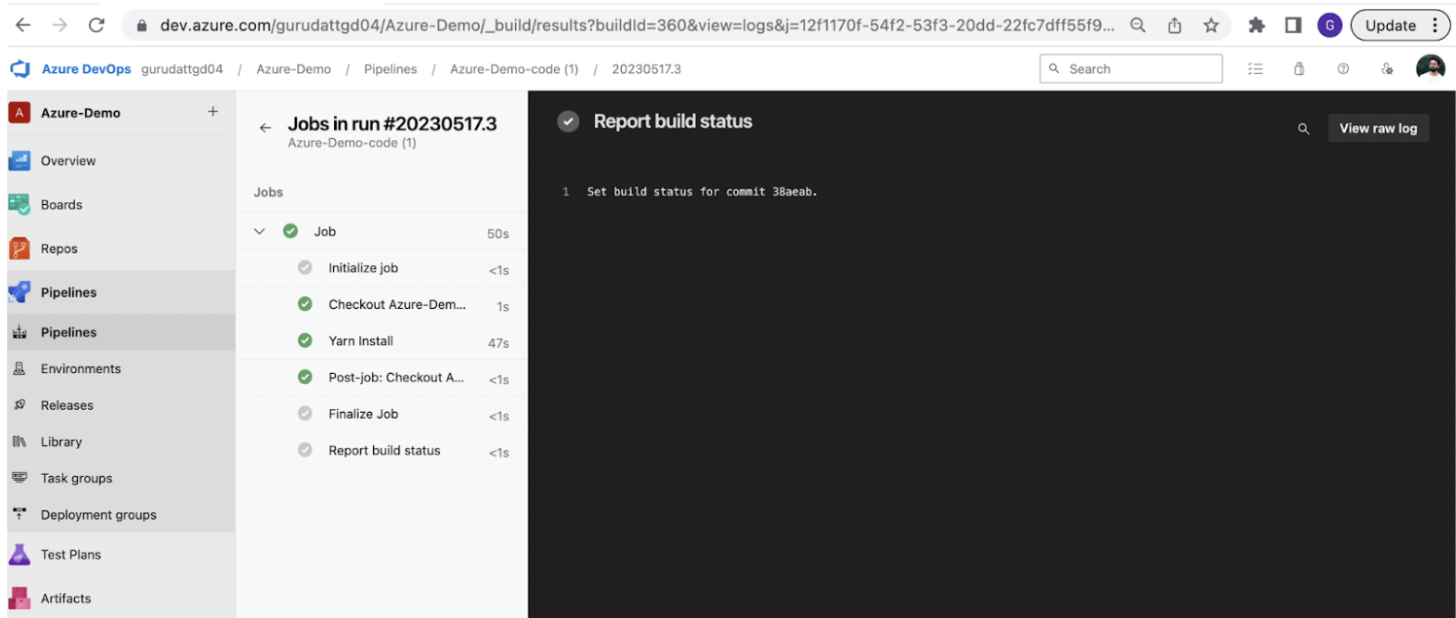
Run Cypress Tests in Azure DevOps
Let’s edit the pipeline to add a task to run our tests.
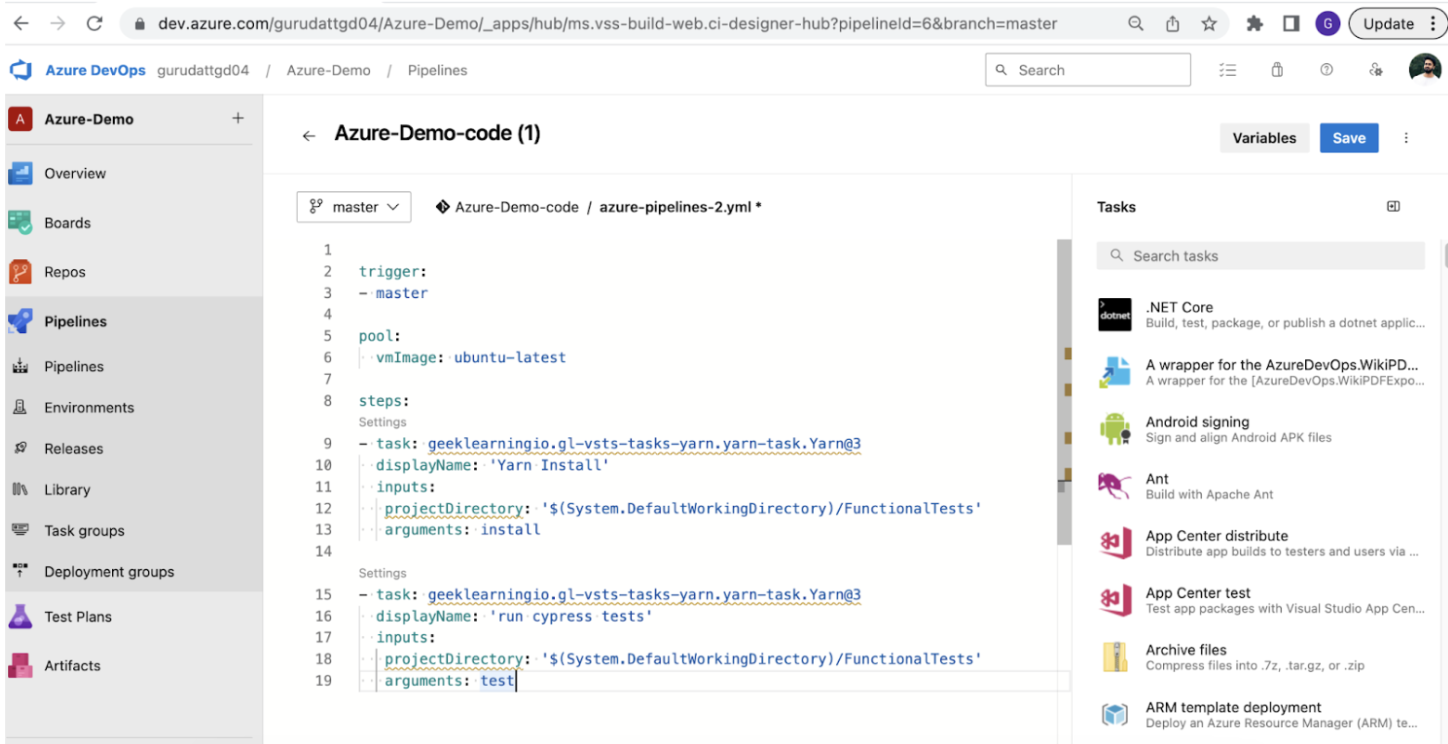
- task: geeklearningio.gl-vsts-tasks-yarn.yarn-task.Yarn@3
displayName: 'run cypress tests'
inputs:
projectDirectory: '$(System.DefaultWorkingDirectory)/FunctionalTests'
arguments: test
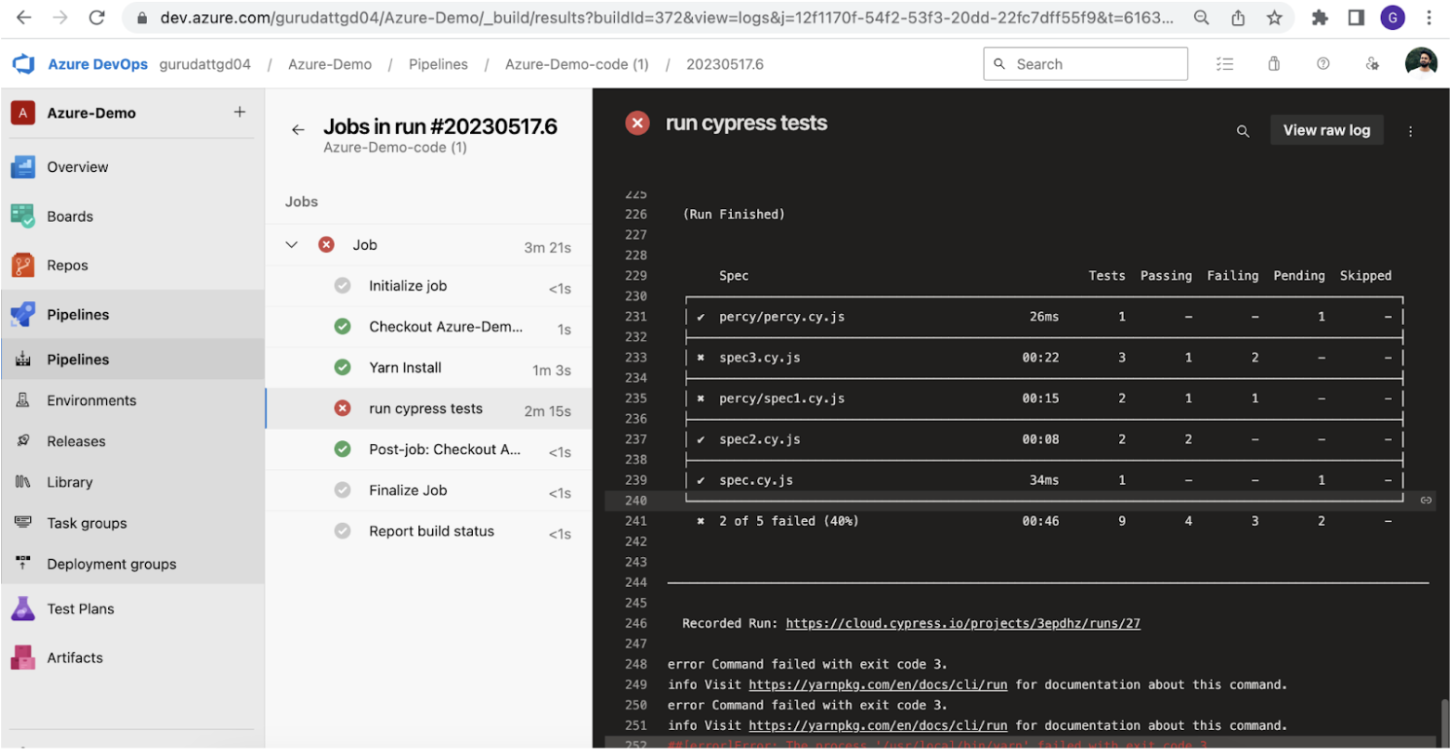
We are passing our script name(this is the npm script which we have added in our package.json file under the scripts section) to run the tests. In this case, the script name to run cypress tests is “test” . Now if we Save this, our pipeline will trigger and execute tests
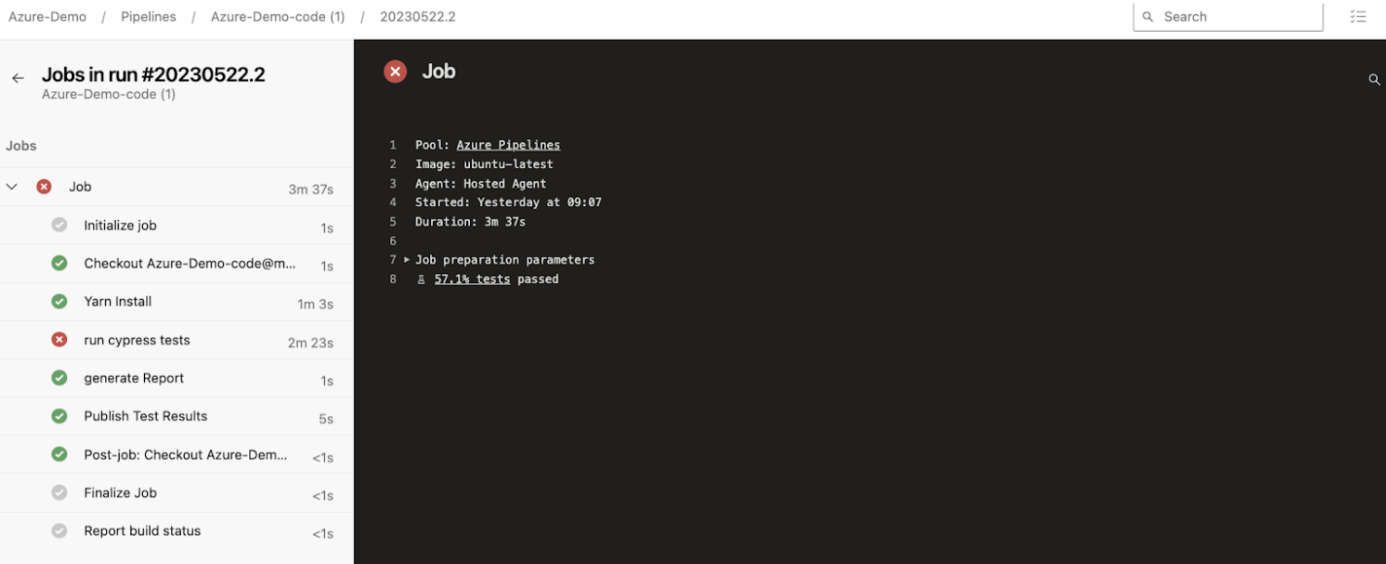
To confirm this let’s go back to Pipelines > Open our Pipeline > Open the latest build and click on Job, which open below Job Steps detail screen.
Publishing Cypress Test Results using JUnit Reporter
Cypress supports various Reporters. In this article we will use Junit Reporter.
In JUnit reporter, the reporter first produces multiple xml files (1 xml file per test) and you need to combine them before publishing.
The cypress.config.js file looks like below.
reporter: "junit",
reporterOptions: {
mochaFile: "results/my-test-output-[hash].xml",
}
The above block specifies the type of reporter that Cypress has to use for generating report and the output file path.
Once these files are generated, we need to combine these xml files using below command
jrm results/combined-report.xml \"results/*.xml\"
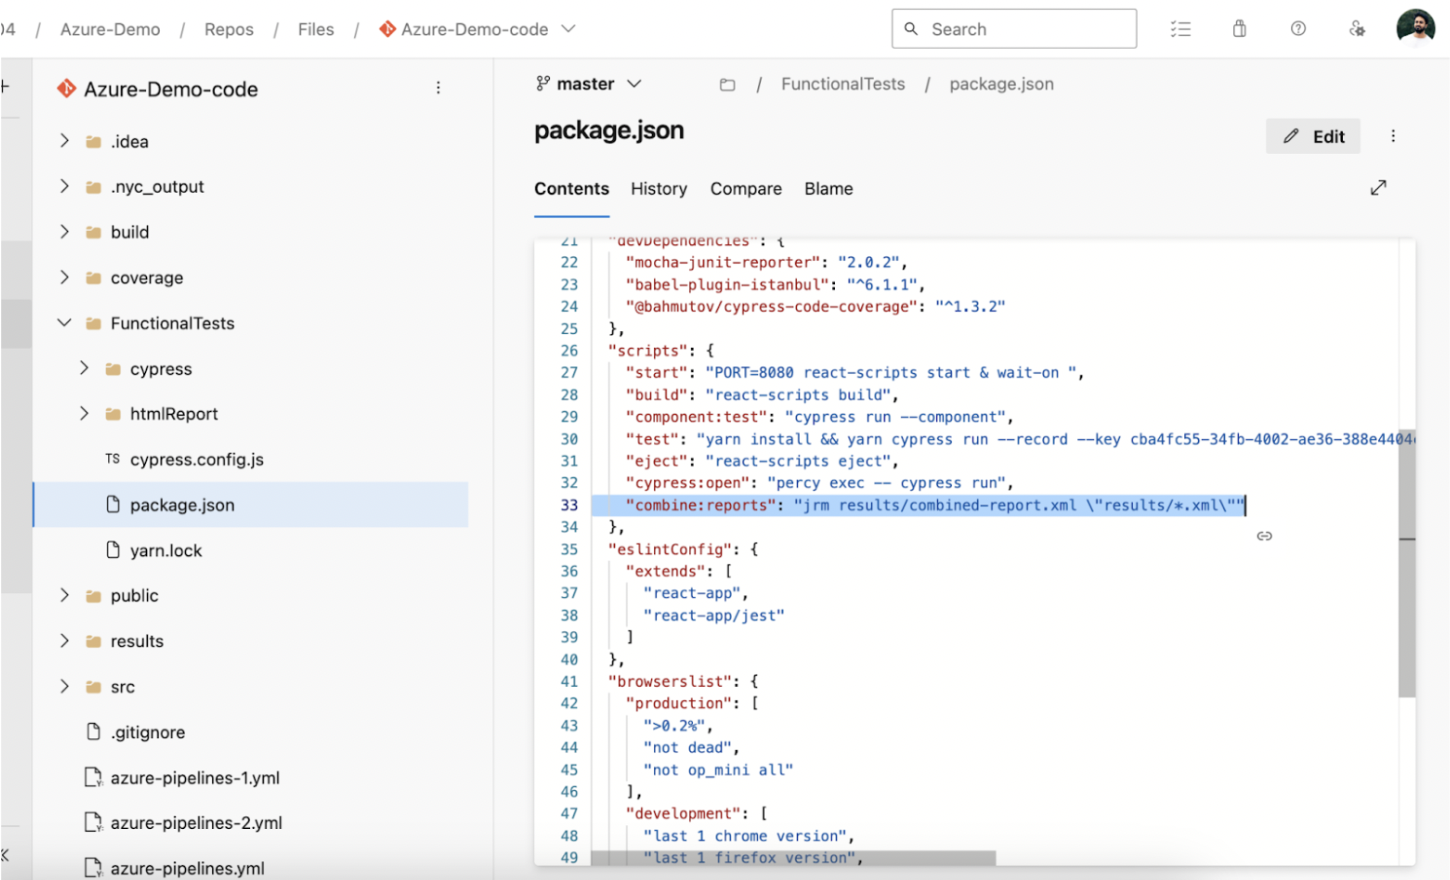
Adding this command as npm script in the package.json file.
Now in our pipeline we need to add two tasks
- Execute the npm script to combine reports
- Publish the Test Results
- task: geeklearningio.gl-vsts-tasks-yarn.yarn-task.Yarn@3
condition: always()
displayName: 'generate Report '
inputs:
projectDirectory: '$(System.DefaultWorkingDirectory)/FunctionalTests'
arguments: combine:reports

- task: PublishTestResults@2
condition: always()
displayName: 'Publish Test Results'
inputs:
testResultsFiles: '**/combined-report.xml'
searchFolder: '$(System.DefaultWorkingDirectory)/FunctionalTests/'
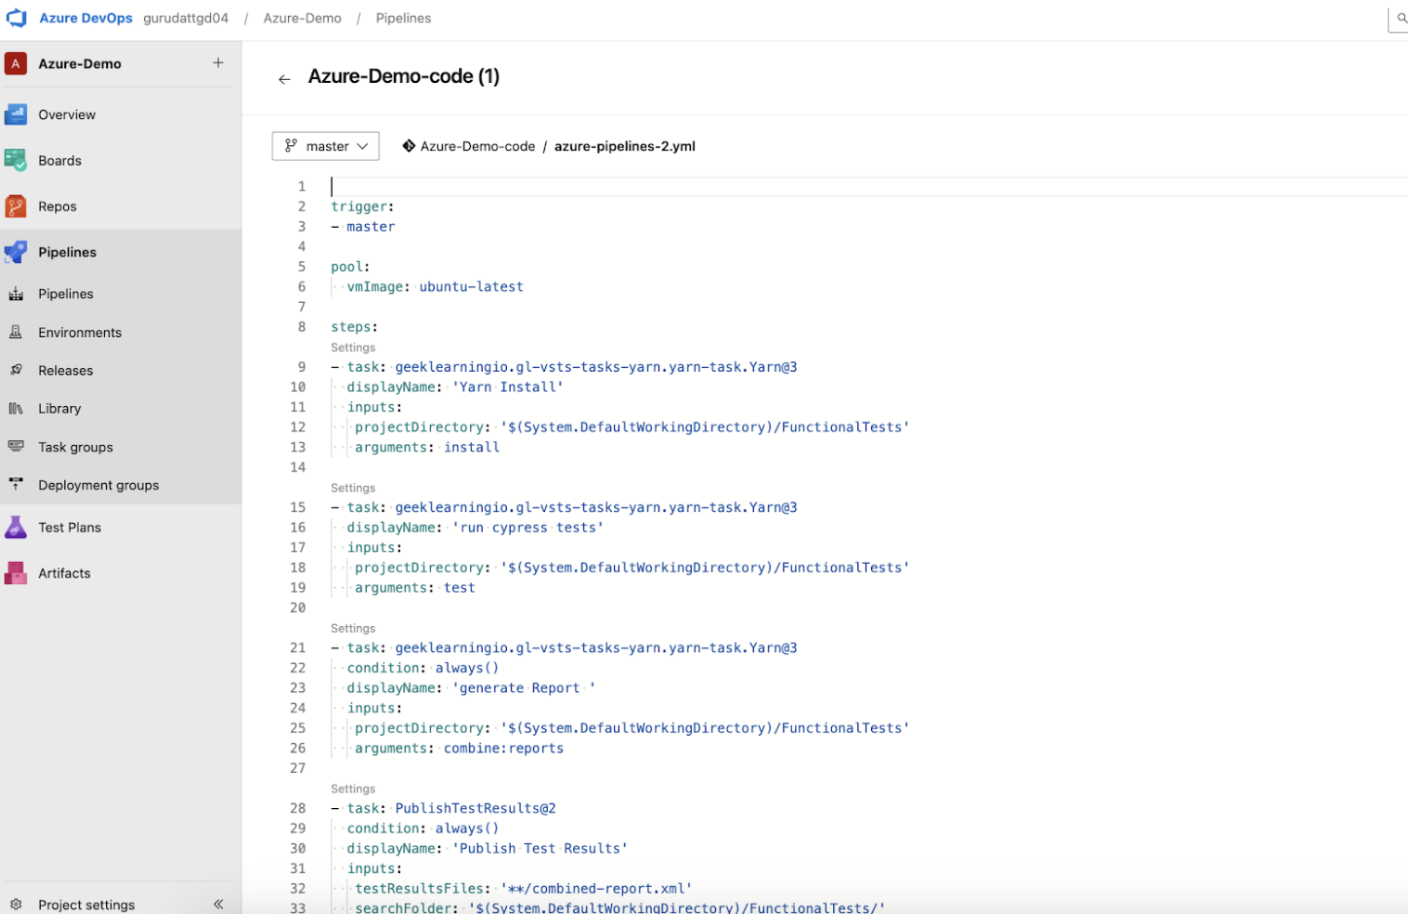
The above two tasks will perform the operation of executing npm script using yarn and then Publish the Combined XML test result.
Our pipeline.yml will look like this.
The below report will be displayed when we access the State of the run.
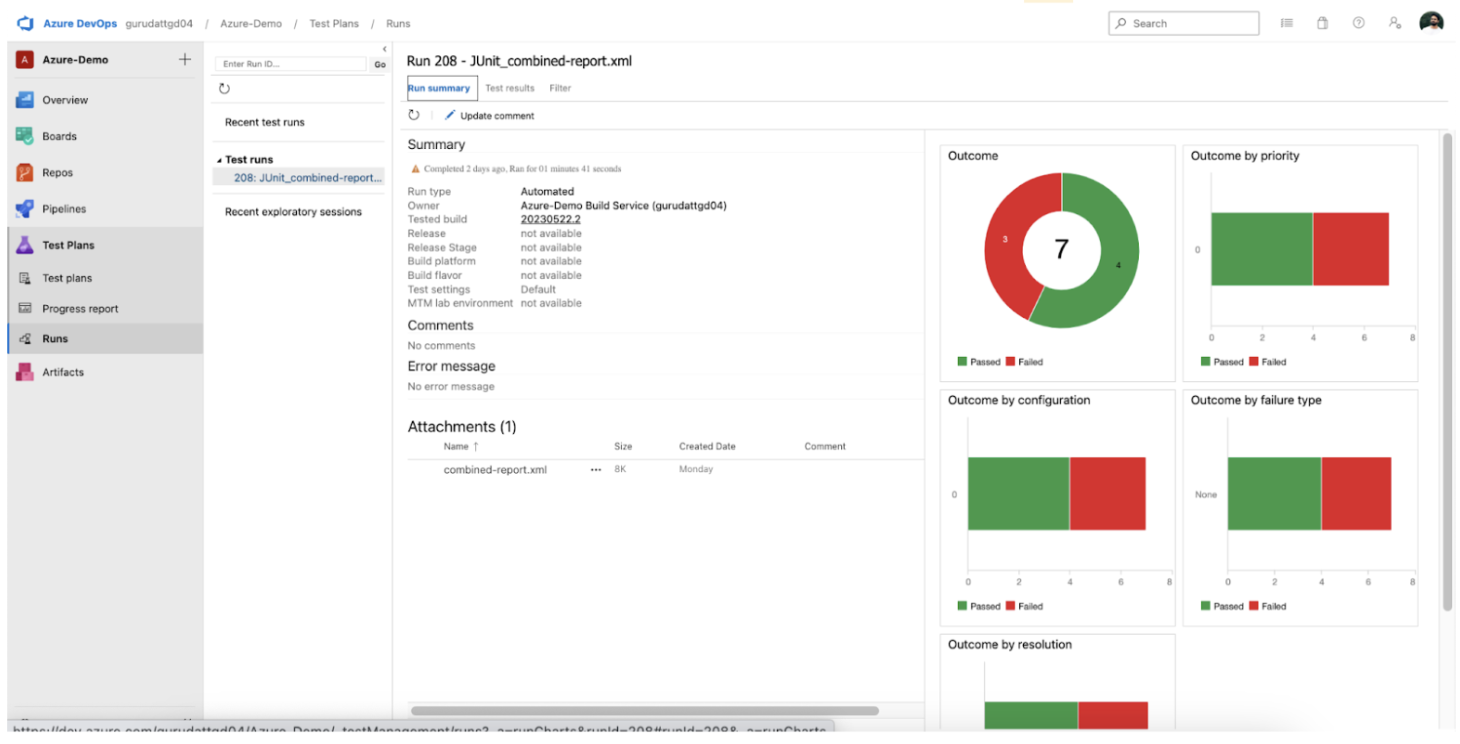
In this article we have seen how easy it is to integrate our cypress tests in the pipeline and also publish the JUnit report and view it. With this we can integrate this step into the CI/CD pipeline so that our application is tested thoroughly before getting deployed to the next environment/stage.
Whenever running Cypress tests, it is recommended to test on real devices so that the real user conditions can be taken into account for better accuracy of test results. Tools like BrowserStack Automate help QAs by providing access to 3000+ device browser combinations for a comprehensive automated testing.
