Robot Framework and Selenium Test Automation
By Akshay Pai, Community Contributor - February 16, 2023
Robot Framework Selenium is a powerful combination that enables testers to automate web applications efficiently. Robot Framework, built on Python, integrates with Selenium WebDriver through Selenium2Library, allowing teams to create modular, readable, and scalable test cases.
Overview
What is Robot Framework in Test Automation?
- Open-source, Python-based framework for automation.
- Provides keyword-driven syntax for writing test scripts.
- Uses built-in and third-party libraries (e.g., String, DateTime, HTTP).
- Supports modular test design with tools for logging, reporting, and documentation.
How Selenium2Library Enhances Robot Framework
- Selenium2Library integrates Selenium WebDriver with Robot Framework.
- Enables execution of browser-based actions like navigation, clicks, and input.
- Expands Robot’s capabilities for web testing without custom code.
- Allows testers to replicate end-user workflows on real browsers.
How to Write Test Cases with Robot Framework and Selenium
- Settings Block: Import Selenium2Library.
- Variables Block: Define constants like homepage URL and browser type.
- Keywords Block: Create reusable actions such as opening a browser or searching.
- Test Cases Block: Combine keywords to build test flows (e.g., open browser, search Google).
How to Run and Validate the Test Suite?
- Save test cases in a .robot file.
- Run with the robot command to execute tests.
- Results show pass/fail status for each test.
- Screenshots validate browser actions and search results.
This article explains how to use Robot Framework with Selenium, including setup, writing test cases, defining keywords, and executing tests with screenshots.
Introduction to the Robot Framework
The Robot Framework is built on top of Python and incorporates multiple open source tools to provide a single tool for test automation. Robot provides the syntax to write test scripts. It basically offers something akin to a programming language with its set of keywords, structure, and flow.
Also Read: Top 8 Python Testing Frameworks
This tool comprises two main components:
1. Libraries
By default, the framework comes with a set of built-in libraries. These libraries help developers execute the test cases. To keep it modular, third-party libraries can be added to expand its capabilities. While String manipulation, screenshots, date-time, and XML handling libraries come by default, libraries such as Android support, Django, and HTTP libraries can be added based on requirements and use cases.
2. Tools
Tools are meant to help with maintaining test cases and ease of use. They include editing tools like plugins for Eclipse IDE, built-in tools for logging, documentation, and HTML based report generation.
Using the Robot Framework involves using both the libraries and tools to build scalable automation test cases.
What is Selenium2library?
Since the Robot Framework doesn’t have all the necessary tools to build and execute automation tests for web applications, testers use the Selenium2library to do so. This Selenium-based library allows the Robot Framework to use Selenium and perform web-based operations internally. It can be used to replicate a variety of user actions, from accessing a website to performing all UI operations.
In this Robot Framework – Selenium tutorial, let us explore how to write an automation test case using Selenium2library.
Writing a Test Case with Robot Framework – Selenium
1. Installing and setting up Robot Framework and Selenium
If one has Python installed, installing the Robot Framework is straightforward. Simply run the following command.
pip install robotframework
For detailed instructions and alternate installation methods, refer to the official installation guide.
Next, install Selenium and Selenium2library by running the following command:
pip install selenium robotframework-selenium2library webdrivermanager
To verify successful installation, execute the command below:
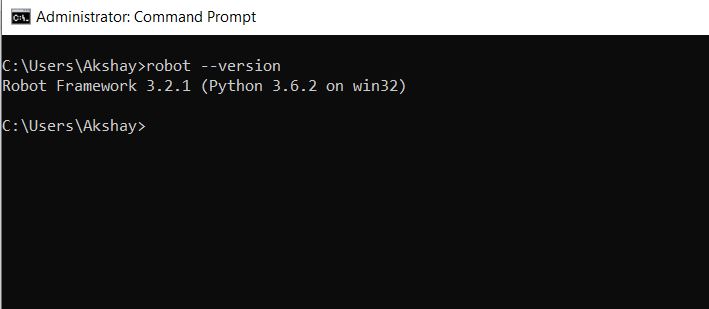
robot --version
If the installation was successful, one will see the framework version, like in the image below.
Before proceeding, ensure that the browser driver is in the system path so that Selenium can open the browser. To do so, download the chromedriver and place it under the scripts folder where Python is installed. To identify where the Python executable has been installed, open the Python interpreter and enter the following commands:
Import sys, os
os.path.dirname(sys.executable)
The path to the python folder will be printed. For example:
‘C:\\Users\\Akshay\\AppData\\Local\\Programs\\Python\\Python36’
From the path above, the “scripts” folder can be located under the Python36 directory.
2. Writing an Automation Test Case for Robot Framework and Selenium
This example will attempt to write a test case to open a browser, navigate to Google, and search for a topic.
Before, we explore the various sections of the test suite, let’s create a file called “my_testcase.robot”. The various sections described below such as settings, keyword definitions, etc would be added to this file.
Step #1 Settings
The very first step is to configure the settings at the beginning of the file. For our test case, we need to use the Selenium2library. So, importing that is the only setting we need to configure.
The settings section of the test case:
*** Settings ***
Library Selenium2Library
Each section in a Robot Framework test case starts with “***” followed by the name of the block and then ends with “***”. The first line indicates that the code block that follows is the setting block. The second line uses the “Library” keyword to import the Selenium2Library into context.
Step #2 Defining Variables
The variables block helps define some constants that may be used throughout the use case. For this test case, two variables will be defined: the “HOMEPAGE” variable, which will store the URL of the website to be opened, and the “BROWSER” variable, which stores information on which browser is to be used. Given below is the code for this:
*** Variables ***
${HOMEPAGE} http://www.google.com
${BROWSER} Chrome
Set the HOMEPAGE to be google.com, use the Google Chrome browser to run the test case.
Step #3 Keyword definitions
Keywords in the Robot Framework work differently when compared to other programming languages. Robot wanted to make the framework easy to understand, so the keywords are human-readable descriptions. For example, Selenium2Library comes with a large number of predefined keywords like “Open Browser”. This keyword is responsible for opening a browser and loading a webpage.
Similarly, in a test case, one has to define custom keywords to build operations that are relevant to the use case. Here’s how to define keywords in this framework:
*** Keywords ***
open the browser
Open Browser ${HOMEPAGE} ${BROWSER}
search topic
[Arguments] ${topic}
Input Text name=q ${topic}
Press Key name=q \\13
The code above uses the Keywords block, and defines two keywords. The first keyword is called “open the browser”. It is configured to open a new browser window defined by the “BROWSER” variable and load the URL initialized in the “HOMEPAGE” variable. Here, “Open Browser” is an in-built keyword of Selenium2Library used to open a browser instance using Selenium Webdriver.
The second keyword defined here is “search topic”. This keyword is capable of executing the following tasks in sequence:
It accepts an argument called “topic.”
It uses the “Input Text” in-built keyword to find an element on the web page and input text.
Here, it uses a locator to find the input element where text can be entered. On the Google homepage, the text box to enter search queries has an attribute called “name” whose value is set to “q”. Here, the Input Text keyword searches for a text box with the name attribute set to the value “q”. It then types the text provided in the argument in step 1.
Finally, it uses the “Press Key” in-built keyword to mimic the user action of pressing the “Enter” key denoted by “\\13”.
Step #4 Writing Test Cases
Now, use all the blocks that have been defined earlier to write test cases. Let’s break up the task into two test cases. The first test case opens the homepage on Chrome and the second test case searches for a topic on Google. Here’s the code:
*** Test Cases ***
Open Browser
open the browser
Search on Google
search topic BrowserStack
Each test case has a generic pattern. The first line is the name of the test case, and the second line invokes the keywords defined in Step #3. The test passes the arguments wherever applicable.
The first automation test case is “Open browser”. It is passed if the browser opens the homepage on the mentioned browser. Otherwise, it fails. The second test case is “Search on Google”. Here, it searches for the word “BrowserStack”. If the search is complete, this test case will be marked as successful, else it is marked as a failure.
Read More: How to create Selenium test cases
Step #5 Running the Test Suite
Here’s the entire test suite:
*** Settings ***
Library Selenium2Library
*** Variables ***
${HOMEPAGE} http://www.google.com
${BROWSER} Chrome
*** Keywords ***
open the browser
Open Browser ${HOMEPAGE} ${BROWSER}
search topic
[Arguments] ${topic}
Input Text name=q ${topic}
Press Key name=q \\13
*** Test Cases ***
Open Browser
open the browser
Search on Google
search topic browserstack
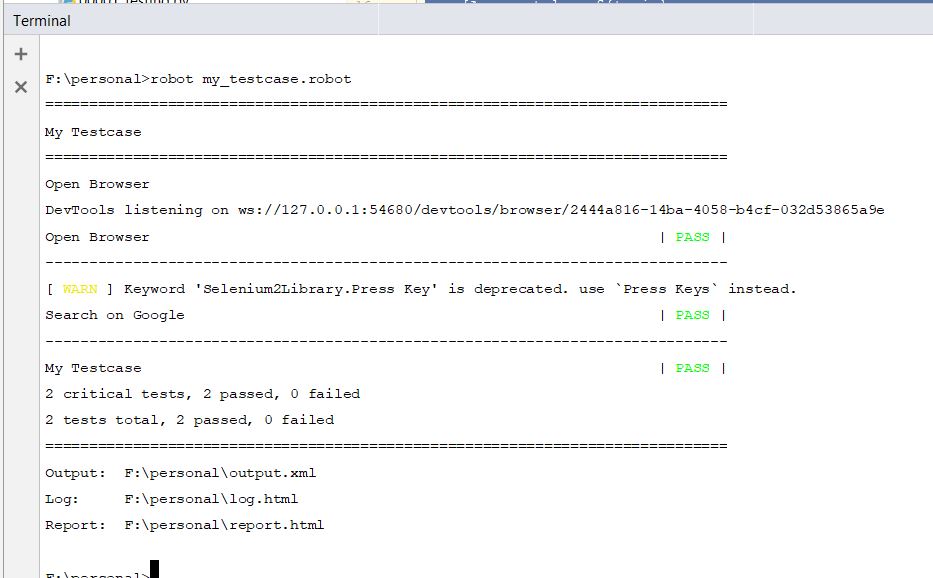
Store this in a file and name it “my_testcase.robot”. Once this file is saved, run it using the robot command:
robot my_testcase.robot
If it’s successful, the testers will get the text “pass” against each of the test cases executed. The screenshot below shows what successful execution would look like:
Screenshots
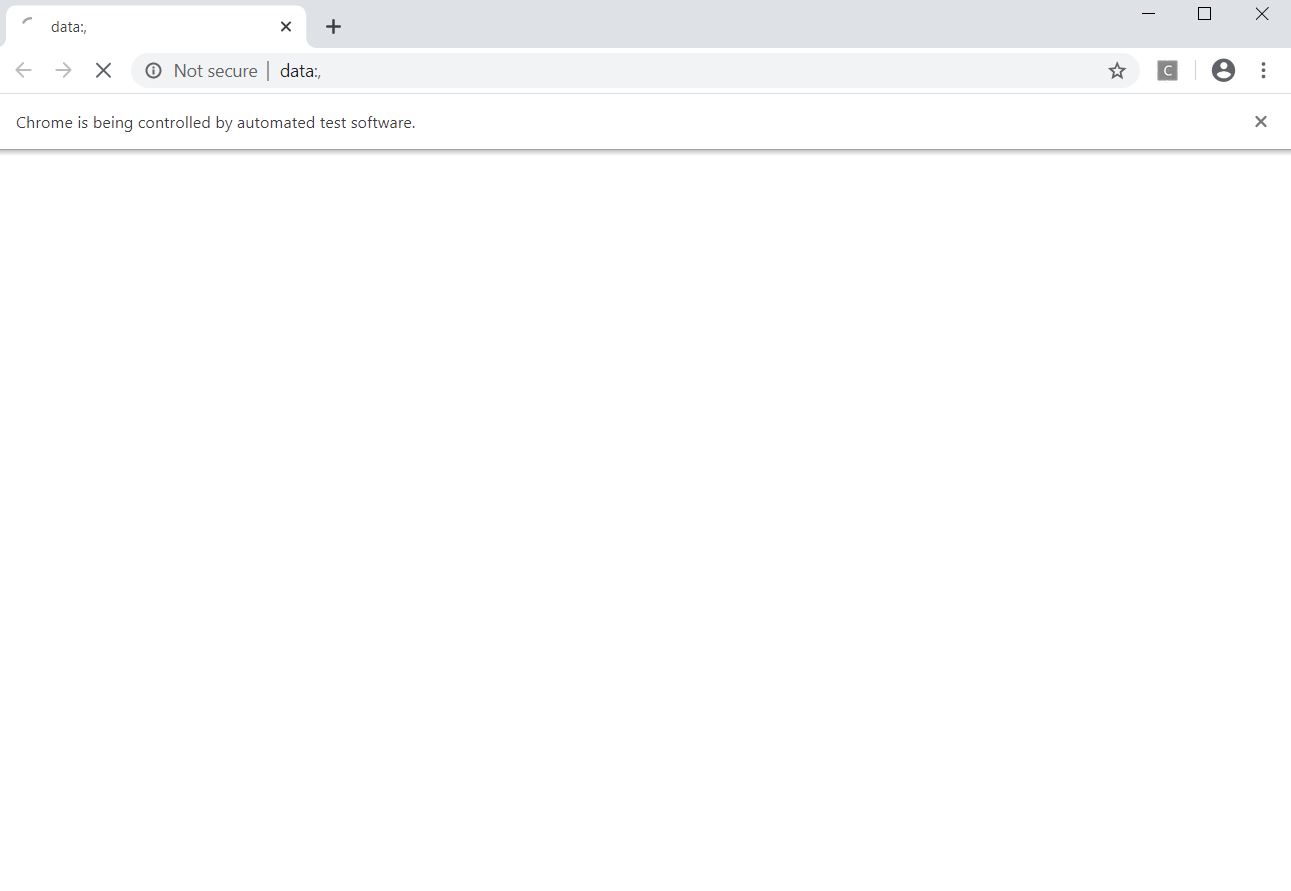
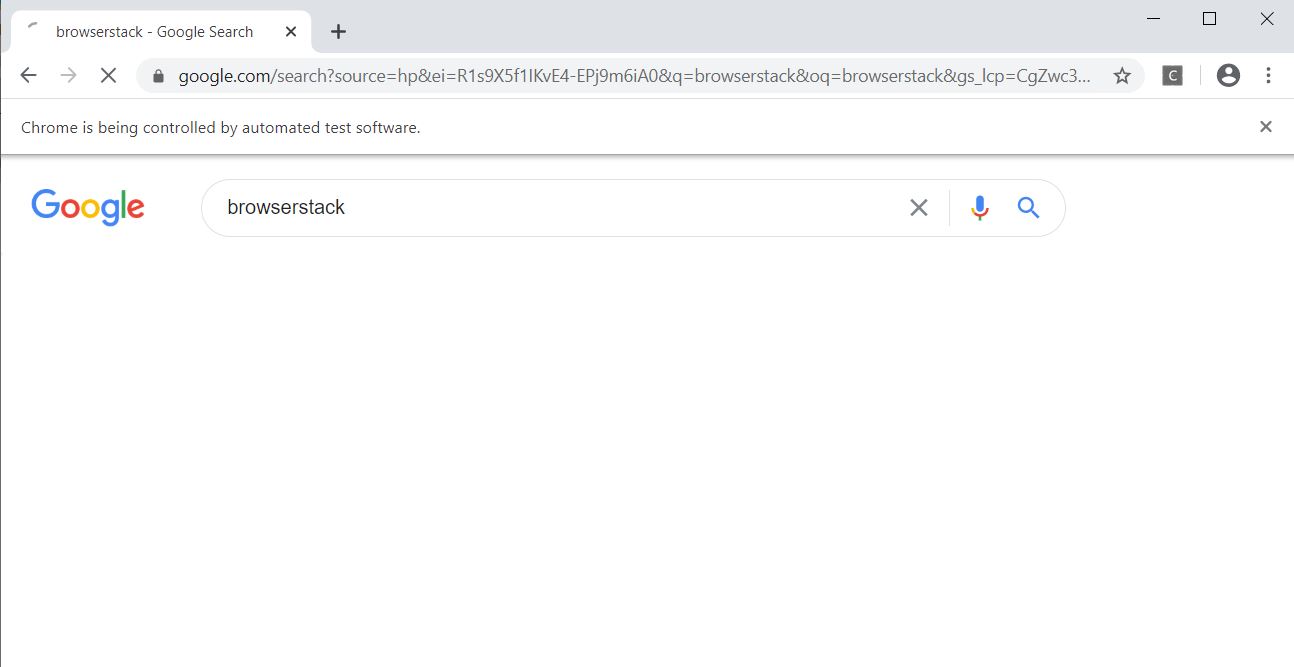
Here are some screenshots of the test execution
Browser is opened
Home page is loaded
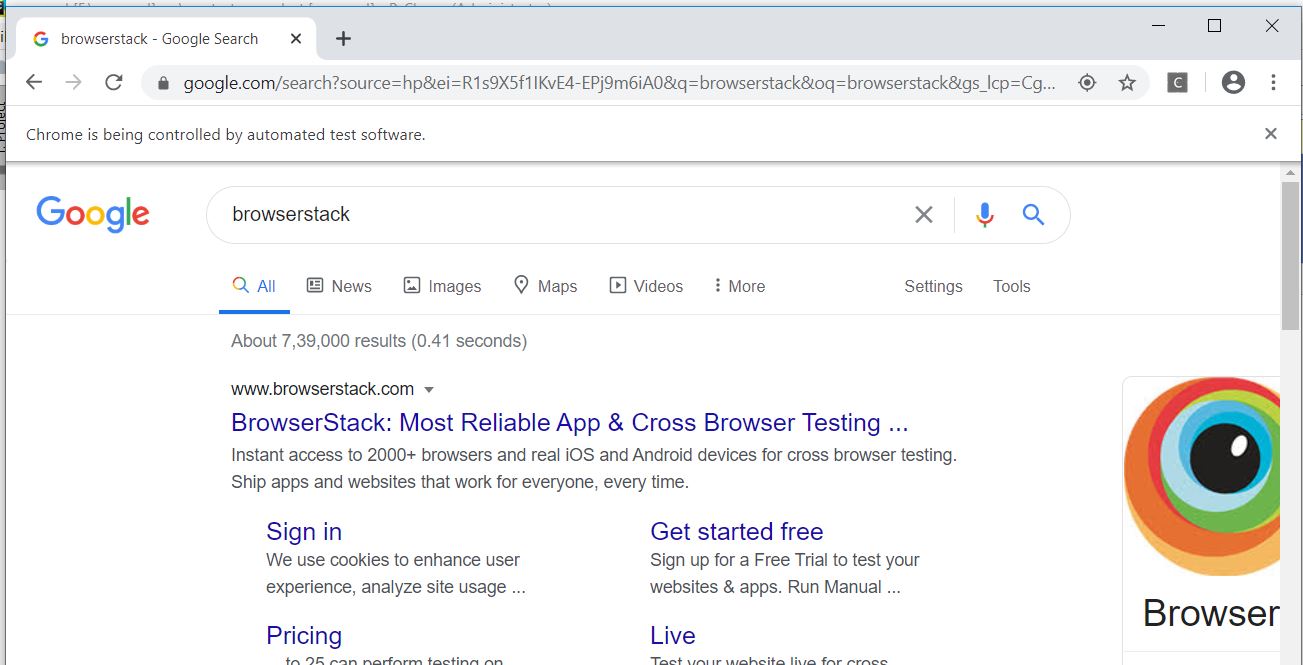
“BrowserStack” is typed and Enter is pressed.
The final result page is fetched
The Selenium Robot framework is an easy-to-understand open source tool which provides a modular interface to build custom automation test cases. It has been adopted by large organizations for this purpose, and for good reason. As demonstrated above, it is enormously useful for automation testers.
Try Testing on Real Device Cloud for Free
It provides a vast array of keywords along with the possibility to build and use one’s own keywords. This makes writing test cases much easier and faster. Overall, It’s a great tool that can be used to test a variety of scenarios and is a powerful tool in the testers’ toolbox.
