Launching a browser is the first step in any Selenium automation script. However, inconsistent setup across different browsers can lead to failed tests and wasted effort. Selenium WebDriver addresses these issues, making it possible to reliably start and manage different browsers for testing.
Overview
Selenium WebDriver allows testers to reliably open and control Chrome, Firefox, Edge, and more, ensuring seamless cross-browser testing from the very start.
How to launch browser in Selenium
- Install Java Development Kit (JDK): Download and install the latest JDK, then configure the environment variables (JAVA_HOME, PATH).
- Install an Integrated Development Environment (IDE): Use an IDE like Eclipse or IntelliJ to write and manage Selenium test scripts.
- Download and Set Up Selenium WebDriver: Add the Selenium WebDriver libraries to your project to interact with browsers programmatically.
- Download and Set Up ChromeDriver: Get the ChromeDriver executable, match it with your Chrome version, and set the path in your script to launch Chrome.
This article explores the fundamentals of browser automation and walks you through everything from prerequisites to launching browsers in Selenium, running incognito sessions, performing searches, and even scaling tests on real devices with BrowserStack.
What is Browser Automation?
Browser automation is the process of automating the testing of web applications to ensure faster, more reliable, and quality-rich releases. It allows testers to interact with browser elements and perform actions just like a real user.
Among the various tools available, Selenium stands out as one of the most widely used frameworks, enabling teams to fully leverage the benefits of browser automation.
Why is Browser Automation required?
Modern web applications are complex, dynamic, and expected to deliver seamless experiences across browsers, devices, and platforms. Manual testing alone cannot keep pace with frequent releases and rapid development cycles. This is where browser automation becomes essential.
Browser automation is required because it:
- Saves time and effort by executing repetitive test cases faster than manual testing.
- Ensures accuracy by eliminating human errors in test execution.
- Supports cross-browser testing to validate functionality and UI across different browsers and versions.
- Enables faster release cycles by integrating with CI/CD pipelines for continuous testing.
- Improves test coverage by running large volumes of test cases that would be impractical to execute manually.
Browser Automation using Selenium Webdriver
Selenium WebDriver allows browser automation, by connecting client to server. There are driver classes for different browsers in Selenium, which implement the Webdriver interface in order to interact with the browser. Here’s what happens internally when you instantiate ChromeDriver.
WebDriver driver = new ChromeDriver();
Here, the ChromeDriver class is initialized, which implements the WebDriver interface.
This ChromeDriver class will interact with the chrome browser to perform the user actions.
As seen in the above diagram, webdriver acts as an interface between client and server.
How to Launch a Browser in Selenium?
When working with Selenium for web automation, one of the first tasks is to launch a browser that Selenium will control. Selenium supports various browsers, including Chrome, Firefox, Edge, and Safari. Each browser requires its corresponding WebDriver to interact with Selenium.
This guide focuses on launching the Chrome browser using Selenium. Chrome is a popular choice for many automation tasks due to its speed and robust developer tools. To start automating with Chrome, you’ll need to set up Selenium with ChromeDriver, the WebDriver specifically for Chrome.
Pre-Requisites
There will be two prerequisites for this
- Setting up Selenium with the ChromeDriver
- Configuring your IDE (for e.g Eclipse IDE for the running the code)
Setting up Selenium with ChromeDriver in Java involves a series of steps. Here’s a detailed guide to help you through the process:
Step 1: Install Java Development Kit (JDK)
1. Download JDK: Go to the Oracle JDK download page or adopt an open-source version like OpenJDK.
2. Install JDK: Follow the installation instructions specific to your operating system.
3. Set Up Environment Variables:
- Windows:
- Right-click on ‘This PC’ or ‘My Computer’ and select ‘Properties’.
- Click on ‘Advanced system settings’.
- Click on ‘Environment Variables’.
- Add a new system variable JAVA_HOME and set its value to the path of your JDK installation.
- Edit the ‘Path’ variable to include %JAVA_HOME%\bin.
- Mac/Linux:
- Open a terminal.
- Add export JAVA_HOME=/path/to/your/jdk to your .bashrc or .zshrc file.
- Add export PATH=$JAVA_HOME/bin:$PATH to the same file.
- Run source ~/.bashrc or source ~/.zshrc to apply the changes.
Step 2: Install an Integrated Development Environment (IDE)
1. Choose an IDE: Popular choices include IntelliJ IDEA, Eclipse, or NetBeans.
2. Install the IDE: Download and follow the installation instructions for your chosen IDE.
Step 3: Download and Set Up Selenium WebDriver
1. Download Selenium: Go to the Selenium website and download the Selenium Java client library.
2. Add Selenium to Your Project:
- Maven Project: Add the following dependency to your pom.xml file:
<dependency>

    <groupId>org.seleniumhq.selenium</groupId>

    <artifactId>selenium-java</artifactId>

    <version>4.20.0</version>

</dependency>
- Non-Maven Project: Extract the downloaded Selenium Java client library and add the JAR files to your project’s build path.
Step 4: Download and Set Up ChromeDriver
1. Download ChromeDriver: Go to the ChromeDriver download page and download the version that matches your version of Chrome.
2. Extract the ChromeDriver: Extract the downloaded file to a directory of your choice.
3. Set Up ChromeDriver Path:
- Windows:
- Place chromedriver.exe in a directory (e.g., C:\WebDriver).
- Add this directory to your system’s PATH variable.
- Mac/Linux:
- Place chromedriver in a directory (e.g., /usr/local/bin).
- Ensure the directory is in your PATH.
The below example shows how to launch different browsers like chrome, firefox, IE with the help of WebDriverManager class and properties file.
package com.qa.browserstack.base;

import java.io.FileInputStream;

import java.io.FileNotFoundException;
import java.io.IOException;
import java.util.Properties;

import org.openqa.selenium.WebDriver;
import org.openqa.selenium.chrome.ChromeDriver;
import org.openqa.selenium.firefox.FirefoxDriver;

import io.github.bonigarcia.wdm.WebDriverManager;

public class BasePage {

WebDriver driver;
Properties prop;

public WebDriver init_driver(Properties prop)
{
String browser = prop.getProperty("browser");

if(browser.equals("chrome"))
{

WebDriverManager.chromedriver().setup();
driver = new ChromeDriver();

}else if(browser.equals("firefox"))
{

WebDriverManager.firefoxdriver().setup();
driver = new FirefoxDriver();

}
else
{
System.out.println("Please provide a proper browser value..");
}

driver.manage().window().fullscreen();
driver.manage().deleteAllCookies();
driver.get(prop.getProperty("url"));

return driver;
}

public Properties init_properties()
{
prop = new Properties();
try {
FileInputStream ip = new FileInputStream("Properties file path");
prop.load(ip);
} catch (FileNotFoundException e) {
e.printStackTrace();
}catch (IOException e)
{
e.printStackTrace();
}

return prop;


}
}
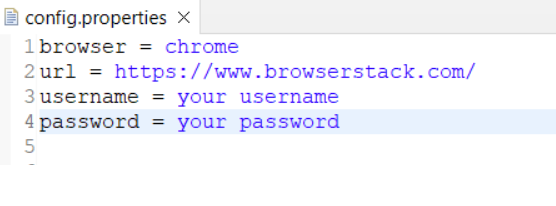
In this example, the browser value is passed with the help of the properties file. Depending upon the given value, the specific driver will be instantiated. This is also a way, using which you can perform cross browser testing across different browsers.
On executing the above code for chrome browser, you can see the browser is launched successfully. Similarly you can launch other browsers as well.
This code snippet provides a structured way to set up and launch a web browser for automated testing with Selenium.
Here’s a step-by-step guide on how it works:
1. Create the BasePage Class
- Purpose: Define a class named BasePage to handle browser setup and configuration.
2. Declare Instance Variables
- WebDriver driver: This variable will hold the WebDriver instance that controls the browser.
- Properties prop: This variable will store configuration details like browser type and URL.
3. Method to Initialize WebDriver
- Method Name: init_driver(Properties prop)
- Purpose: Set up the WebDriver based on the browser type specified in the properties file.
a. Retrieve Browser Type
- Action: Get the browser type from the prop object.
- Purpose: Determine which browser to launch (Chrome or Firefox).
b. Set Up Browser
- If Chrome:
- Action: Use WebDriverManager to download and set up the ChromeDriver.
- Create: Instantiate ChromeDriver to launch Chrome.
- If Firefox:
- Action: Use WebDriverManager to download and set up the FirefoxDriver.
- Create: Instantiate FirefoxDriver to launch Firefox.
- If Not Recognized:
- Action: Print an error message if the browser type is invalid.
c. Configure the Browser
- Fullscreen Mode: Set the browser window to fullscreen.
- Clear Cookies: Remove all cookies to start with a clean slate.
- Open URL: Navigate to the URL specified in the properties file.
d. Return WebDriver Instance
- Purpose: Return the initialized WebDriver so it can be used for further actions.
4. Method to Load Properties
- Method Name: init_properties()
- Purpose: Load configuration settings from a properties file.
a. Create Properties Object
- Action: Initialize a new Properties object to store settings.
b. Load the Properties File
- Action: Open and read the properties file to load the settings.
- Error Handling: Catch and print errors if the file is not found or cannot be read.
c. Return Properties Object
- Purpose: Return the prop object containing the loaded configuration settings.
Also Read: How to launch Edge browser in Selenium
How to Open an Incognito Window in Selenium?
While the above method explaining how to launch a browser, this method is used when you need to open an Incognito Window in Selenium.
ChromeOptions class in Selenium helps to open the browser in incognito mode.
You have to pass incognito as an argument to the addArguments method of ChromeOptions class.
Let’s take the same example as above and pass incognito as an argument while launching chrome browser
package com.qa.browserstack.base;

import java.io.FileInputStream;

import java.io.FileNotFoundException;
import java.io.IOException;
import java.util.Properties;

import org.openqa.selenium.WebDriver;
import org.openqa.selenium.chrome.ChromeDriver;
import org.openqa.selenium.chrome.ChromeOptions;
import org.openqa.selenium.firefox.FirefoxDriver;

import io.github.bonigarcia.wdm.WebDriverManager;

public class BasePage {

WebDriver driver;
Properties prop;

public WebDriver init_driver(Properties prop)
{
String browser = prop.getProperty("browser");

if(browser.equals("chrome"))
{
ChromeOptions option = new ChromeOptions();
option.addArguments("incognito");
WebDriverManager.chromedriver().setup();
driver = new ChromeDriver(option);

}else if(browser.equals("firefox"))
{

WebDriverManager.firefoxdriver().setup();
driver = new FirefoxDriver();

}
else
{
System.out.println("Please provide a proper browser value..");
}

driver.manage().window().fullscreen();
driver.manage().deleteAllCookies();
driver.get(prop.getProperty("url"));

return driver;
}

public Properties init_properties()
{
prop = new Properties();
try {
FileInputStream ip = new FileInputStream("Properties File Path");
prop.load(ip);
} catch (FileNotFoundException e) {
e.printStackTrace();
}catch (IOException e)
{
e.printStackTrace();
}

return prop;


}
}
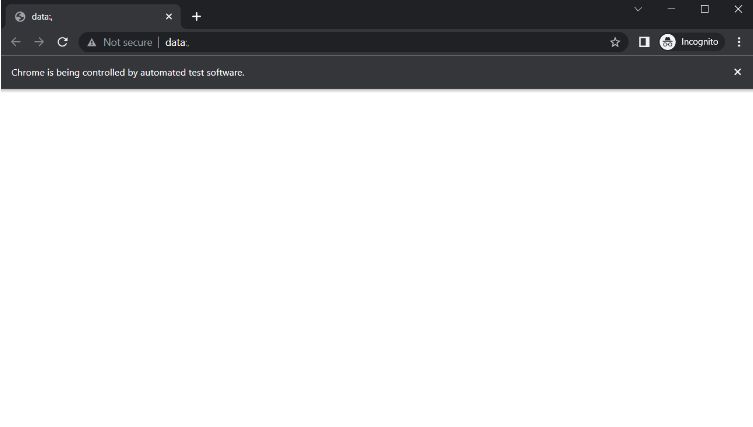
Chrome browser opens in incognito mode as seen below.
Step-by-Step Summary of Browser Initialization Code
Step 1. Create the BasePage Class
- Purpose: Define a class named BasePage to handle the setup and configuration of the browser for automated testing.
Step 2. Declare Instance Variables
- WebDriver driver: Stores the WebDriver instance used to control the browser.
- Properties prop: Holds configuration details such as browser type and URL.
Step 3. Method to Initialize WebDriver
- Method Name: init_driver(Properties prop)
- Purpose: Set up and configure the WebDriver based on the properties provided.
a. Retrieve Browser Type
- Action: Get the browser type from the prop object.
- Purpose: Determine which browser to launch (Chrome or Firefox).
b. Set Up Browser
- If Chrome:
- Create Options: Instantiate ChromeOptions to configure browser-specific settings.
- Add Arguments: Add the incognito argument to open Chrome in incognito mode.
- Set Up Driver: Use WebDriverManager to download and set up the ChromeDriver.
- Create Driver: Instantiate ChromeDriver with the configured options.
- If Firefox:
- Set Up Driver: Use WebDriverManager to download and set up the FirefoxDriver.
- Create Driver: Instantiate FirefoxDriver without additional options.
- If Browser Type Is Not Recognized:
- Action: Print an error message to indicate an invalid browser type.
c. Configure the Browser
- Fullscreen Mode: Set the browser window to fullscreen.
- Clear Cookies: Remove all cookies to start with a clean session.
- Open URL: Navigate to the URL specified in the properties file.
d. Return WebDriver Instance
- Purpose: Return the initialized and configured WebDriver for use in tests.
Step 4. Method to Load Properties
- Method Name: init_properties()
- Purpose: Load configuration settings from a properties file.
a. Create Properties Object
- Action: Instantiate a new Properties object to hold the configuration settings.
b. Load the Properties File
- Action: Open and read the properties file using FileInputStream.
- Error Handling: Catch and print errors if the file is not found or if there is an issue reading it.
c. Return Properties Object
- Purpose: Return the prop object containing the loaded configuration settings.
How to Open a Page using Selenium?
To open a page or website in Selenium, you need to pass the url of the page in driver.get() method. In this example, the URL is passed through the properties file. Then, use the driver.get() method to access the specified URL.
package com.qa.browserstack.base;

import java.io.FileInputStream;

import java.io.FileNotFoundException;
import java.io.IOException;
import java.util.Properties;

import org.openqa.selenium.WebDriver;
import org.openqa.selenium.chrome.ChromeDriver;
import org.openqa.selenium.firefox.FirefoxDriver;

import io.github.bonigarcia.wdm.WebDriverManager;

public class BasePage {

WebDriver driver;
Properties prop;

public WebDriver init_driver(Properties prop)
{
String browser = prop.getProperty("browser");

if(browser.equals("chrome"))
{
WebDriverManager.chromedriver().setup();
driver = new ChromeDriver();

}else if(browser.equals("firefox"))
{

WebDriverManager.firefoxdriver().setup();
driver = new FirefoxDriver();

}
else
{
System.out.println("Please provide a proper browser value..");
}

driver.get(prop.getProperty("url"));

return driver;
}

public Properties init_properties()
{
prop = new Properties();
try {
FileInputStream ip = new FileInputStream("Properties File Path");
prop.load(ip);
} catch (FileNotFoundException e) {
e.printStackTrace();
}catch (IOException e)
{
e.printStackTrace();
}

return prop;


}
}
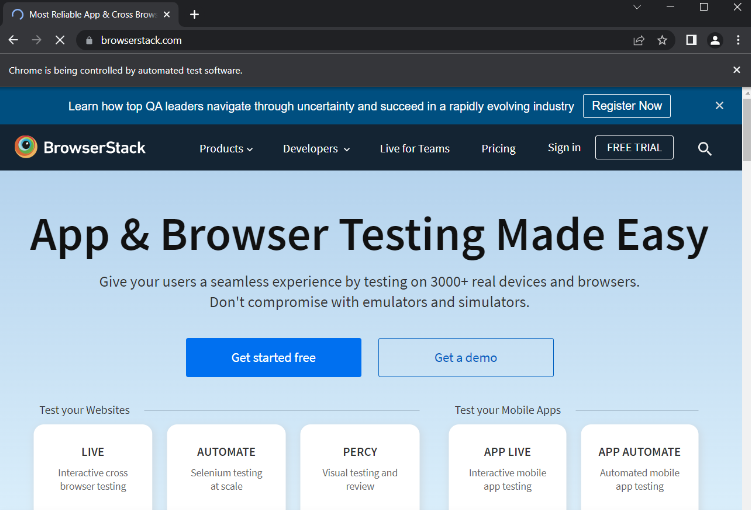
The above code opens browserstack.com URL in Chrome browser as seen in the image below.
1. Define the BasePage Class
- Purpose: Create a class named BasePage to manage browser setup and configuration for automated testing.
2. Declare Instance Variables
- WebDriver driver: This variable holds the WebDriver instance, which is used to control the browser.
- Properties prop: This variable contains configuration settings, such as the browser type and URL to open.
3. Method to Initialize WebDriver
- Method Name: init_driver(Properties prop)
- Purpose: Set up and configure the WebDriver based on the settings provided in the properties file.
a. Retrieve Browser Type
- Action: Get the type of browser to use from the prop object.
- Purpose: Determine which browser (Chrome or Firefox) to launch.
b. Set Up Browser
- If Chrome:
- Action: Use WebDriverManager to automatically download and set up the ChromeDriver.
- Create: Instantiate a ChromeDriver to open Chrome.
- If Firefox:
- Action: Use WebDriverManager to automatically download and set up the FirefoxDriver.
- Create: Instantiate a FirefoxDriver to open Firefox.
- If Browser Type Is Not Recognized:
- Action: Print an error message indicating that an invalid browser type was provided.
c. Navigate to URL
- Action: Open the URL specified in the properties file using
driver.get(prop.getProperty(“url”)). - Purpose: Direct the browser to the specified web address.
d. Return WebDriver Instance
- Purpose: Return the configured WebDriver instance for further use in your tests.
4. Method to Load Properties
- Method Name: init_properties()
- Purpose: Load configuration settings from a properties file.
a. Create Properties Object
- Action: Instantiate a new Properties object to store the configuration data.
b. Load the Properties File
- Action: Open and read the properties file using FileInputStream.
- Error Handling: Catch and print errors if the file is not found or if there are issues reading it.
c. Return Properties Object
- Purpose: Return the prop object containing the loaded configuration settings.
How to perform Google Search Automation in Selenium
Google Search is widely used by the end-users, and it makes a significant use case for Browser Automation. For any website, it is important that users are able to search, find the website in Google SERP (Search Engine Results Page), and click to access the website. This makes it a valid test case for Selenium Browser Automation.
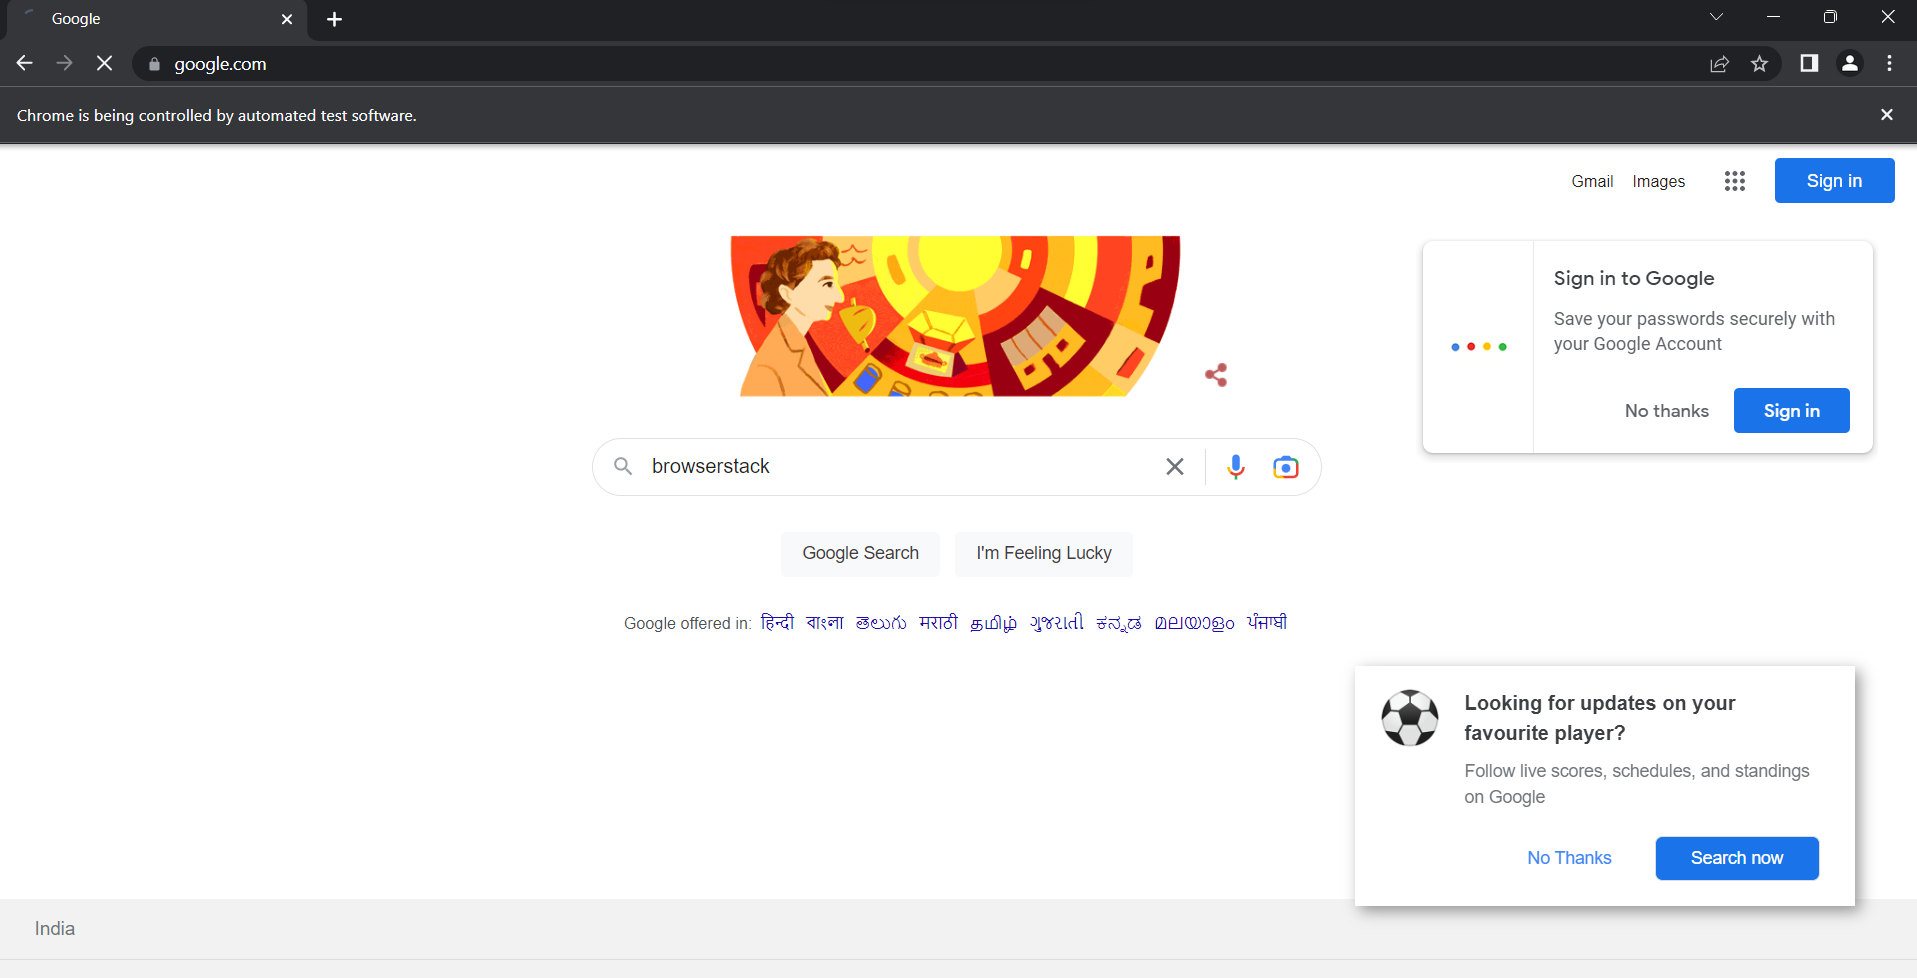
Here’s an example of searching “browserstack” string in Google to understand Google Search Automation in Selenium.
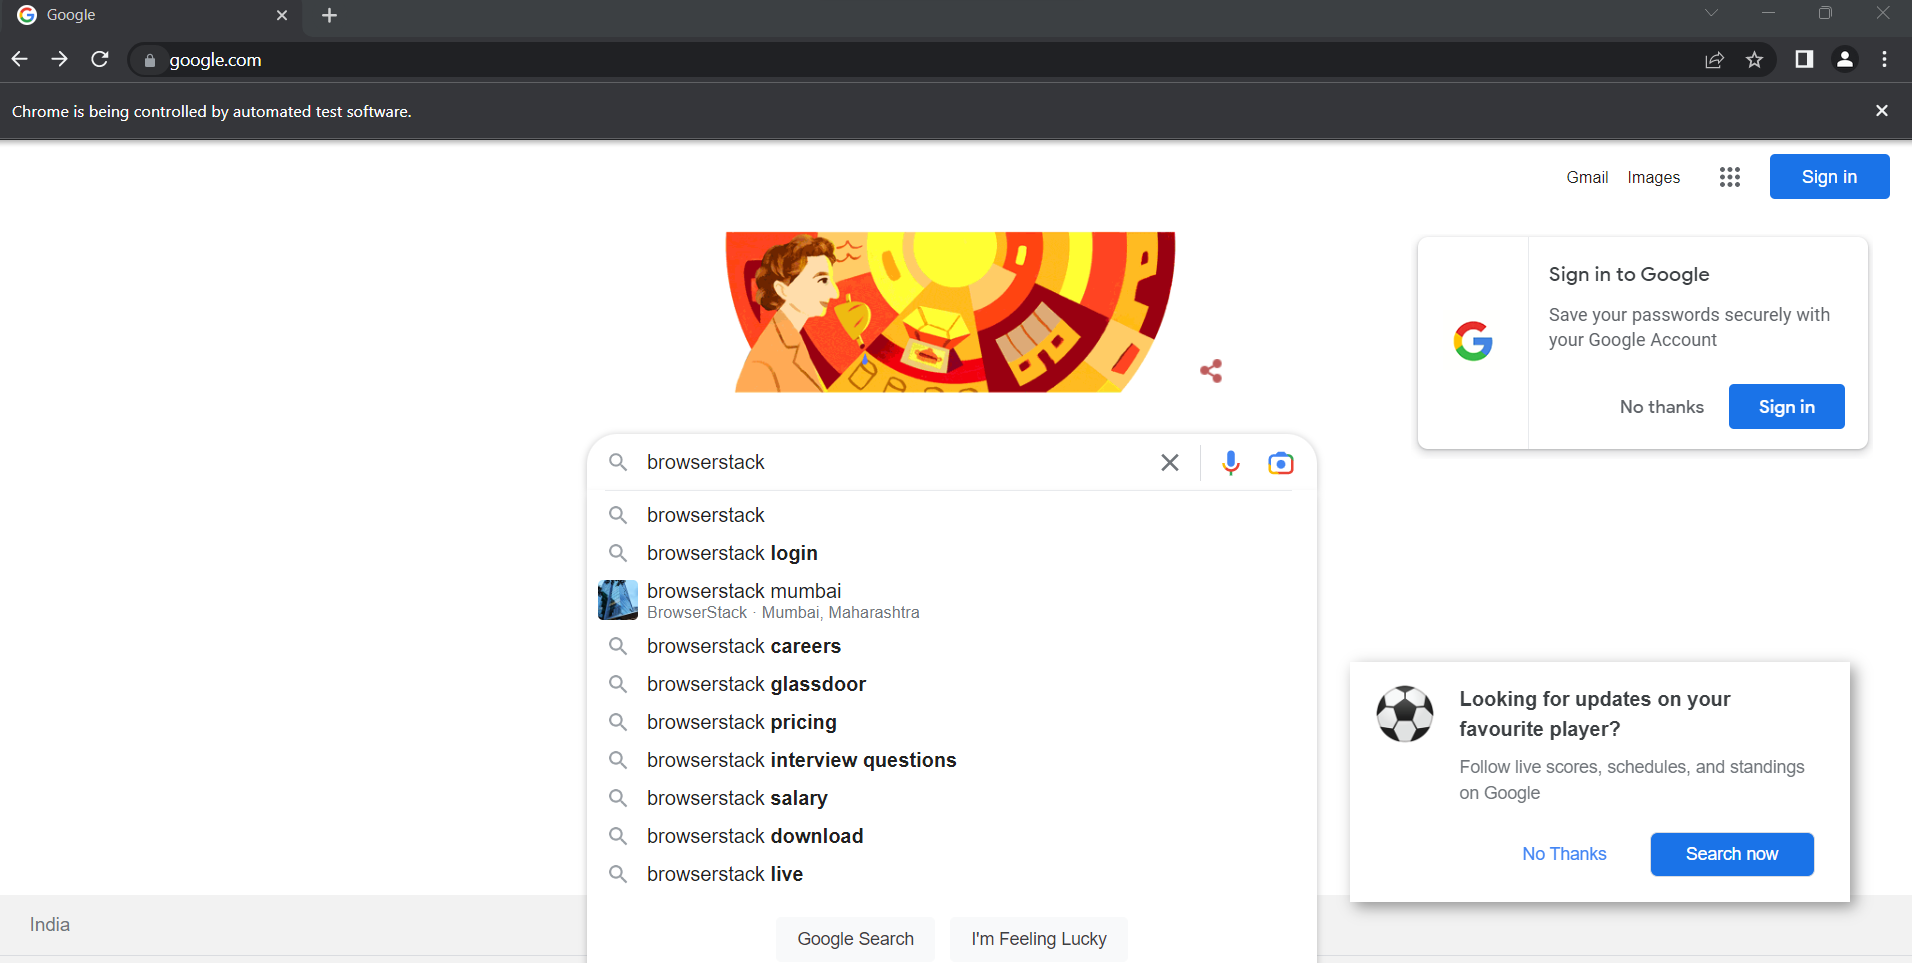
Whenever you enter a search string in the google search box, it displays multiple options in suggestions. These suggestions are displayed with the help of Ajax (Asynchronous javascript and XML). It is a technology used for creating interactive web applications.
You can store these suggestions and select the suitable option with the help of Selenium.
import java.time.Duration;
import java.util.List;

import org.openqa.selenium.By;
import org.openqa.selenium.WebDriver;
import org.openqa.selenium.WebElement;
import org.openqa.selenium.chrome.ChromeDriver;

import io.github.bonigarcia.wdm.WebDriverManager;

public class GoogleSearchTest {

public static void main(String[] args) {

String Searchstring = "browserstack";
WebDriverManager.chromedriver().setup();
WebDriver driver = new ChromeDriver();
String url = "https://www.google.com/";
driver.get(url);
driver.manage().window().maximize();
driver.manage().timeouts().implicitlyWait(Duration.ofSeconds(20));

driver.findElement(By.name("q")).sendKeys(Searchstring);

driver.manage().timeouts().implicitlyWait(Duration.ofSeconds(20));

List<WebElement> searchitems = driver.findElements(By.xpath("//ul[@role='listbox']/li/descendant::div[@class='eIPGRd']"));

for(int i=0;i<searchitems.size();i++)
{
String listitem = searchitems.get(i).getText();
System.out.println(listitem);
if(listitem.contains(Searchstring))
{
searchitems.get(i).click();
break;
}
}
}

}
The above code searches browserstack string in the Google Search Box, as seen in the image below.
In the above code, the list of all suggestions displayed in google search is captured using Selenium and then select the required search string.
Console Output:
Set Up: Import necessary libraries and define the GoogleSearchTest class.
Initialize WebDriver:
- Set up ChromeDriver using WebDriverManager.
- Create an instance of ChromeDriver to interact with the browser.
Navigate to Google:
- Open Google’s homepage.
- Maximize the browser window and set an implicit wait.
Perform and Handle Search:
- Enter the search query into Google’s search box.
- Wait for search suggestions to appear.
- Retrieve all search suggestions and print each suggestion.
- Click on the suggestion that matches the search query and stop further processing.
How to Launch Browser on Real Devices using BrowserStack?
BrowserStack Automate allows us to execute tests on various device-browser combinations which is helpful when the test suites are large and you need to perform parallel testing to run test cases simultaneously on different device-browser combinations.
Launch Browser on BrowserStack Cloud Selenium Grid
Here’s an example to launch browser on BrowserStack:
Signup for Free, and get your BrowserStack username and access key before executing the below code.You can get your username and access key once you login to BrowserStack, Navigate to Dashboard and Click on Access Key as shown below.
package BS;

import org.openqa.selenium.By;
import org.openqa.selenium.WebDriver;
import org.openqa.selenium.remote.DesiredCapabilities;
import org.openqa.selenium.remote.RemoteWebDriver;
import java.net.URL;
public class LaunchBrowserOnBS {

public static final String AUTOMATE_USERNAME = "your_username";
public static final String AUTOMATE_ACCESS_KEY = "your_password";
public static final String URL = "https://" + AUTOMATE_USERNAME + ":" + AUTOMATE_ACCESS_KEY + "@hub-cloud.browserstack.com/wd/hub";
public static void main(String[] args) throws Exception {
DesiredCapabilities caps = new DesiredCapabilities();
caps.setCapability("os_version", "10");
caps.setCapability("resolution", "1920x1080");
caps.setCapability("browser", "Chrome");
caps.setCapability("browser_version", "latest");
caps.setCapability("os", "Windows");
caps.setCapability("name", "Test to launch chrome browser on BS"); // test name

final WebDriver driver = new RemoteWebDriver(new URL(URL), caps);
try {
// go to bstackdemo.com
driver.get("https://www.browserstack.com/");

} catch (Exception e) {
// print any exception
System.out.println(e);
}
// quit the driver
driver.quit();
}
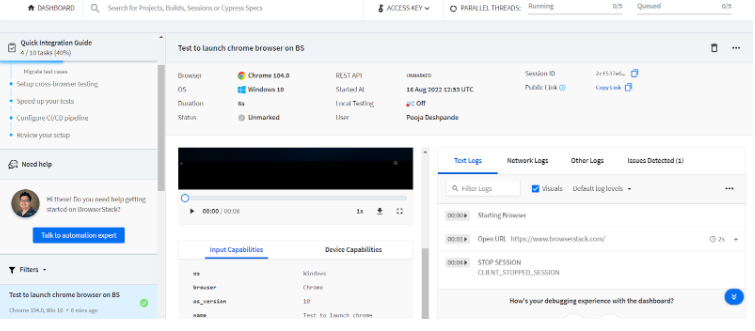
}Here’s how the BrowserStack Automate Dashboard looks like with all the details like Text Logs, Network Logs, and Video Logs.
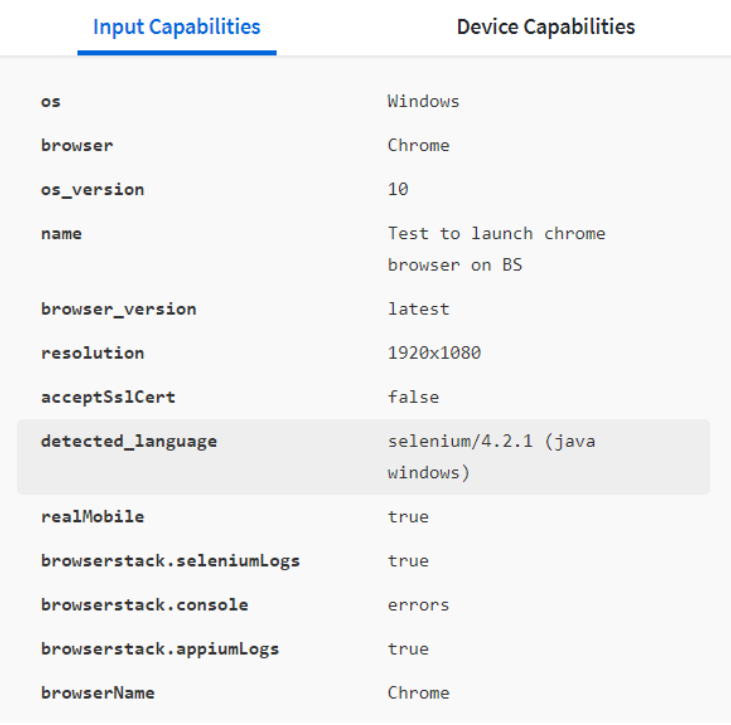
BrowserStack Automate Dashboard also contains the details of Input Capabilites and Device Capabilities as seen below.
You can play the test that has been performed or even download the test case. BrowserStack provides a wide range of capabilities that detail every step in detail along with the time of execution. Using Selenium IDE, you can record and playback the Browser Automation test for better debugging failed tests.
Try Browser Automation on Cloud Selenium Grid
Conclusion
Launching a browser is the foundation of any Selenium automation script, and setting up the right environment ensures reliable and efficient test execution. From installing prerequisites to initializing ChromeDriver, each step plays a vital role in enabling smooth browser automation. Beyond local setups, leveraging platforms like BrowserStack allows teams to run Selenium tests on thousands of real devices and browsers, ensuring true cross-browser compatibility and faster releases.


