Testing an iOS app without an iPhone is possible and highly effective with the right tools. Developers and QA teams can use simulators, emulators, and cloud-based platforms to validate performance, compatibility, and user experience — without investing in physical devices.
Overview
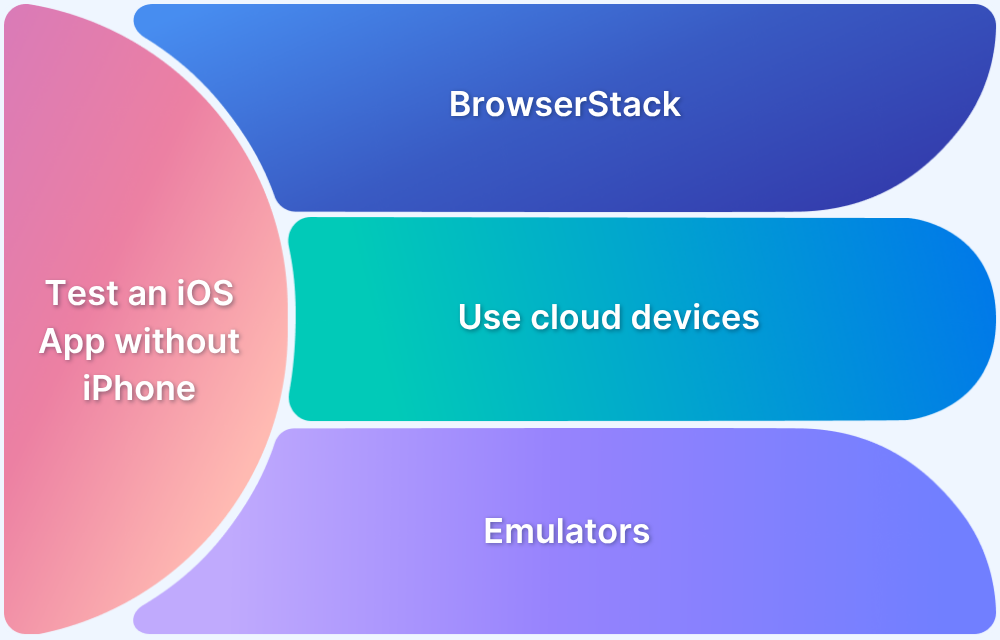
What are the Best Ways to Test iOS Apps Without an iPhone?
- Use Xcode Simulator to emulate iOS devices and test on multiple screen sizes, orientations, and OS versions.
- Leverage cloud-based platforms like BrowserStack App Live and App Automate to test on real iOS devices remotely.
- Combine both approaches for a complete testing strategy: simulators for early testing and real devices for final validation.
How to Test iOS Apps using Xcode Simulator
- Built into Xcode and supports multiple iOS devices and versions.
- Simulate network conditions, GPS, battery states, and push notifications.
- Debug directly within Xcode for quick iteration and faster feedback.
- Pros: Cost-effective, quick setup, multi-device simulation.
- Cons: Limited hardware testing, no real-world performance data.
How to Test iOS Apps using BrowserStack App Live & App Automate
- App Live: Manual testing on thousands of real iOS devices in the cloud.
- App Automate: Automated testing with frameworks like Appium and XCTest.
- Access real sensors, hardware features, and network conditions for accurate results.
- Pros: High accuracy, scalability, parallel testing, no device maintenance.
- Cons: Requires subscription (free trial available).
Simulator vs Real Devices – Key Differences
- Hardware Access: Real devices provide access to sensors, battery, and gestures.
- Performance: Real devices deliver more accurate performance metrics.
- User Experience: Simulators can’t fully replicate real touch and interaction patterns.
- Testing Depth: Real devices capture hardware-specific issues missed by simulators.
This article explains how to test iOS apps without an iPhone, comparing simulators and real devices, and shows how platforms like BrowserStack make comprehensive iOS testing possible without owning physical hardware.
Different Methods to Test iOS Apps Without iPhone
There are several ways to test iOS applications without needing a physical iPhone. The following methods allow developers and testers to ensure their apps function correctly and provide a good user experience across various scenarios.
Method 1: XCode Simulator
XCode Simulator is a tool built into Apple’s XCode that lets developers test iOS apps on virtual Apple devices. It acts like a real device, allowing testing for different screen sizes, orientations, and iOS versions without needing actual hardware.
Developers can use the app just like on a real phone, testing how it works and performs. It also supports testing features like push notifications, location services, and network conditions.

Key Features
- Supports multiple iOS versions and devices: Test apps on virtual iPhones, iPads, and Apple Watches to ensure compatibility across different iOS versions and models.
- Simulates network conditions and background states: Test app performance under various network speeds and app backgrounding scenarios.
- Integrated with XCode: Seamlessly run and debug apps without leaving the XCode environment, making the development process faster and smoother.
- Simulates location, notifications, and battery: Check how the app handles GPS, push notifications, and low battery levels.
- Tests various screen sizes and orientations: Ensure the app adapts to different screen resolutions and orientations for responsive design.
- Easy debugging: Directly access XCode’s debugging tools to quickly identify and fix issues during testing.
Advantages
Following are some of the advantages of using a Simulator like XCode.
- Cost-effective: No need to buy physical iPhones or iPads for testing, reducing overall costs.
- Quick setup: Easy integration with XCode allows for immediate testing without extra installations.
- Device diversity: Simulate various iOS devices, operating systems, and configurations for broad compatibility.
- Convenient debugging: Real-time debugging within XCode helps quickly identify and fix issues while testing.
- Multi-device testing: Run multiple simulator instances simultaneously to test the app across different devices.
Disadvantages
Following are some of the disadvantages of using a Simulator:
- Limited hardware fidelity: Simulators may not fully replicate the performance of physical devices, such as camera and sensor behavior.
- No real-world testing: Scenarios like device overheating or battery performance cannot be accurately simulated.
- Lack of hardware features: Simulated devices do not replicate physical components like gyroscopes or fingerprint sensors.
- Performance discrepancies: Apps may behave differently on actual devices compared to the simulator, potentially missing bugs.
- User experience differences: Simulated touch interactions might not show the small details of how people use real devices, which can affect usability testing.
How to Set Up and Run XCode Simulator:
- Step 1: Install XCode
Download and install XCode from the Mac App Store. Ensure you have the latest version of macOS to run XCode. - Step 2: Create a New Project
Open XCode and start a new project, or open your existing app project. - Step 3: Choose a Simulator
In XCode, go to the toolbar and select your target device. Under “Devices and Simulators,” choose from a list of available devices (for example, iPhone 14, iPad Pro). - Step 4: Build and Run the App
Select “Run” from the toolbar or press Cmd + R. XCode will compile the app and launch it in the simulator. - Step 5: Test the App
Interact with the app as you would on a physical device. Use various gestures (tap, swipe, pinch) to simulate user actions. - Step 6: Simulate Different Conditions
Use the simulator’s settings to simulate location, rotate the device, or change the network speed. You can also mimic background app activity to test your app’s performance when minimized. - Step 7: Debug and Iterate
Monitor the app’s performance through XCode’s debug console. Adjust code and re-run the app to check for fixes or improvements.
Xcode Simulator is a powerful tool for testing iOS applications without needing an actual iPhone. While it has some limitations, its advantages in cost-effectiveness and speed make it an essential part of the iOS development and testing process.
Method 2: Using BrowserStack App Live & App Automate
BrowserStack App Live and App Automate are cloud-based tools that help developers and testers test iOS apps on real devices without needing a physical iPhone.
App Live is for manual testing, while App Automate is for automated testing. These tools simplify the process of verifying app performance across different iOS versions and devices. They provide in-depth testing to assess functionality and user experience.
With access to a wide range of real devices, users can replicate various user environments, pinpoint issues, and ensure app quality before release.
Read More: How to run Appium iOS Tests on Real Devices
Key Features
BrowserStack App Live:
- Real Mobile Device Testing: Test your iOS app on actual iPhones and iPads right from your browser.
- Live Testing: Interactively test your app in real-time with tools for network throttling and device logs.
- Responsive Design Testing: Check how your app looks and works on different screen sizes and resolutions.
- Integrated Debugging Tools: Access console and network logs to help identify and fix issues quickly.

BrowserStack App Automate:
- Automated Testing: Run tests automatically using frameworks like Appium and XCTest tailored for iOS.
- Parallel Testing: Execute tests across multiple devices at the same time to speed up testing.
- CI/CD Integration: Integrate easily with CI/CD tools like Jenkins and CircleCI for automated workflows.
- Detailed Reporting: Get comprehensive logs, screenshots, and video recordings of your test sessions.

Advantages
Some of the advantages of using Browserstack App Live and App Automate are:
- No Physical Device Required: Test on real devices without owning multiple iPhones or iPads.
- Speed: Accelerate testing cycles with the ability to run tests in parallel.
- Scalability: Access thousands of real devices in the cloud to scale your testing efforts.
- Immediate Feedback: Get real-time insights into app performance on actual iOS devices.
- Easy Setup: Quick start without the hassle of managing physical devices.
How to Set Up & Run Browserstack apps:
Setting Up BrowserStack App Live:

- Create an Account: Sign up for a BrowserStack account.
- Access App Live: Log in and go to the “App Live” section.
- Upload Your iOS App: Click “Upload App” to add your iOS application (.ipa file).
- Select a Device: Choose a real iPhone or iPad from the available list.
- Start Testing: Launch your app on the selected device and begin testing.
Setting Up BrowserStack App Automate:

- Create an Account: Sign up for BrowserStack if you haven’t already.
- Prepare Your Test Scripts: Write your automated tests using Appium or XCTest.
- Set Up CI/CD Integration (Optional): Connect your tests to your CI/CD pipeline for automation.
- Run Tests: Start automated tests via the BrowserStack API or dashboard by specifying device and OS requirements.
- Analyze Results: Review logs and video recordings after the tests to identify and fix issues.
Using BrowserStack App Live and App Automate allows you to efficiently test iOS applications without needing a physical device, ensuring a smooth user experience across various platforms and versions.
Read More: How to perform Automated iOS UI Testing?
Testing iOS App in Simulator vs Real Devices
Here’s a detailed comparison of testing iOS apps in a simulator versus on real devices:
| Aspect | Simulator | Real Devices using BrowserStack |
|---|---|---|
| Cost | Free, no need to buy physical devices | It requires signing up for a cloud-based testing tool subscription. (However, BrowserStack offers a free trial) |
| Performance Testing | It simulates performance but is not 100% accurate | Provides accurate real-world performance metrics |
| Hardware Features | It cannot fully simulate sensors like GPS, camera, fingerprint | Fully supports all hardware features and sensors |
| User Experience | Simulates user input but may miss subtle touch interactions | Provides accurate touch, gestures, and physical interactions |
| Battery/Overheating Tests | Cannot test battery usage or device heat management | Can test battery drain and overheating in real scenarios |
| Variety of Devices | Simulates various iPhone/iPad models and iOS versions | BrowserStack gives access to 3500+ device-OS-browser combinations, including iPhones and iPads |
| Network Conditions | Simulates network conditions but may not be fully reliable | Tests on real networks with actual speeds and fluctuations |
| App Behavior | It can simulate app behavior like push notifications and background running but offers limited scope. | Accurately reflects app behavior under real-world conditions |
| Convenience | Quick and easy to set up and run | BrowserStack requires no setup, installation, or maintenance hassles. |
| Debugging | Integrated into XCode for efficient debugging | Debugging can be done effortlessly on real devices using BrowserStack |
Conclusion
Testing iOS apps in simulators offers a cost-effective and convenient way to verify functionality during development, especially for handling multiple devices and iOS versions.
However, simulators cannot fully replicate the real-world conditions and hardware of physical devices. Real device testing remains essential for assessing performance, user experience, and hardware-dependent features like sensors and battery performance.
To ensure complete testing, it’s best to use real devices with cloud-based testing tools like BrowserStack App Live and App Automate. BrowserStack’s real device cloud gives access to the latest and legacy device models without owning them or spending on physical infrastructure.

 solve your testing requirements?")


