A Web Inspector is a built-in developer tool offered by Apple to facilitate the direct debugging, inspecting, and analysis of websites on iOS devices.
Thus helping you address issues, optimize performance, and ensure the proper functioning of websites on browsers like Safari.
Learn what web inspector is on iPhone and how to use it effectively with this step-by-step tutorial.
Steps to Use Web Inspector on iPhone
Below are the steps on how to use Web inspector on iPhone:
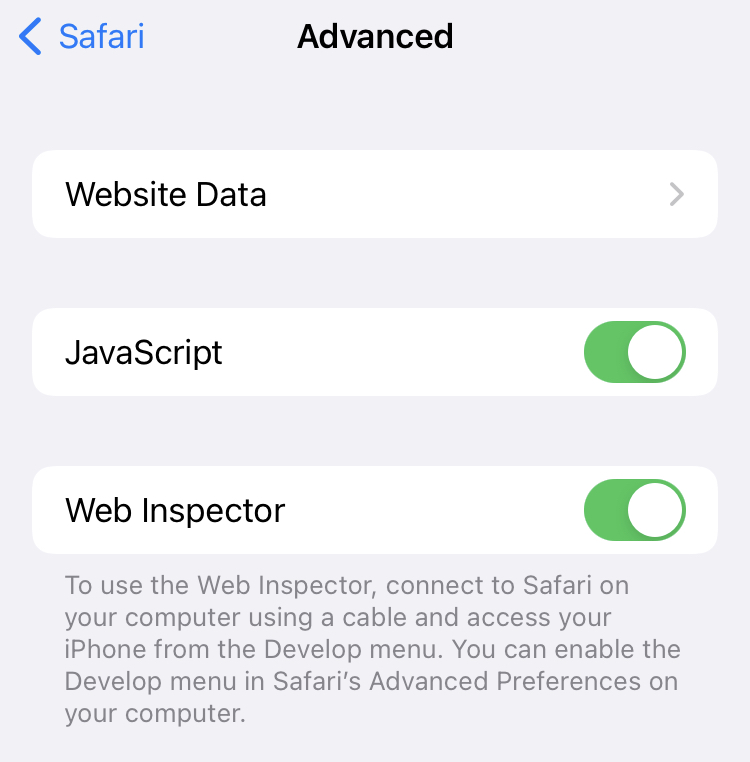
Step 1: Go to Settings > Safari > Advanced.
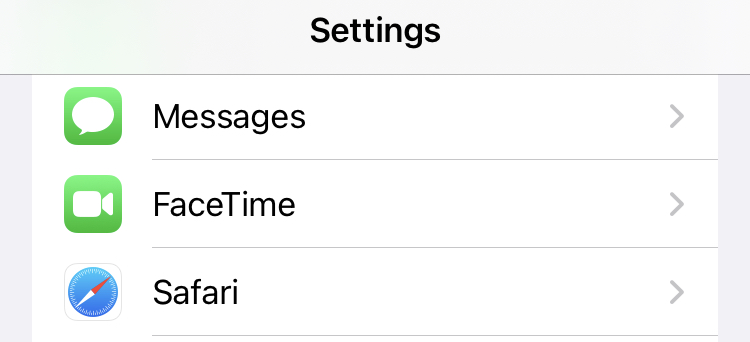
Step 2: Toggle on Web Inspector.
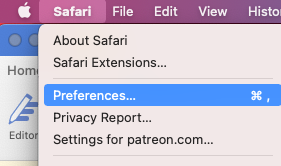
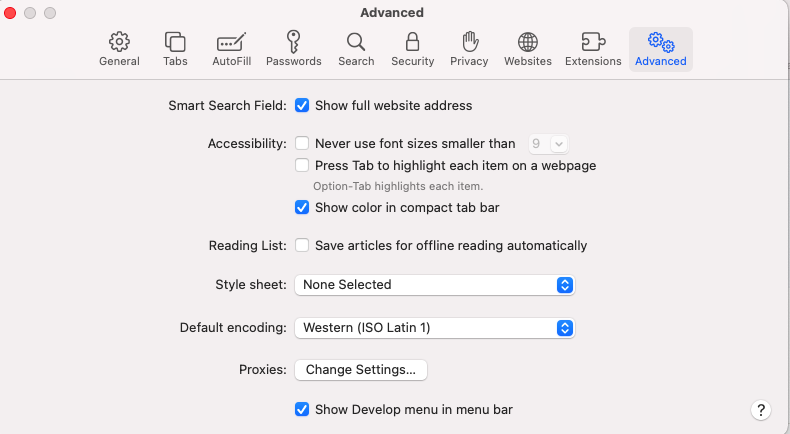
Step 3: Open Safari on your Mac. Go to Safari > Preferences > Advanced.
Step 4: Check Show Developer menu in menu bar.
Step 5: Connect your iPhone to your Mac using a USB cable.
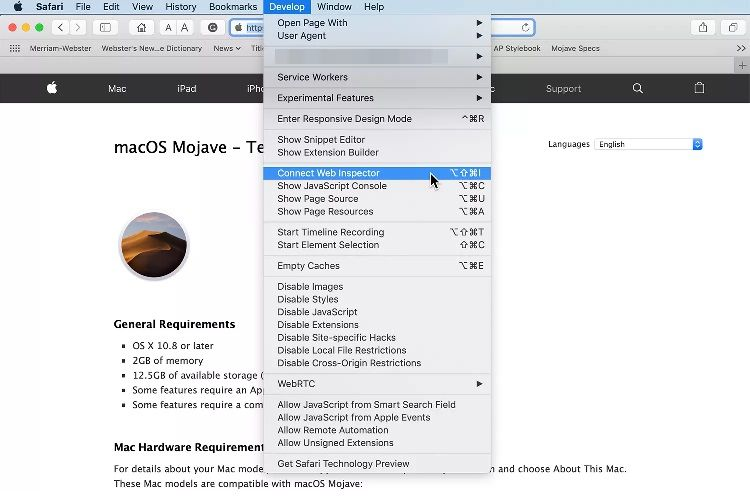
Step 6: On your Mac, go to the Develop menu.
- Select your iPhone and choose the webpage you want to inspect.
- The Web Inspector window will open, showing inspectable elements. As you move your cursor, the corresponding area on the iPhone’s webpage will be highlighted.
Note: Enable Connect via Network from the Develop menu after the initial USB connection to connect wirelessly.
Conclusion
Although the Web Inspector on iPhone is a powerful debugging tool, testing on physical devices can be time-consuming and complex.
BrowserStack provides an easy solution by allowing you to test your web applications on real iOS devices directly from your browser. This eliminates the need for physical access to any devices while also ensuring accurate, real-world testing.
